


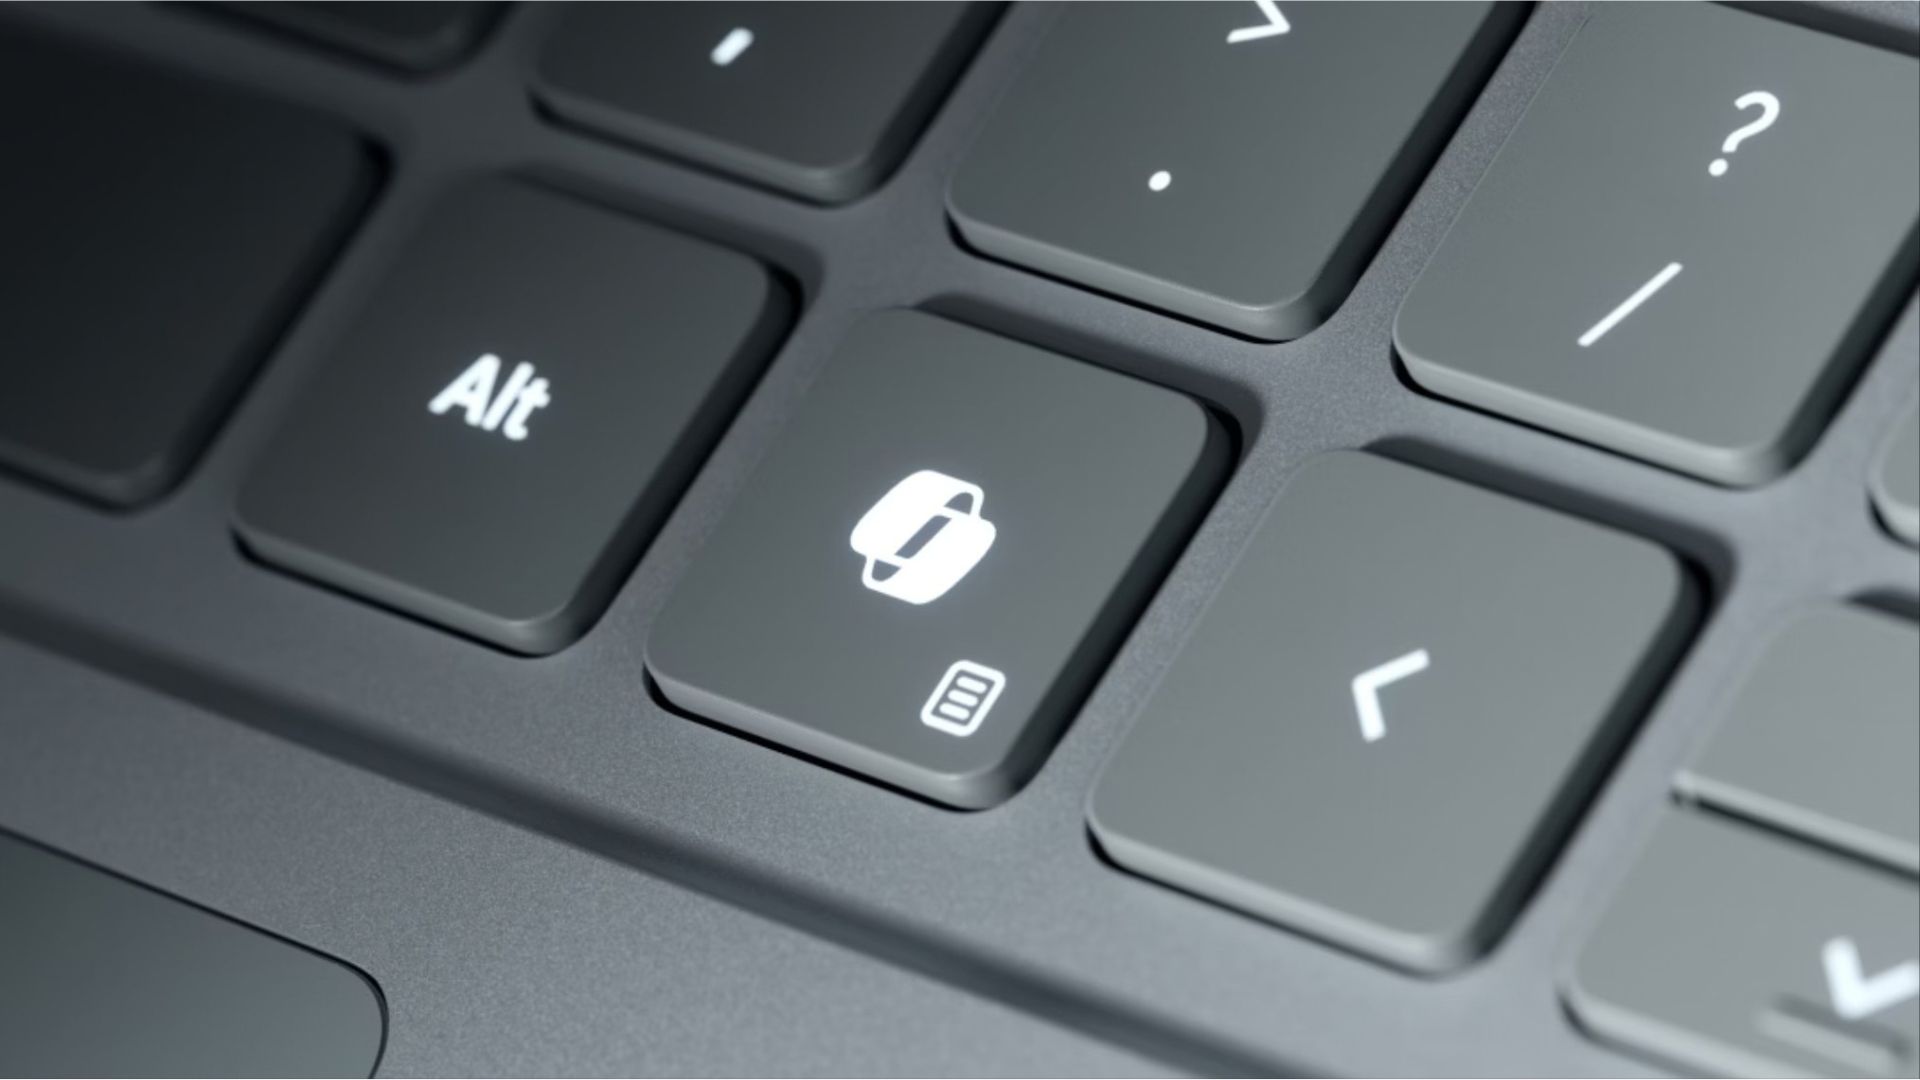
Microsoft pushed its dedicated Copilot key hard on laptop OEMs like a mobster running a protection racket. “Nice new laptop you got there; it’d be a shame if something happened to your Windows license on there.” However, now that Redmond is quietly pulling back from its whole “mandatory” Copilot+PC branding circus, a lot of us are left staring at a physical button for an app we barely touch.
Granted, I’m not sure how many people were using the old Menu key or right Ctrl access previously.
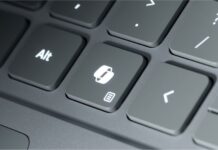
My shiny new Dell XPS 14 has its Copilot button wedged between the Alt and arrow keys, which was a pain when flying across cells in Excel sheets. But over time, I was able to stop testing the fences on how far my finger could edge the arrow keys before hitting that Copilot button and practically ignore its existence.
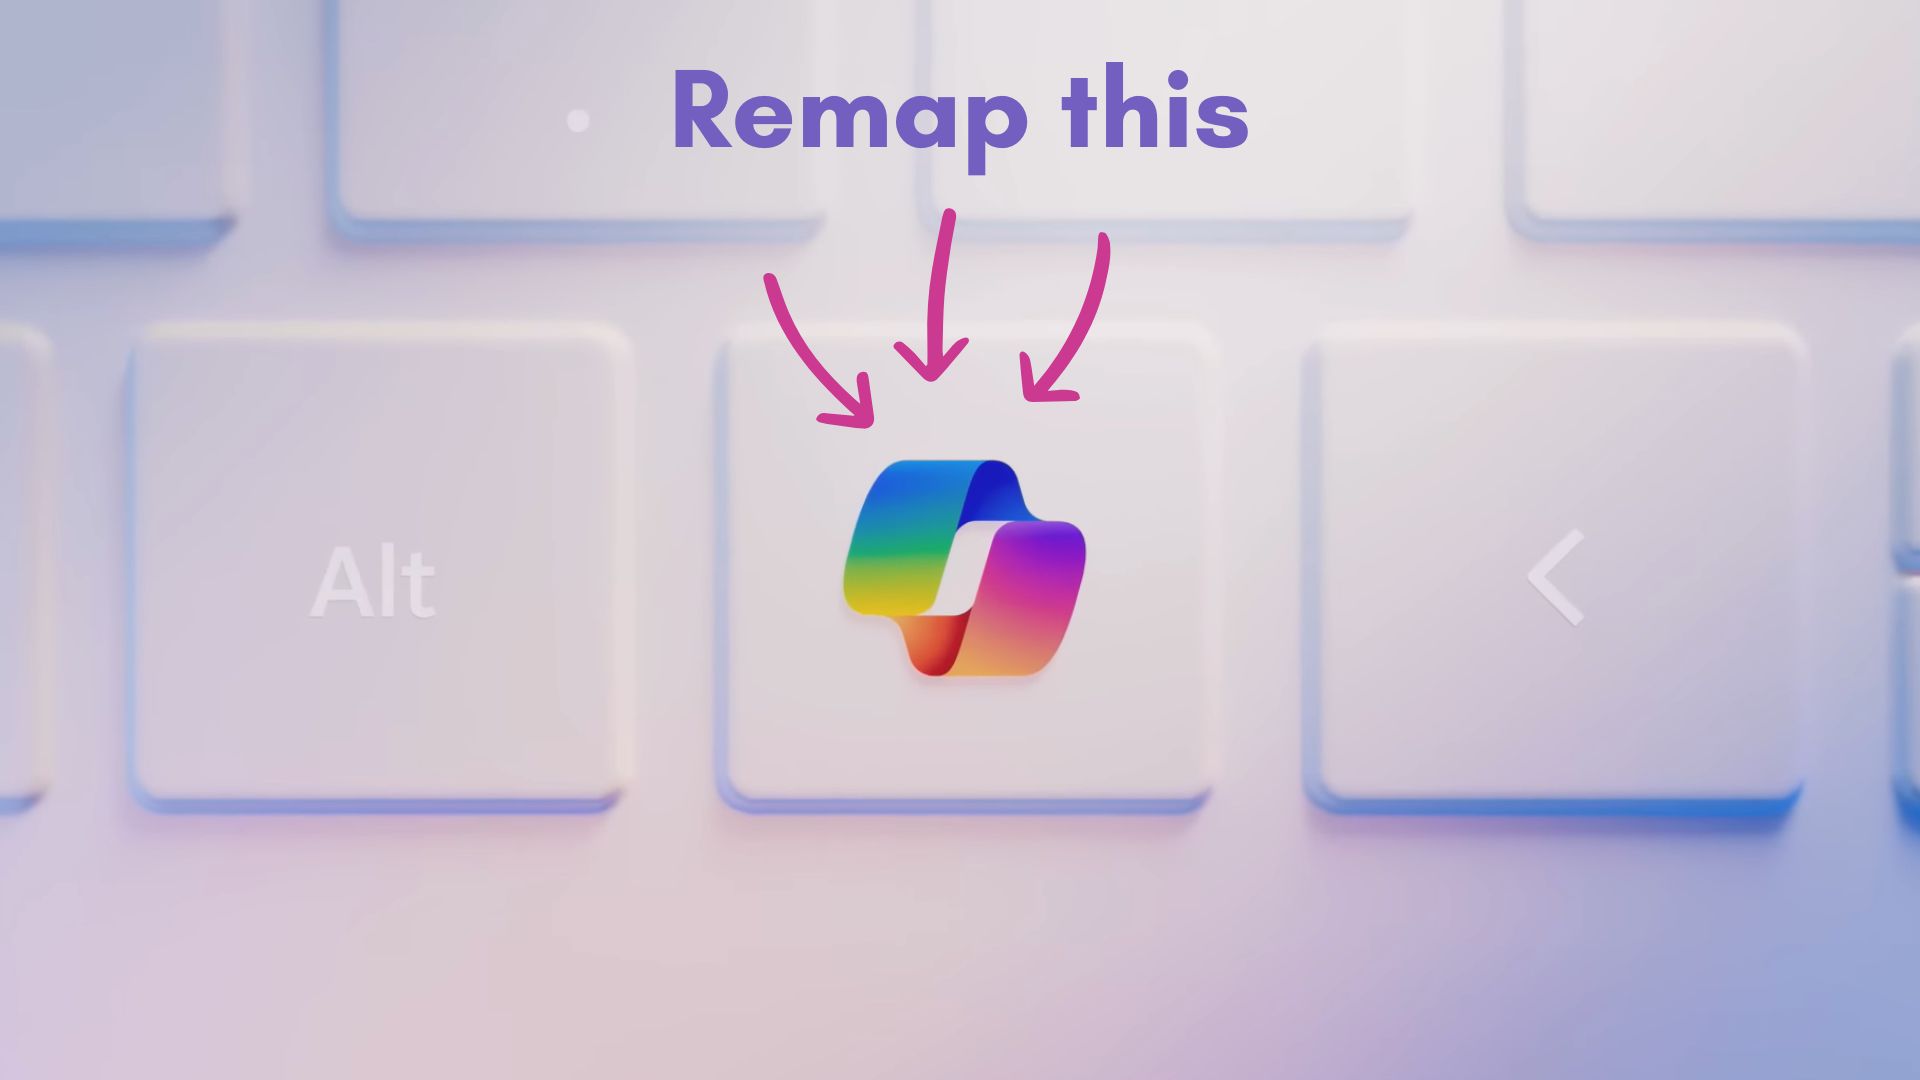
But I paid good money for this laptop to avoid using all of it, and fortunately for anyone else in similar shoes, Microsoft has listened to us and provided a way to regain the use of those Copilot buttons for anything but its branded AI experiment.
Here are some ways to reclaim your Copilot button for experiences you might actually find useful. Let’s start by going over how to change the button again.
How to Change the Copilot Key Function in Windows Settings
Fortunately, for this first step, you don’t have to be a power user to make this change. If you don’t feel like downloading software, Windows 11 actually lets you swap the Copilot button’s functionality out of the box.
Head into Settings > Bluetooth & devices > Keyboard and look for the Customize Copilot key on keyboard. Pretty simple.
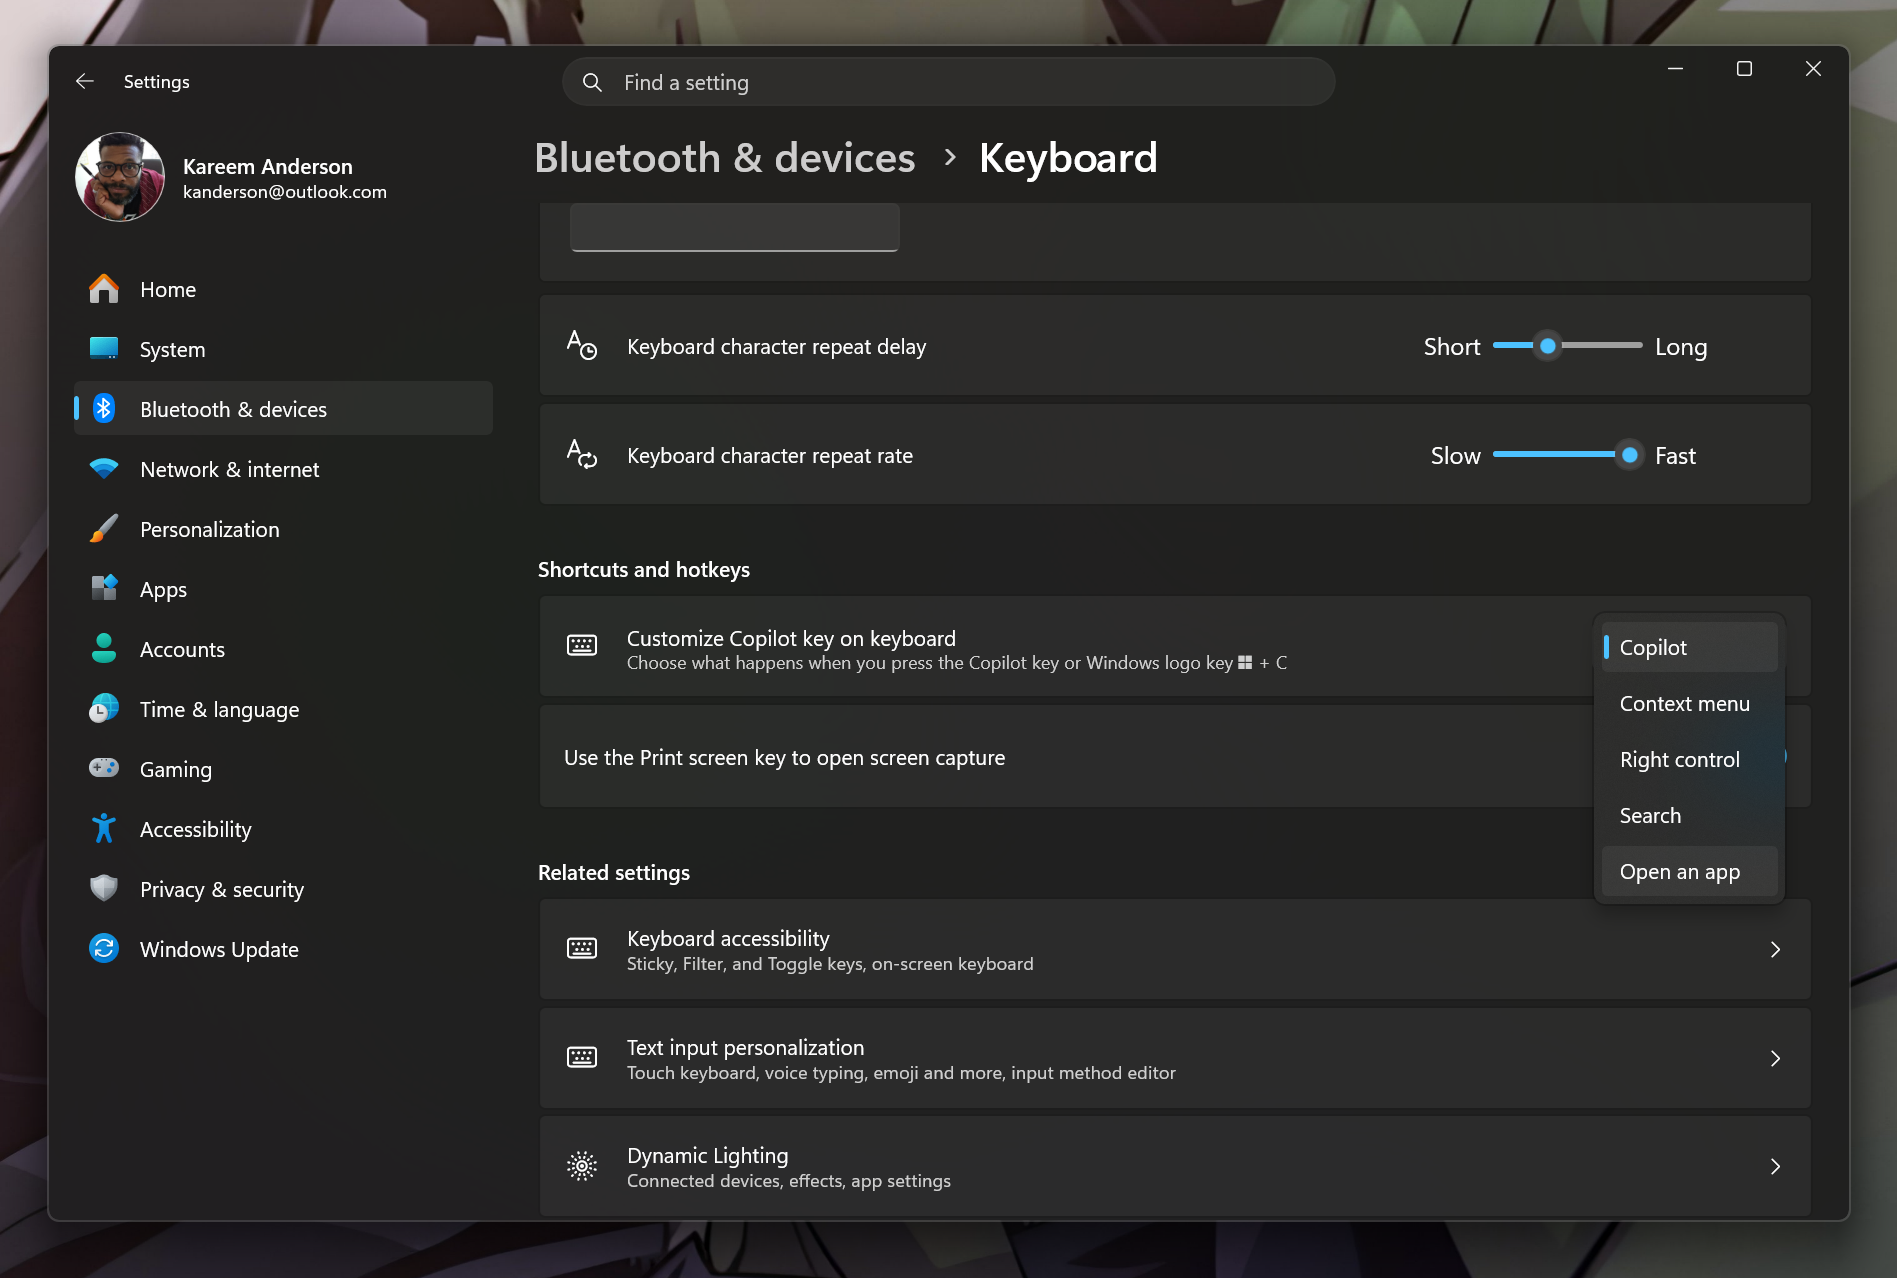
From there, you can set the button to launch a standard Windows Search, act as the Right Ctrl or Context Menu key (the Copilot key took the place of one of these, depending on your laptop), or point it toward any handful of packaged apps installed on your device. The Right Ctrl and Context Menu options are new and arrived with the September 2026 optional update (KB5124010), so most PCs will get them with the October Patch Tuesday update.
I started off with a map to YouTube Music, which allowed me to unpin it from the Taskbar but keep it close enough to use for a quick “Do not disturb” focus moment.
If you want to get a little more granular, read on.
Using Microsoft PowerToys to Customize the Copilot Key
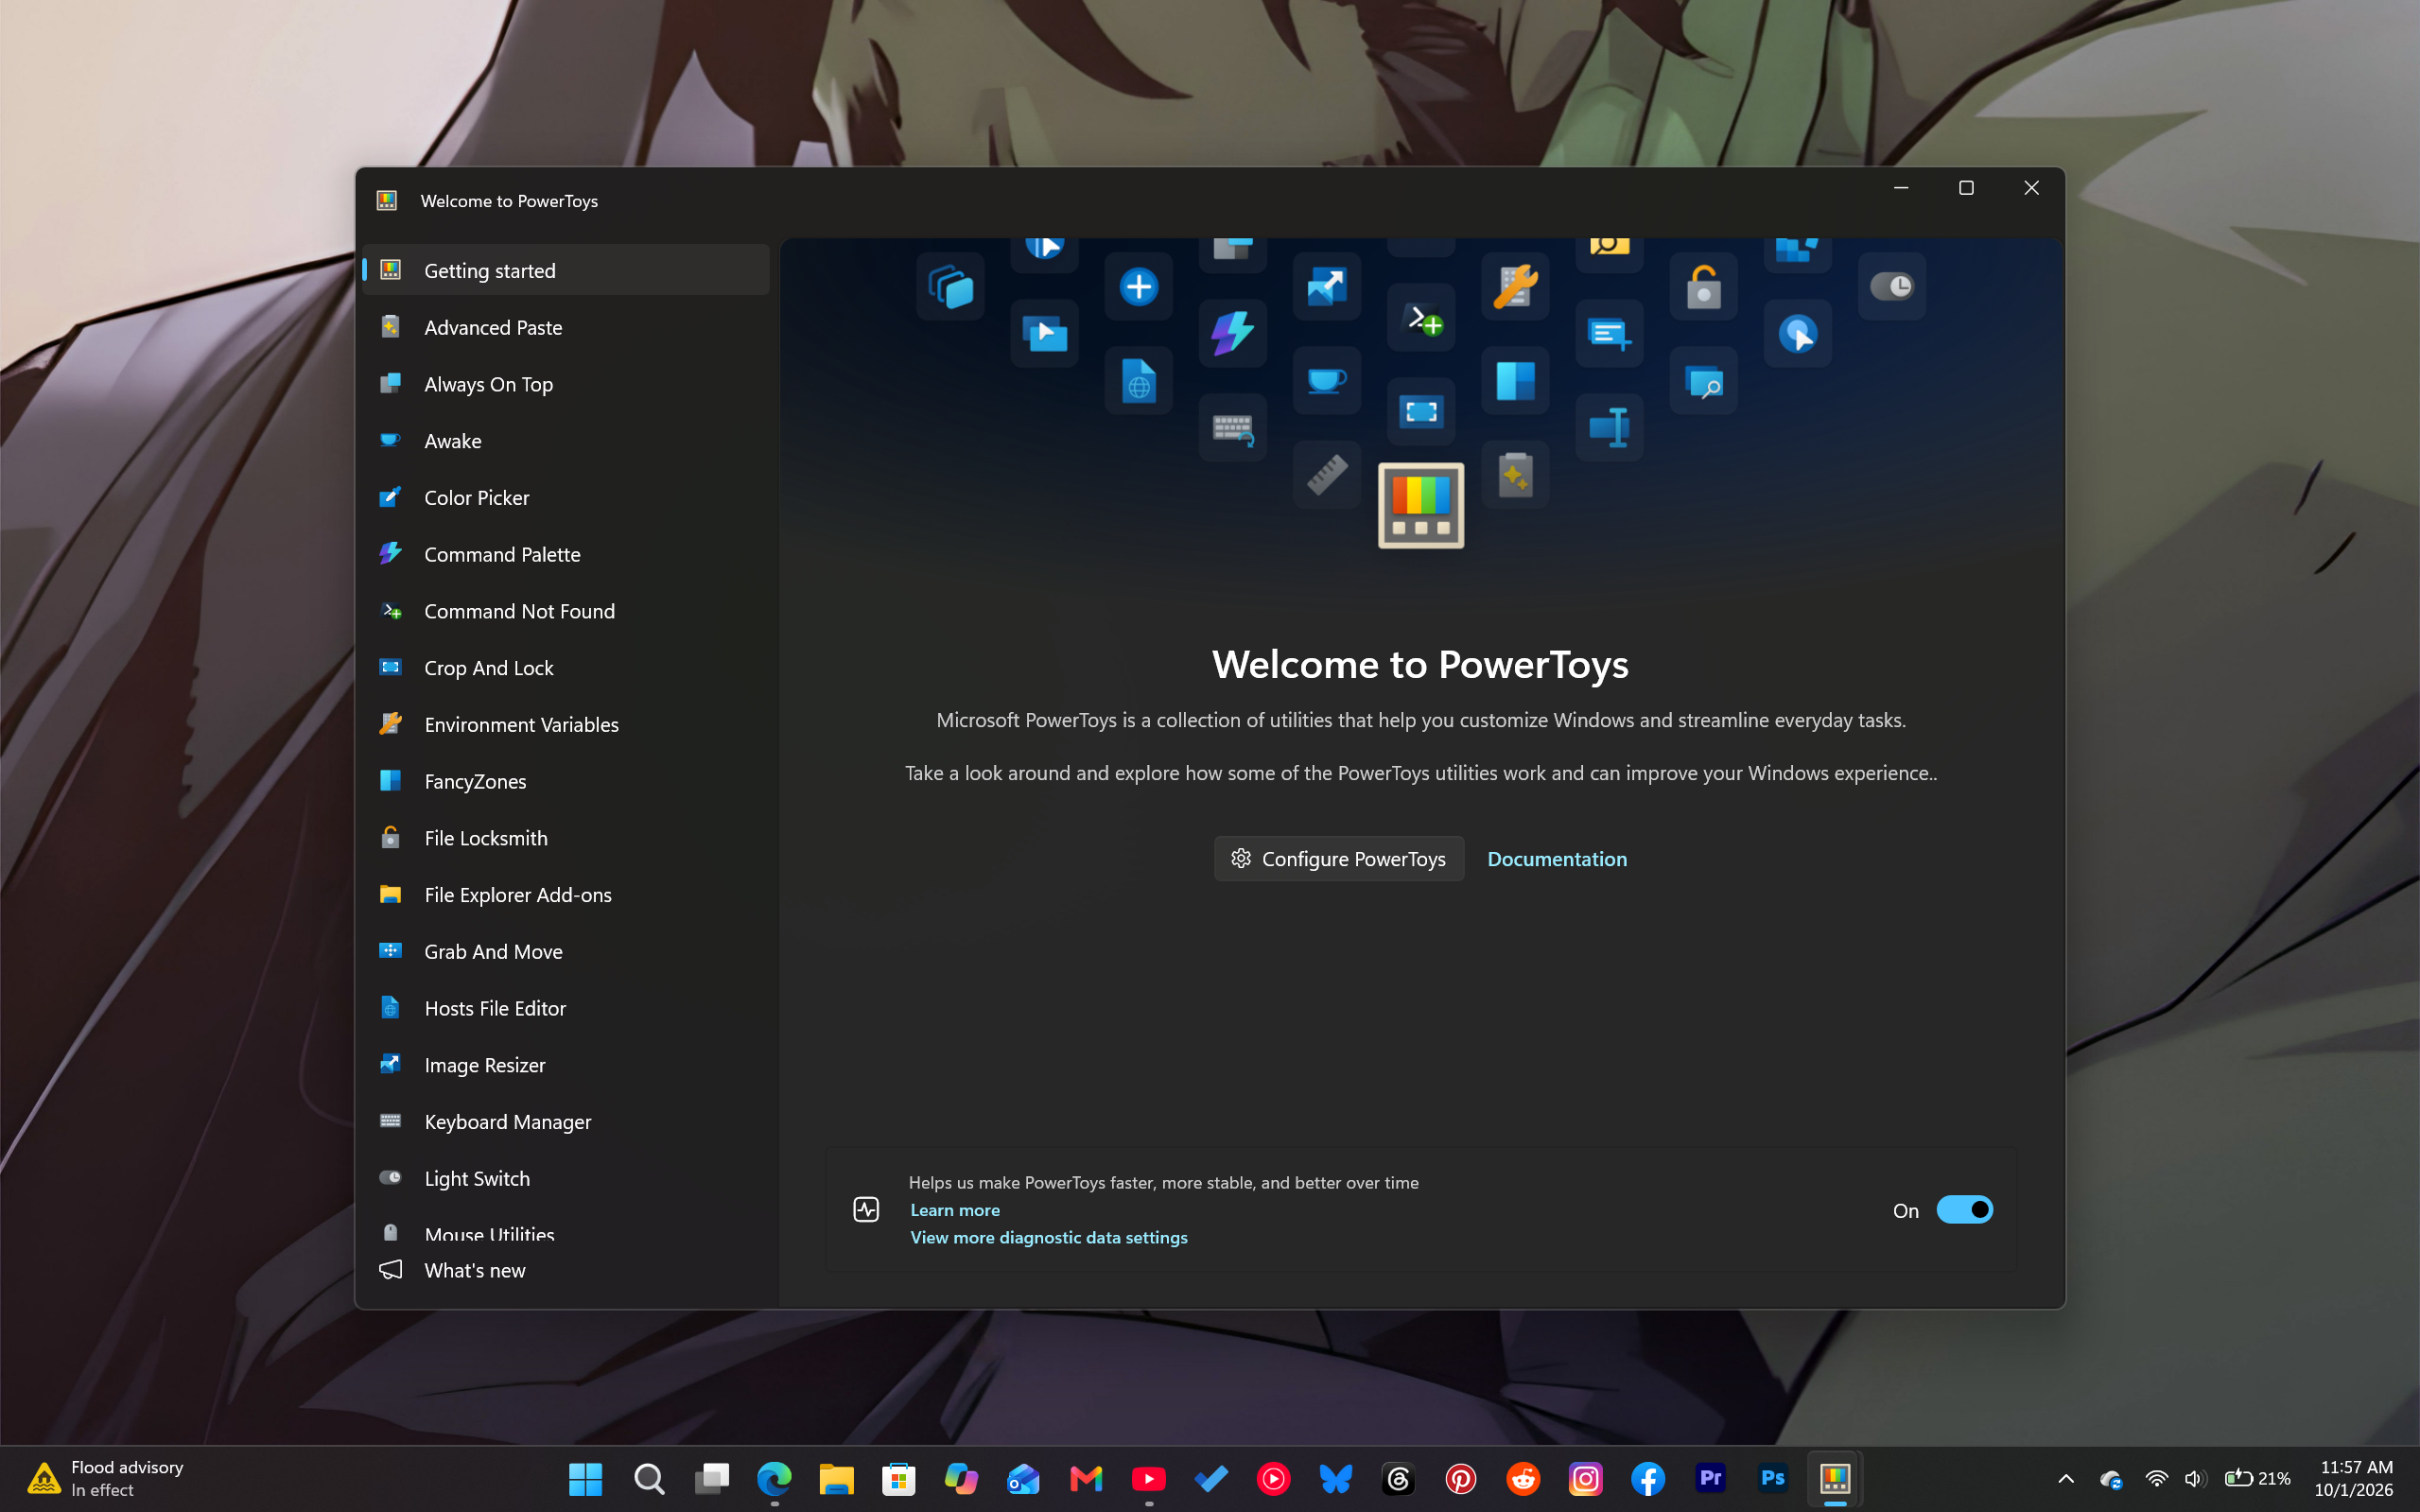
When thinking outside the box, grab Microsoft PowerToys from the Microsoft Store, open up Keyboard Manager, and get started on turning that eyesore of a button into a proper workflow shortcut.
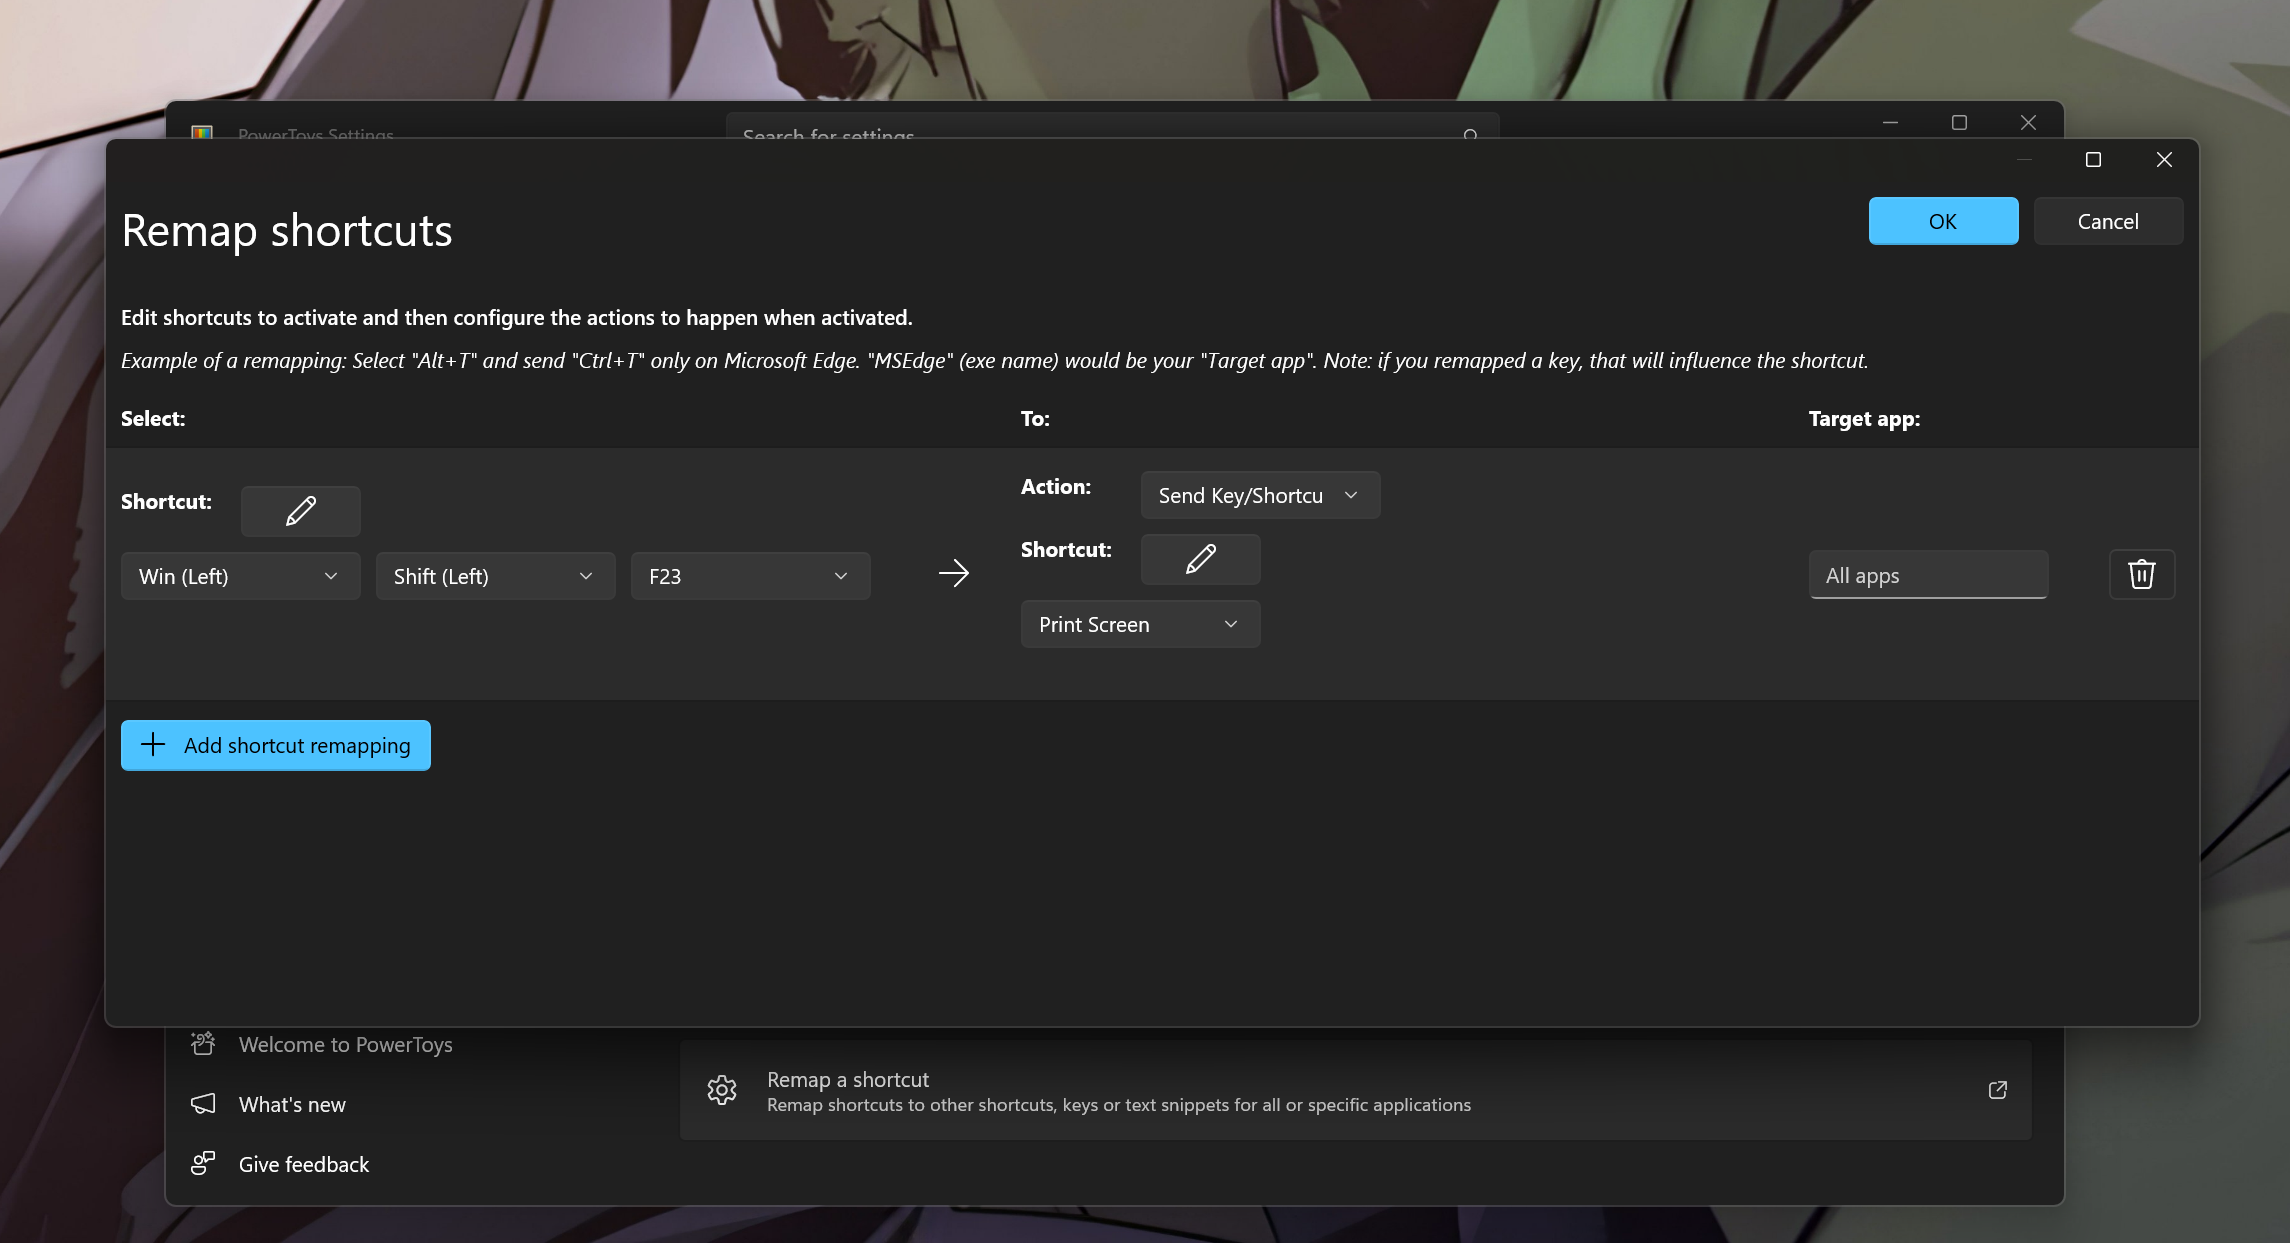
- Instant Screenshots: If your screenshot button is too high up on your keyboard deck or represented by a modern hieroglyphic you don’t entirely trust, map the Copilot button with Win + Shift + S to snag quick screen grabs with a new dedicated button that sits closer to your fingers.
- Clipboard History: Consolidate the number of buttons needed to recall (pun intended) your Clipboard history into a single command of Win + V; now equals the Copilot button. If you find yourself copying and pasting constantly throughout your day, the Copilot button just became your hero.
- Everything Search Launcher: If Windows built-in search still feels lacking, grab the Everything app by Voidtools to help beef up your experience. Point your Copilot button to Everything, and voilà! You’re in the future with a much more robust search experience on Windows.
- Mute Microphone: Most modern PCs come with some media controls, but yet again, they are normally located at the top of the keyboard if added at all. Now you can map the Copilot button to Win + Alt + K, which mutes your microphone in call apps that support Windows 11’s call mute, like Microsoft Teams, or to your video call app’s own mute shortcut, so you can cough or sneeze without scrambling for the on-screen button or a button high up on your keyboard deck.
How to use PowerToys Keyboard Manager to customize the Copilot key
- Install Microsoft PowerToys from the Microsoft Store or GitHub.
- Open PowerToys, select Keyboard Manager from the sidebar, and make sure it is turned On.
- Click Remap a shortcut (do not use the “Remap a key” selection)
- Under the Physical Shortcut column, click Select and press your physical Copilot key. It should read as Win + Shift + F23 on screen.
- Under the Mapped To Column, select your target action:
- Click OK in the top-right corner to save and apply the remap instantly.
- To map a system shortcut: Select Key/Shortcut and press the hotkey you want to send (e.g., Win + Shift + S for screenshots, or Win + V for clipboard history)
- To open a program: Set the action type to Start App and browse to the program’s executable file (e.g., point to wt.exe for Windows Terminal)
Best Custom Macros and Shortcuts to Replace Your Copilot Key
You don’t just have to map your Copilot key for work; there are some more playful ways to utilize the button.
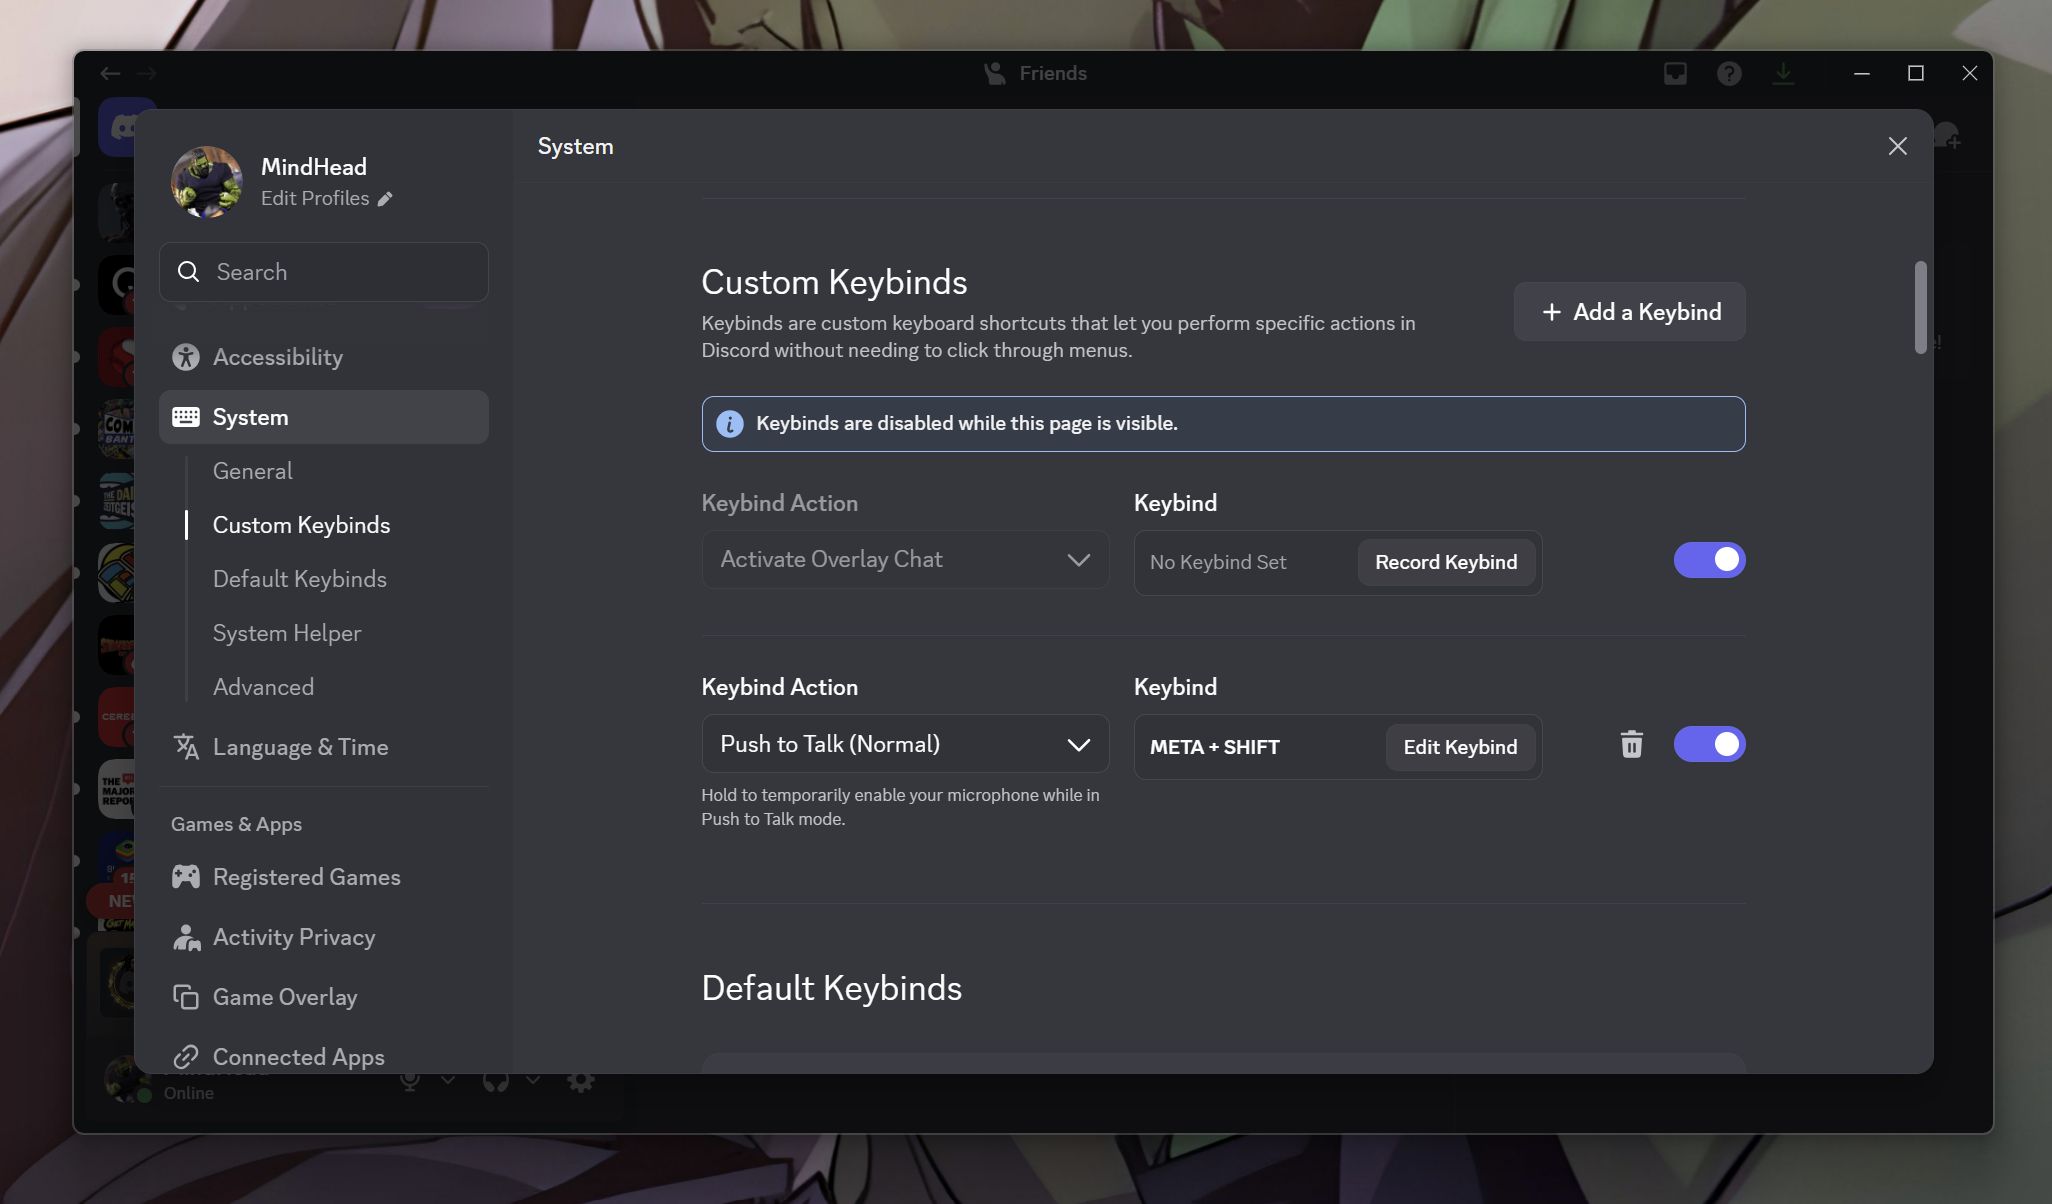
If you game on your setup, remap the key in Discord to act as your Push-to-Talk button or deafen toggle. You can also map it to Alt + F10 if you use Instant Replay in the NVIDIA app (ShadowPlay’s home since NVIDIA retired GeForce Experience), giving you an immediate physical button to save your craziest gaming moments.
- Open the app you want to configure (e.g., Discord, the NVIDIA app, or a PC game).
- Go to the app’s Keybinds or Controls settings page.
- Click to set a new keybind (e.g., for Push-to-Talk, Deafen, or Instant Replay Capture).
- Press the physical Copilot key. Since the key sends Win + Shift + F23, some apps, including Discord, won’t register it as a keybind. If that happens, remap the Copilot key to a spare key like F24 in PowerToys first, then press it here.
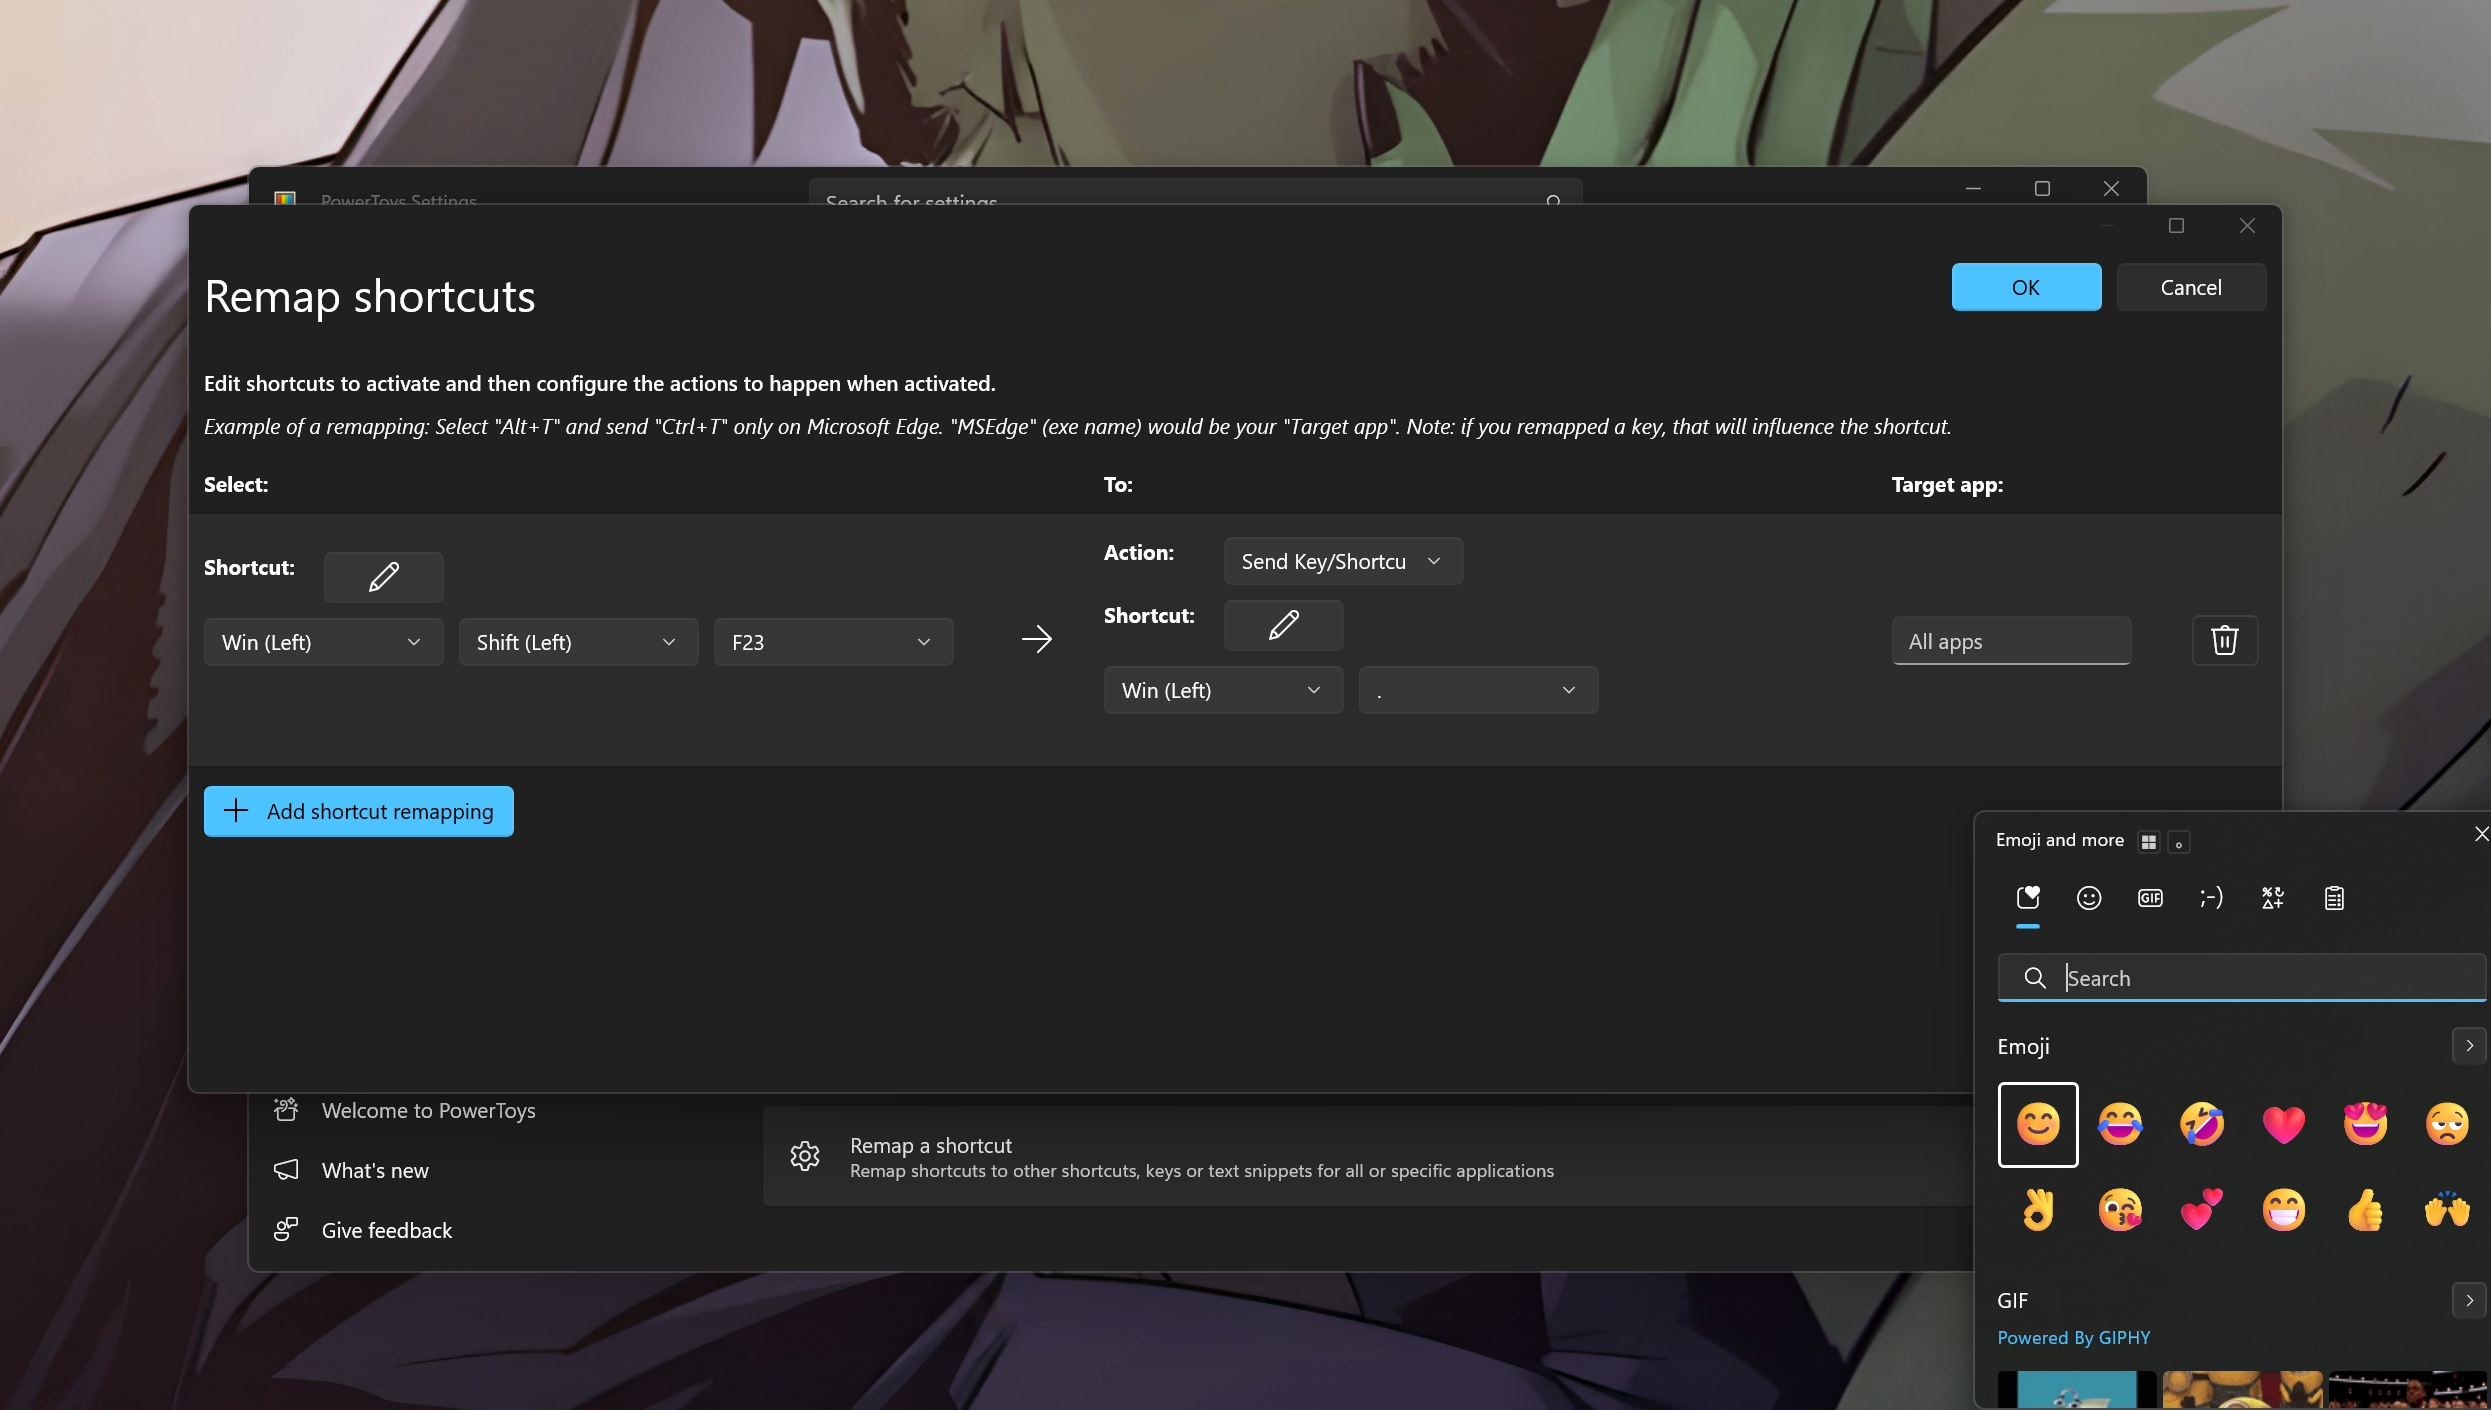
Another fun one is mapping it to Win +. (the native emoji and GIF picker).
Use Microsoft PowerToys
- Open PowerToys and click Keyboard Manager in the left sidebar.
- Click Remap a shortcut (not “Remap a key”).
- Under the Physical Shortcut column on the left, click Select (the pencil icon) and press your physical Copilot key. It will capture it on screen as Win + Shift + F23. Click OK.
- Under the Mapped To Column on the right, select Key/Shortcut from the dropdown, then click Select.
- Press Win +. (or Win + ;) on your keyboard to set the emoji picker hotkey. Click OK.
- Click OK in the top-right corner to save. Pressing your Copilot key will now immediately pop up the Windows emoji, GIF, and kaomoji picker.
I encourage you to mess around with PowerToys using the initial steps to map instructions to the Copilot key and see what sticks. Even if you just set the key to launch Sticky Notes, it beats having a dead branded key on your keyboard.
Funnily enough, if you do want the key to stay dead, even when clicked, a “Do nothing” option is expected in a future Windows 11 update.