


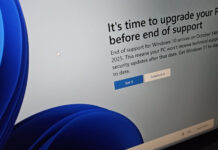
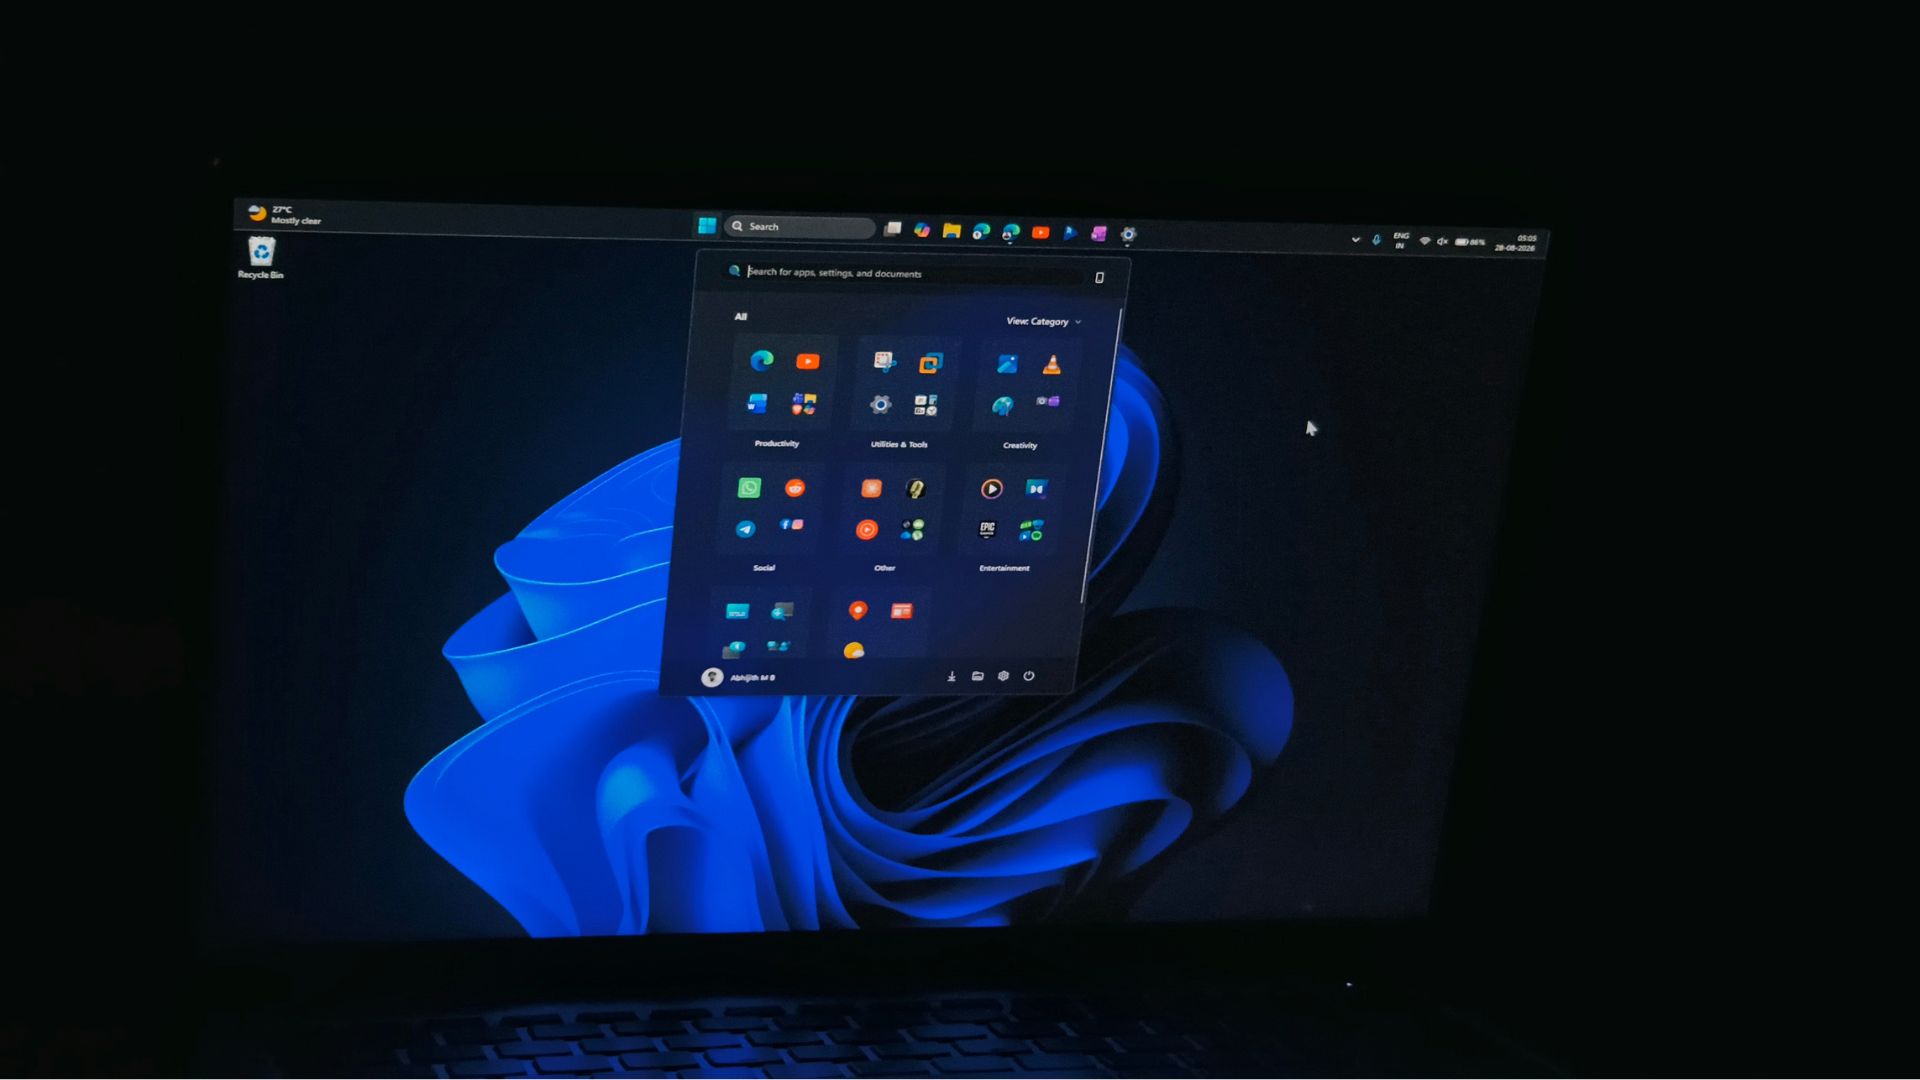
Windows 11’s August Optional update, KB5120998, is out, and it brings the taskbar to any side of your screen, a resizable Start menu, and a Windows Search that finally lets you turn off Bing. These are the three most-awaited changes in this update for all PCs. They have been in Insiders builds for some time now.
You can install KB5120998 today, but there is a good chance that these three features won’t show up right away. Microsoft gives the update to everyone, but the features are enabled in stages, and most people who install it will not see anything different at first. Fortunately, there is a safe way to force all three on right now.
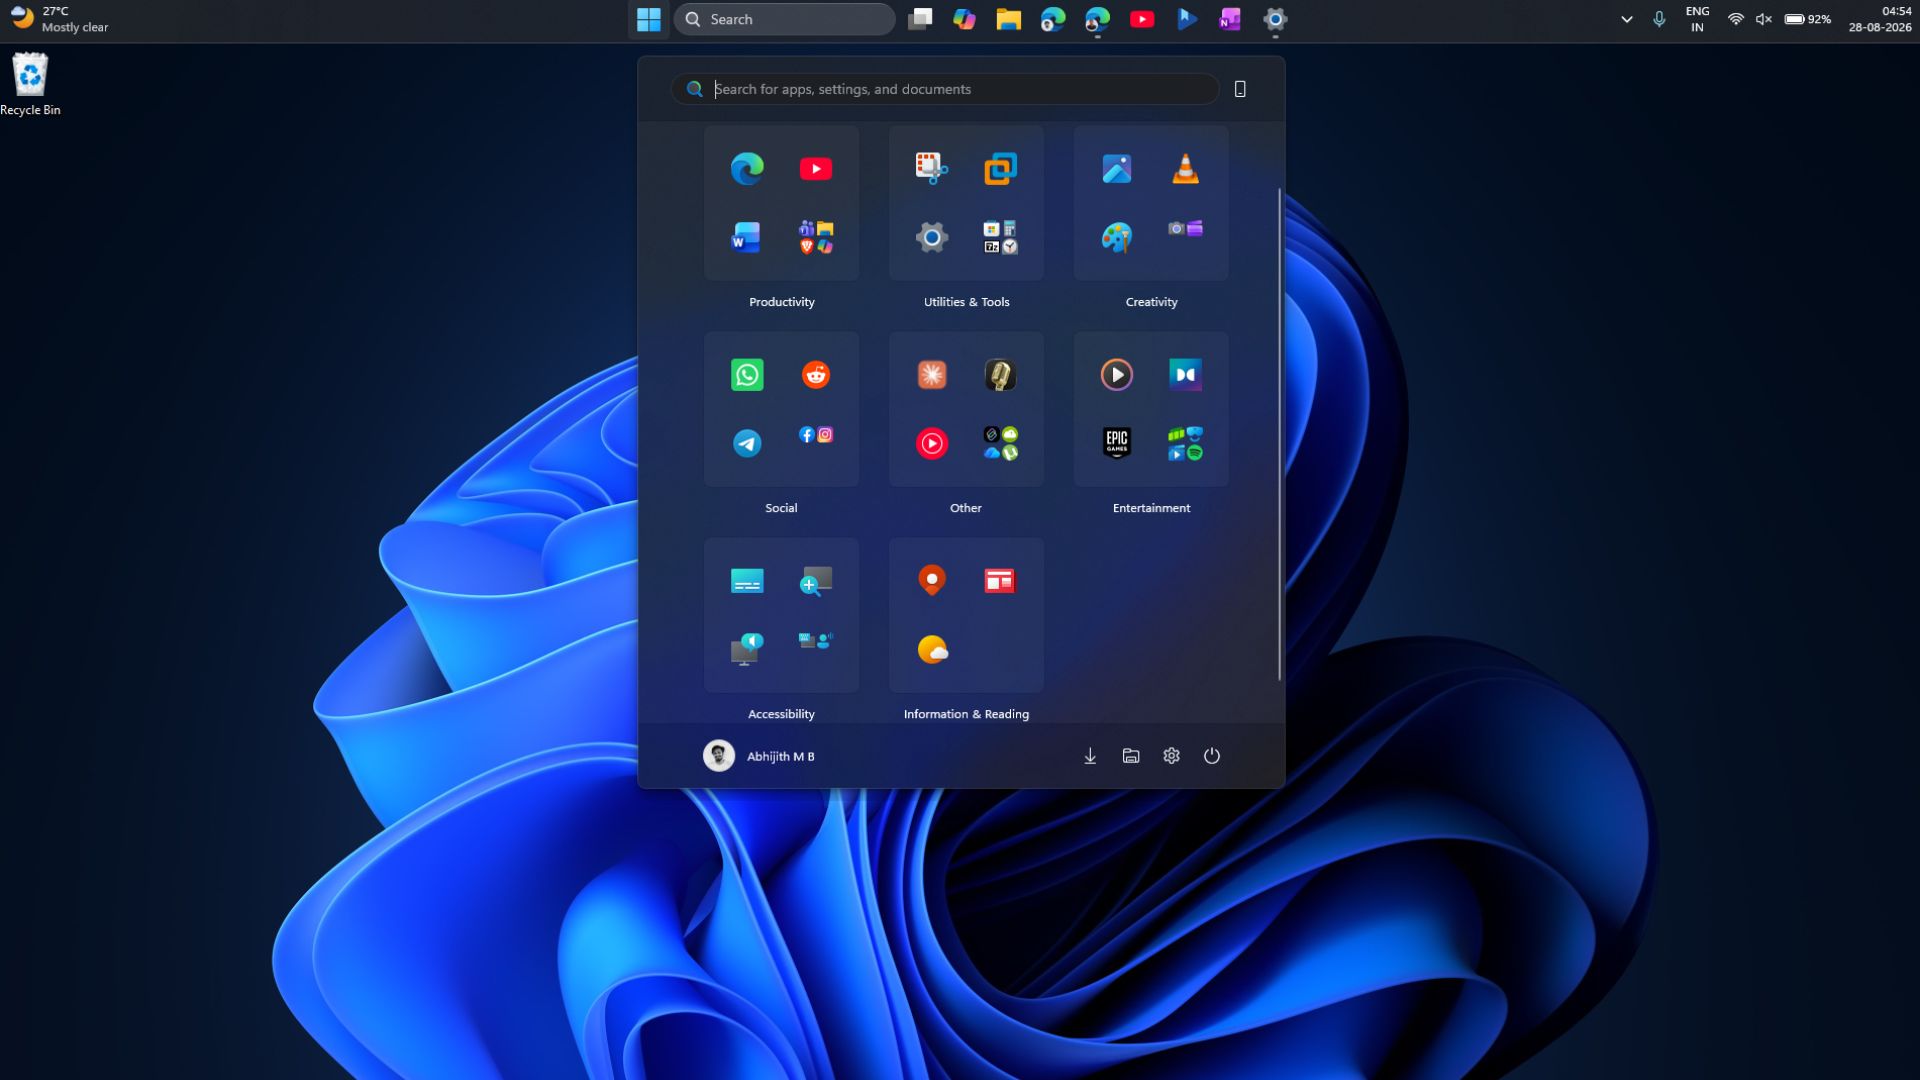
An optional update (preview update) is Microsoft’s way of testing new features on real PCs before bringing them into next month’s mandatory Patch Tuesday release. Installing it is voluntary, though. So, you can wait for that mandatory rollup, or install KB5120998 now and manually switch the features on yourself with a small tool called ViVeTool.
How to enable the big new features in the Windows 11 August Optional update
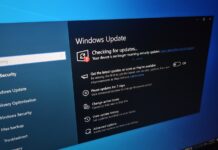
Start by installing KB5120998. Go to Settings > Windows Update and click Check for updates, then click the Download & install button next to the 2026-08 Preview Update.
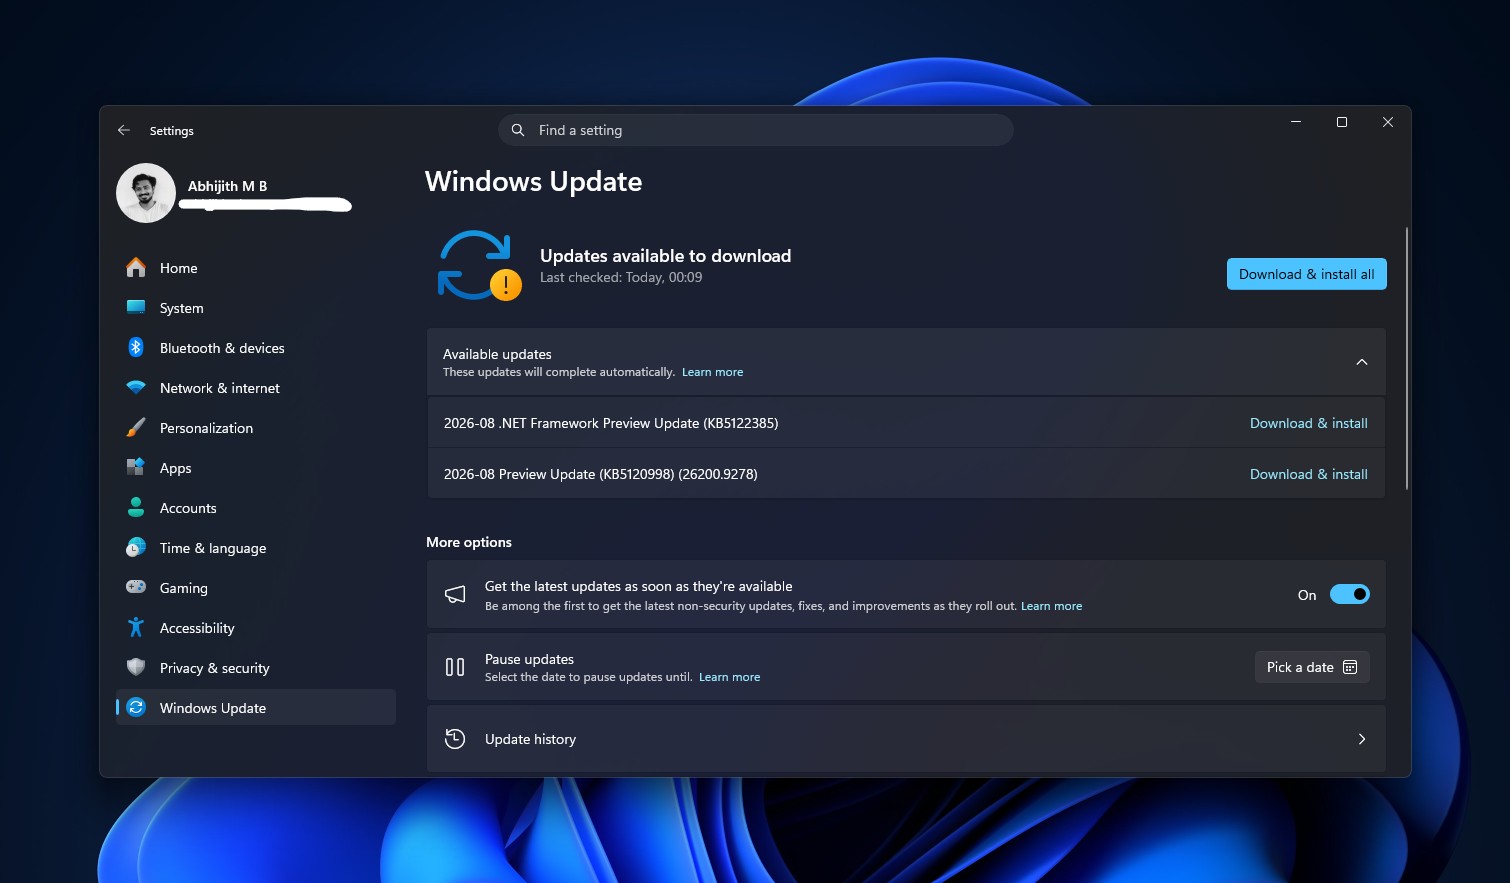
You can also grab the offline .msu installer directly from our KB5120998 coverage if Windows Update is not offering it yet. Restart once it finishes.
After rebooting, check Settings > Personalization > Taskbar > Taskbar behaviors and Settings > Personalization > Start. If you see a Taskbar position option or a Start menu size dropdown, the feature has already reached your PC, and you can skip straight to the sections below.
However, the chances are that you may not see anything new yet, and that is expected.
Microsoft ships new Windows features through Controlled Feature Rollout, or CFR. The code for all three features is already on your PC as soon as KB5120998 finishes installing, but Microsoft keeps it switched off remotely for most devices while it watches for crashes and bug reports from the first wave of PCs.
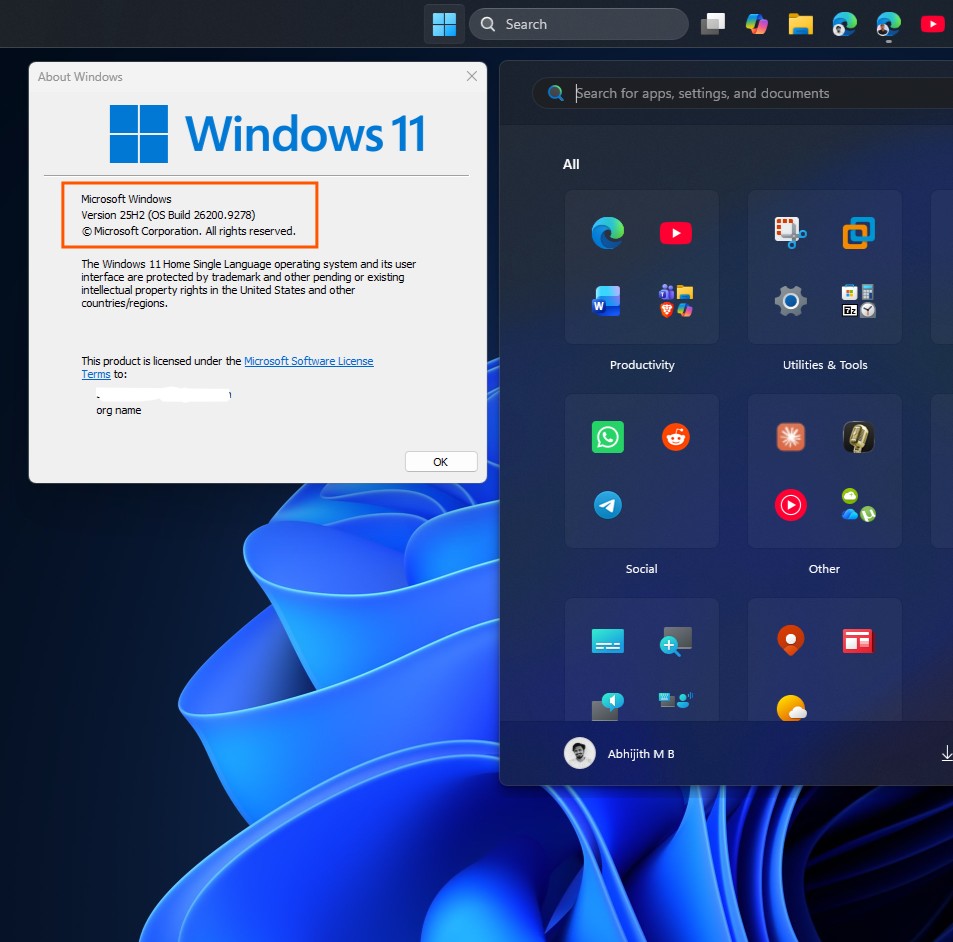
Your device has the feature. Microsoft just has not flipped the switch for you yet. Now, we will tell you how to manually switch these features on.
How to install ViVeTool
ViVeTool is a small, free command-line tool that allows you to flip those switches instead of waiting for Microsoft’s server to do it. It only changes feature flags already built into Windows. It does not install anything hidden or alter your data, and everything it changes can be reversed the same way it was enabled.
- Download the latest ViVeTool release from its official GitHub page. Grab the ViVeTool-v0.3.4-IntelAmd.zip file if your PC runs an Intel or AMD chip, or the Snapdragon version if you have a Copilot+ PC on Arm.
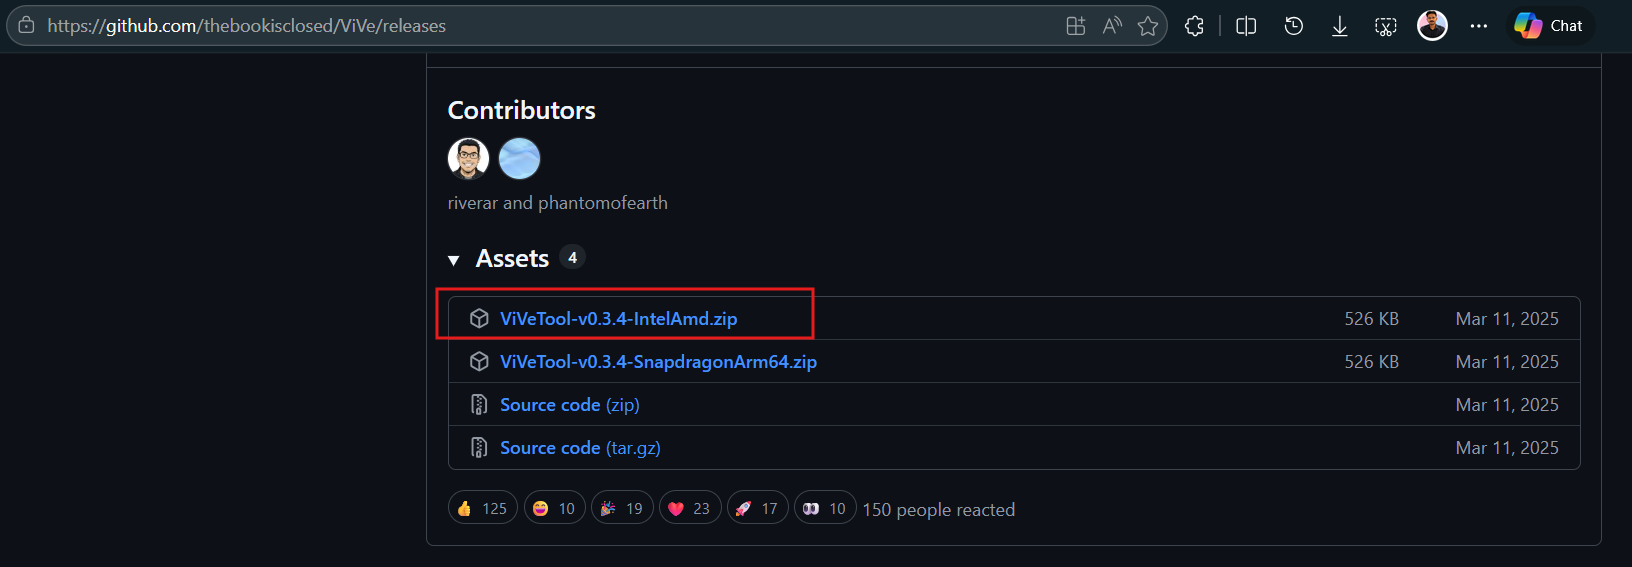
Download ViVeTool. Credit: Windows Latest - Right-click the downloaded zip file and choose Extract All, then pick a simple location like C:\ViVeTool.
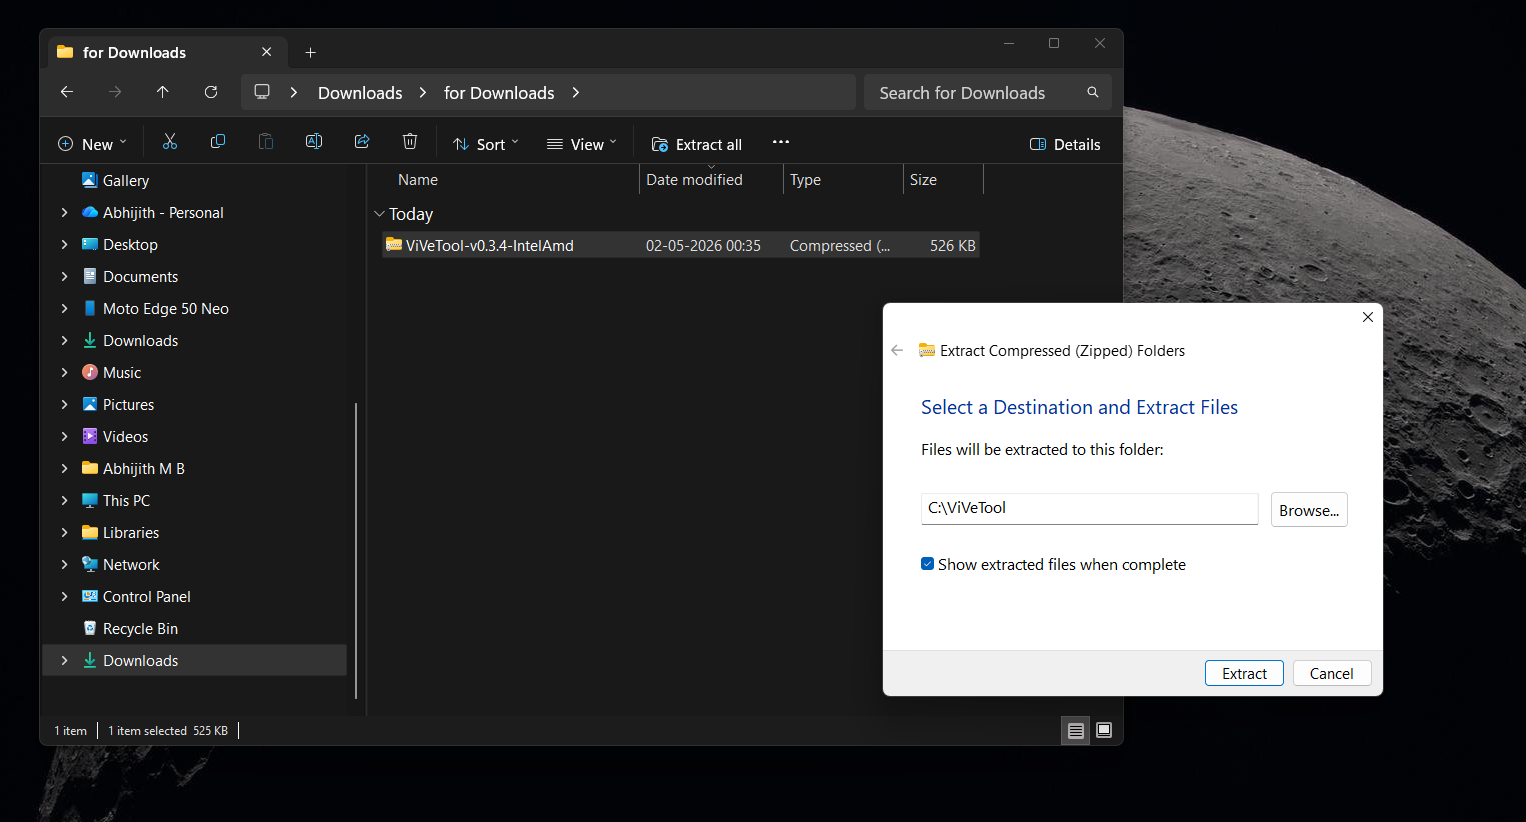
Extract ViVeTool .zip to C drive. Credit: Windows Latest - Open the Start menu, type cmd, right-click Command Prompt, and choose Run as administrator.
- Type cd C:\ViVeTool (or wherever you extracted the files) and press Enter to move into that folder. Do this first every time you want to use ViVeTool.
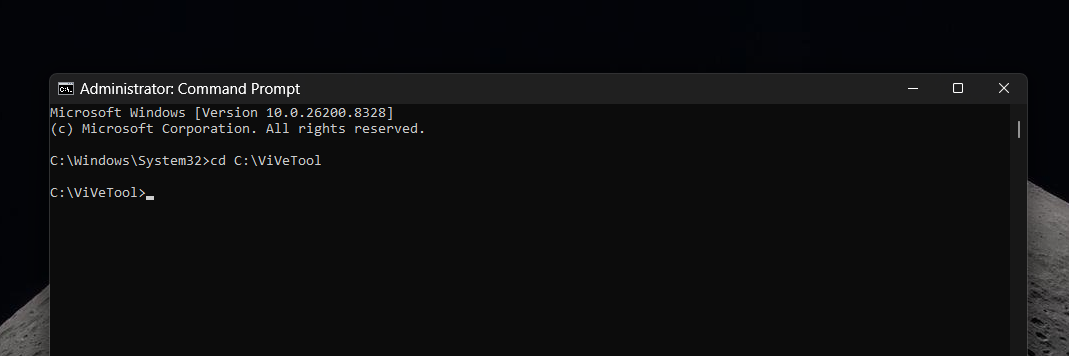
ViVeTool in Command Prompt. Credit: Windows Latest
ViVeTool ID to enable all features at once in August Optional update
Usually, there are ViVeTool IDs for each feature, but here we have one master ID that switches on the whole bundle from this update in a single command.
So, after doing Step 4 from above, type this and press Enter:
vivetool /enable /id:61161244
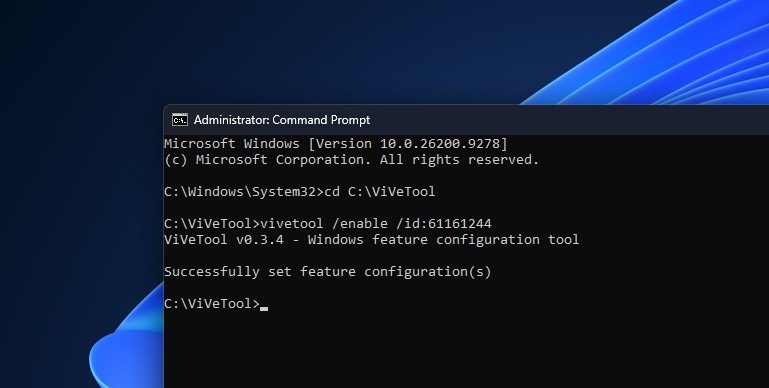
You will see it say “Successfully set feature configuration(s)”. Now, we’ll normally ask to restart your PC. However, this ID may not be enough to enable all features, so before you restart, copy-paste the following prompt as well:
vivetool /enable /id:62353331,62762248,61754985
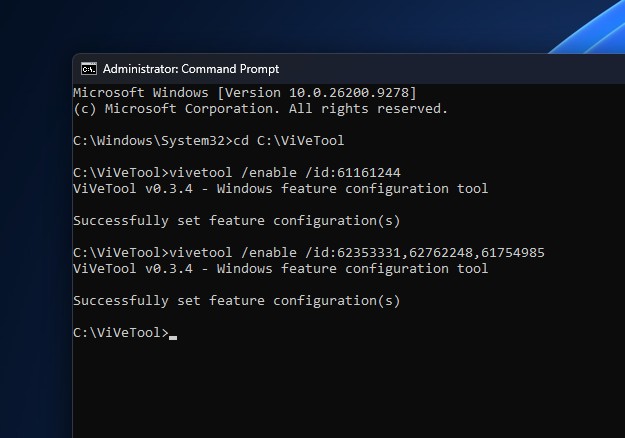
Note that feature IDs correspond to specific builds and can stop working once Microsoft adds a feature permanently into Windows. But for now, you can disable it too by typing disable instead of enable in the above prompt.
How to move and shrink the Windows 11 taskbar
Once the feature is active, either from CFR reaching your PC or from the ViVeTool command above, Windows 11’s taskbar can finally move for the first time since the OS launched in 2021.
Before the update:
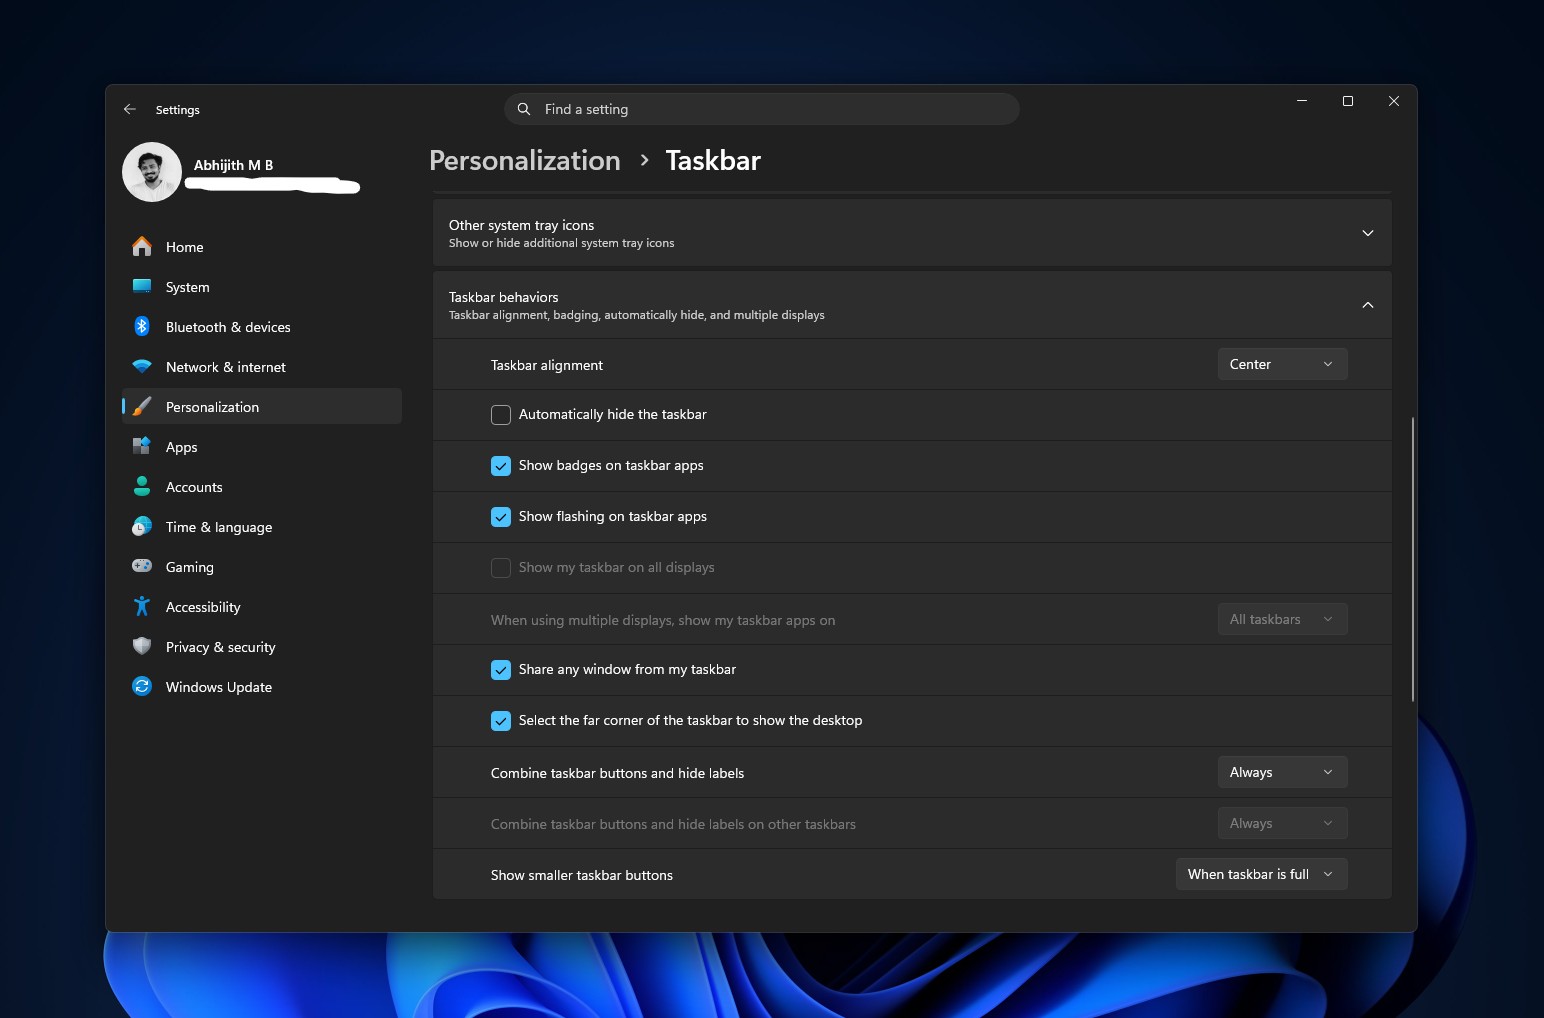
After the update:
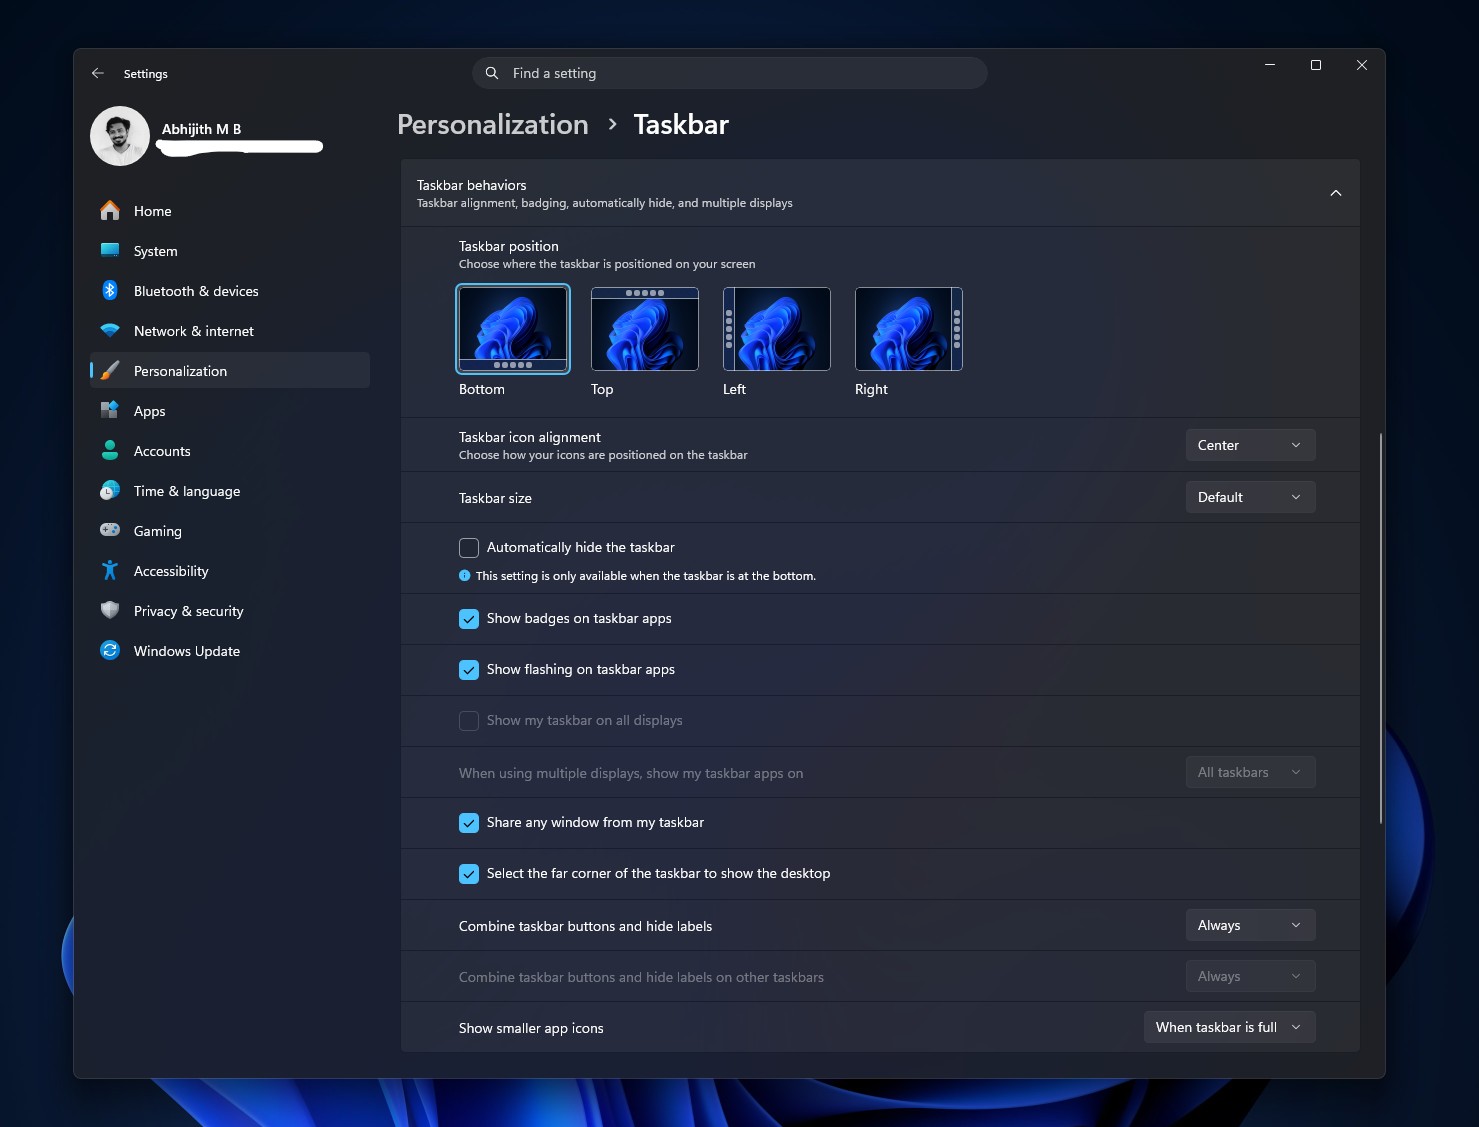
- Go to Settings > Personalization > Taskbar > Taskbar behaviors.
- Under Taskbar position, pick Left, Top, Right, or Bottom.
- Under Taskbar size, switch from Default to Small if you want a slimmer bar in addition to repositioning it.
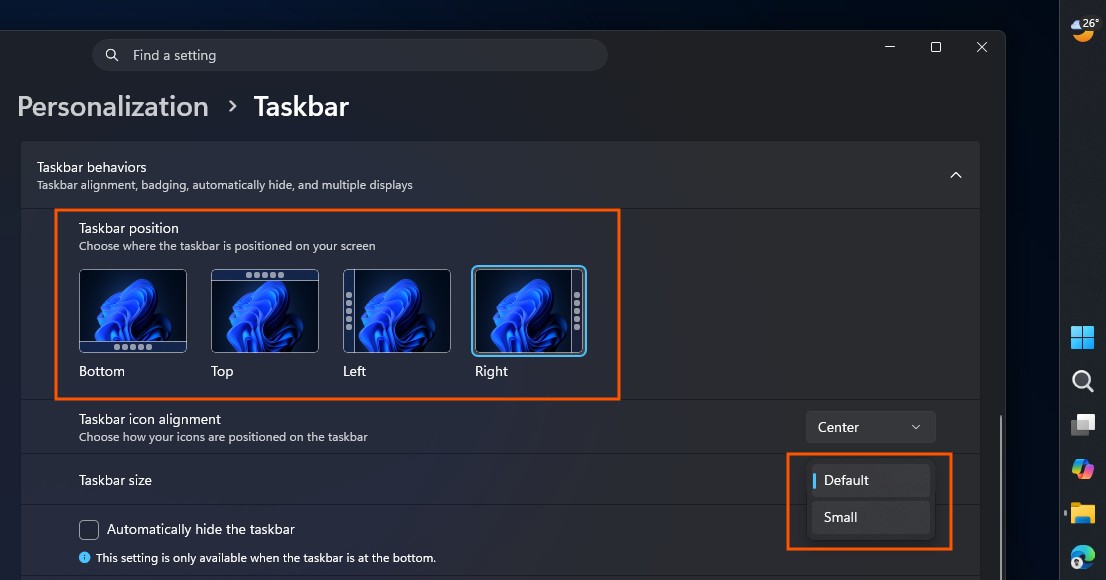
Search box and the smaller taskbar variant only work when the taskbar stays at the top or bottom for now, so moving it to a side drops those two options until Microsoft extends support later. Icon alignment options adjust automatically based on where you place the bar, and animations, tooltips, and flyouts all follow the new position correctly.
Either way, I have now switched to a smaller vertical taskbar, and this is my identity now!
How to resize and customize the new Windows 11 Start menu
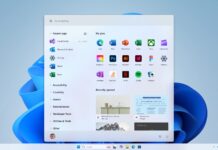
The Start menu changes get rid of a complaint Windows Latest has been raising since November, where the redesigned Start menu could eat up to 70 percent of the screen on smaller laptops.
Before the update:
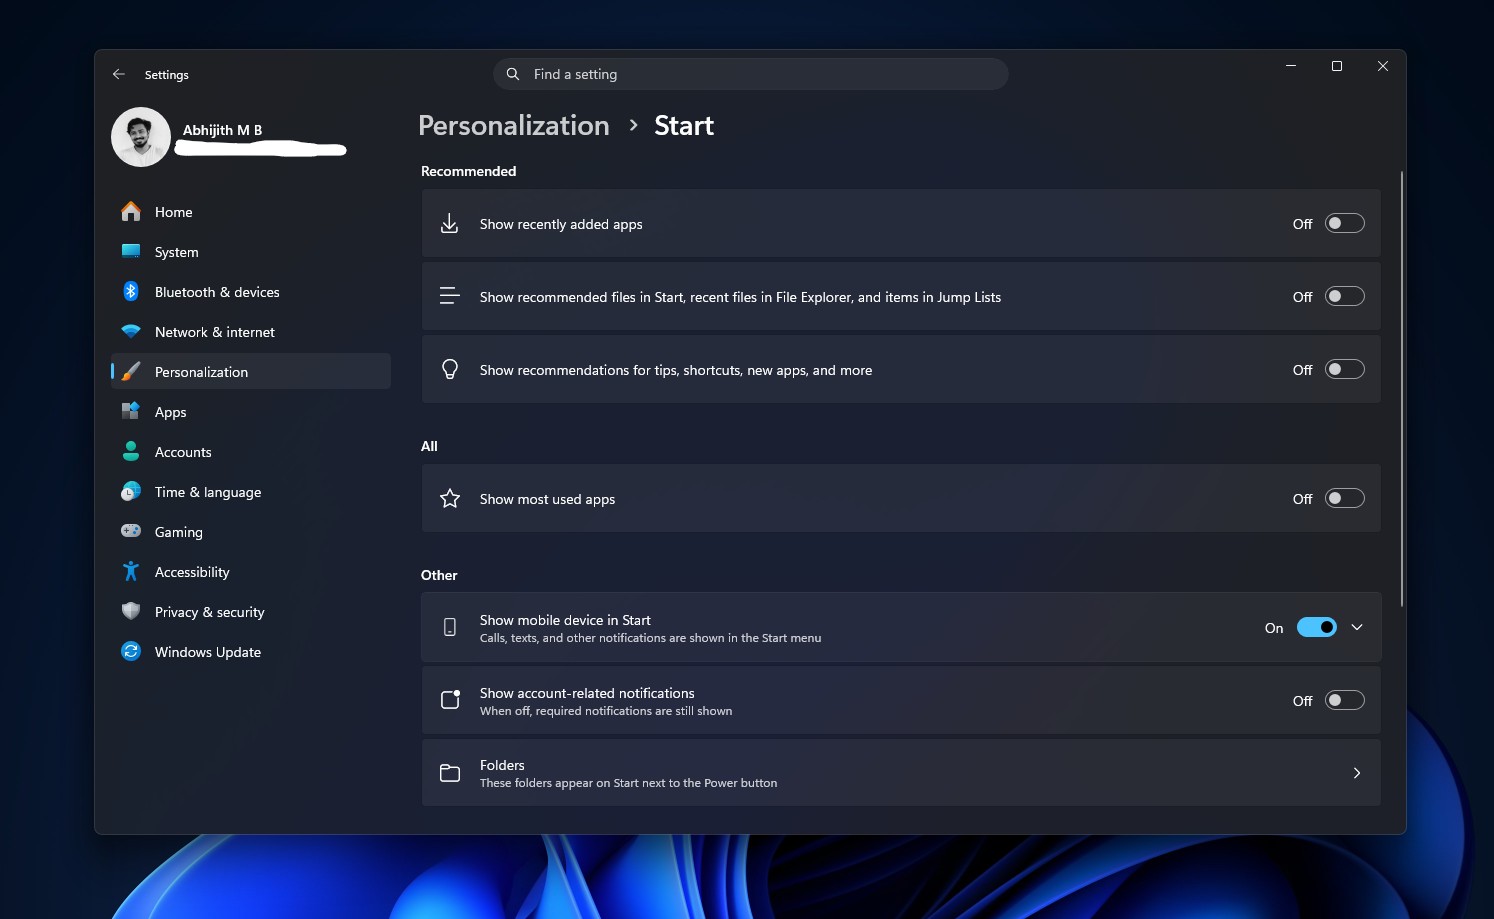
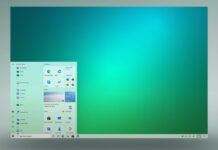
After the update:
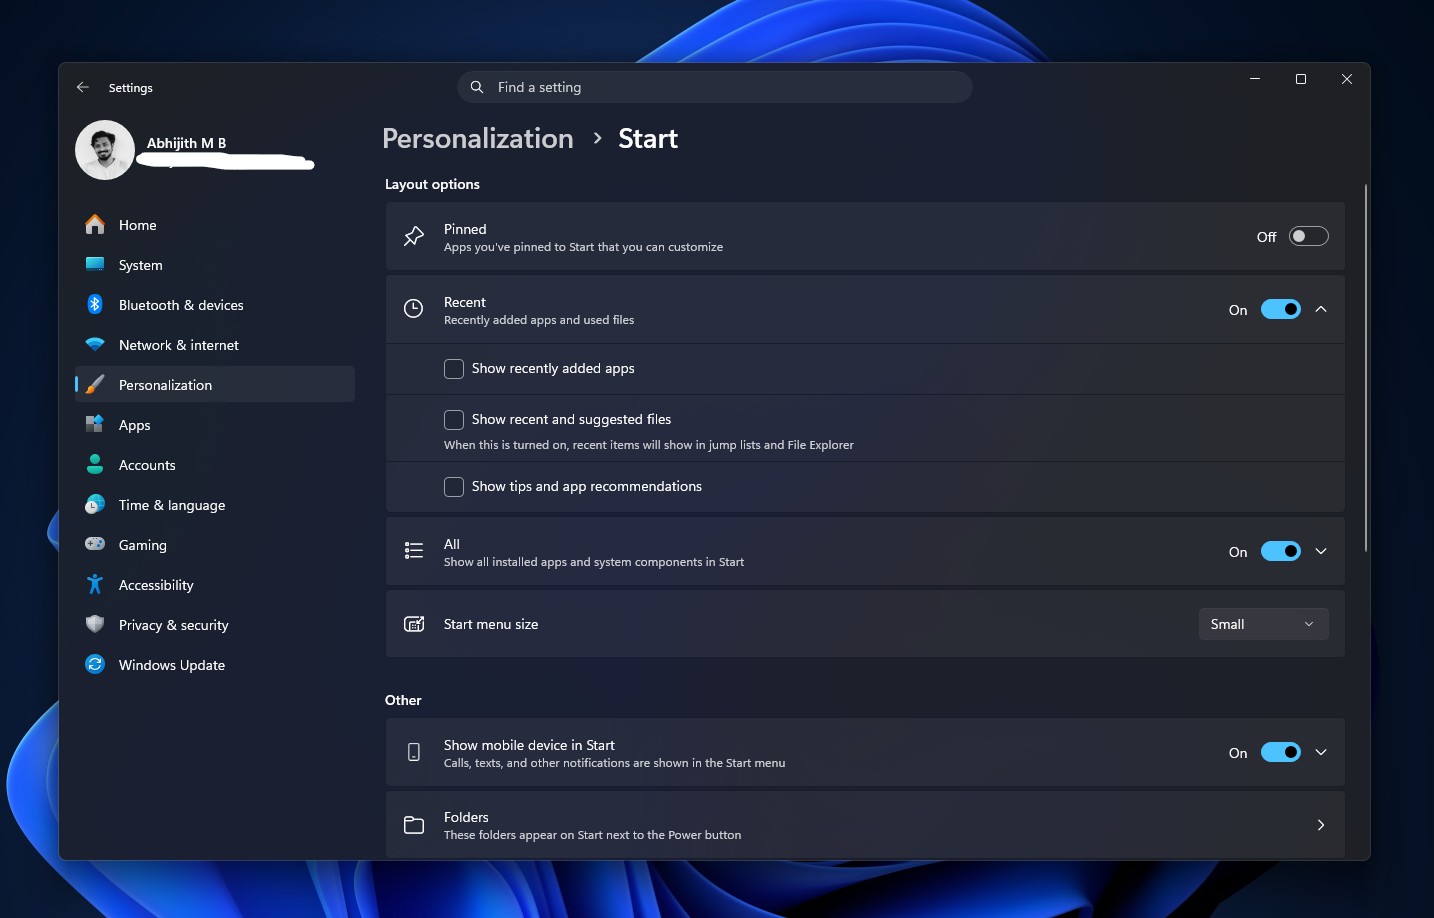
- Go to Settings > Personalization > Start.
- Use the Start menu size dropdown to switch between Automatic, Small, and Large.
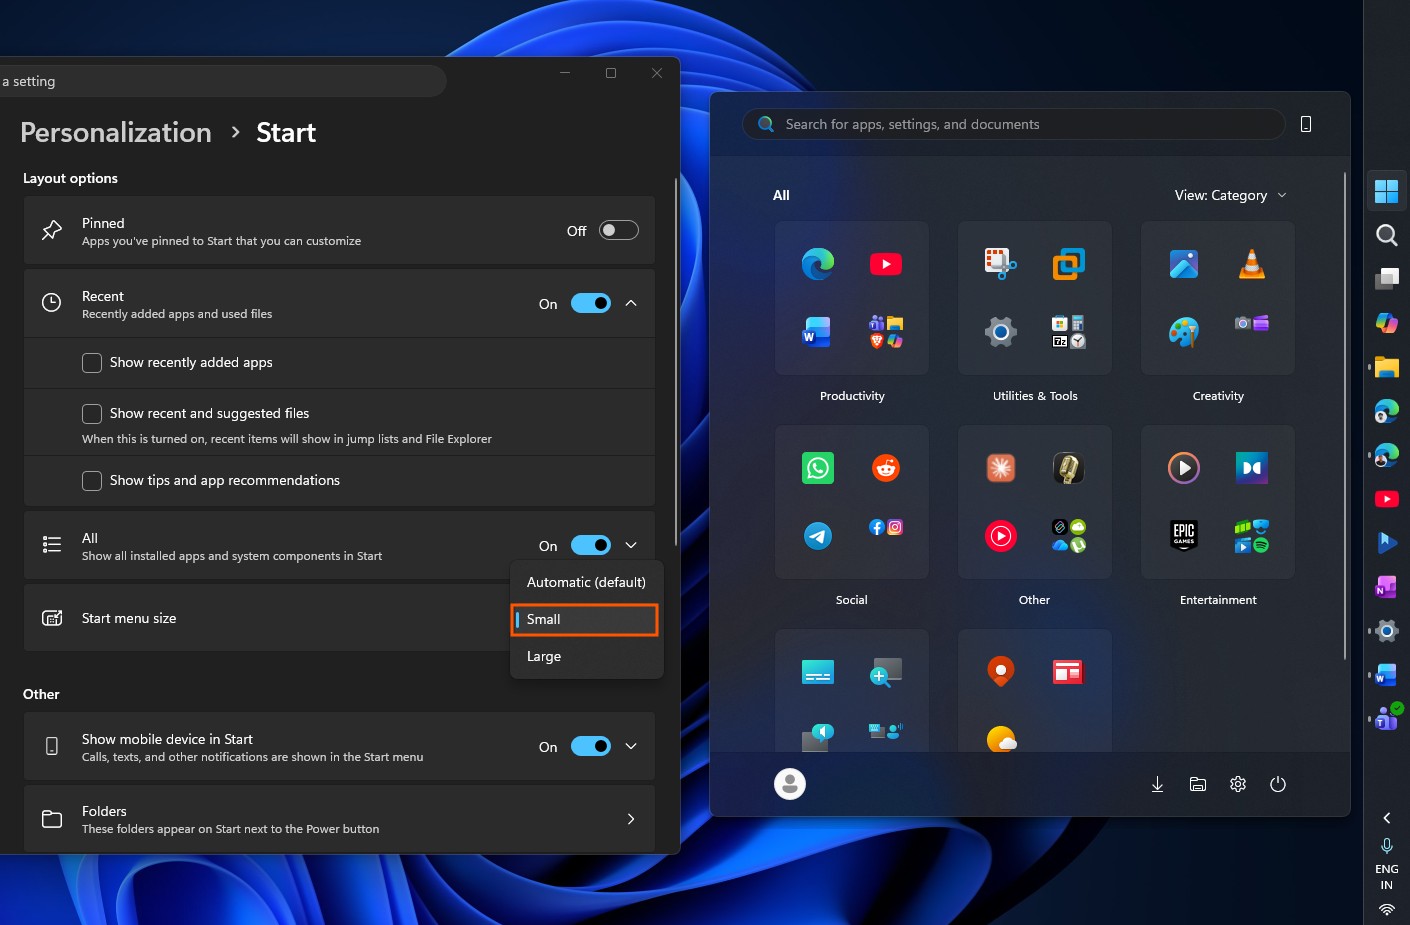
How to make Start menu smaller in Windows 11. Credit: Windows Latest - You can toggle Pinned, Recent, and All independently according to your wish to show or hide each section.
- Turn on Hide your name and profile picture on Start if you stream, screen share, or record your desktop often and want to hide your identity.
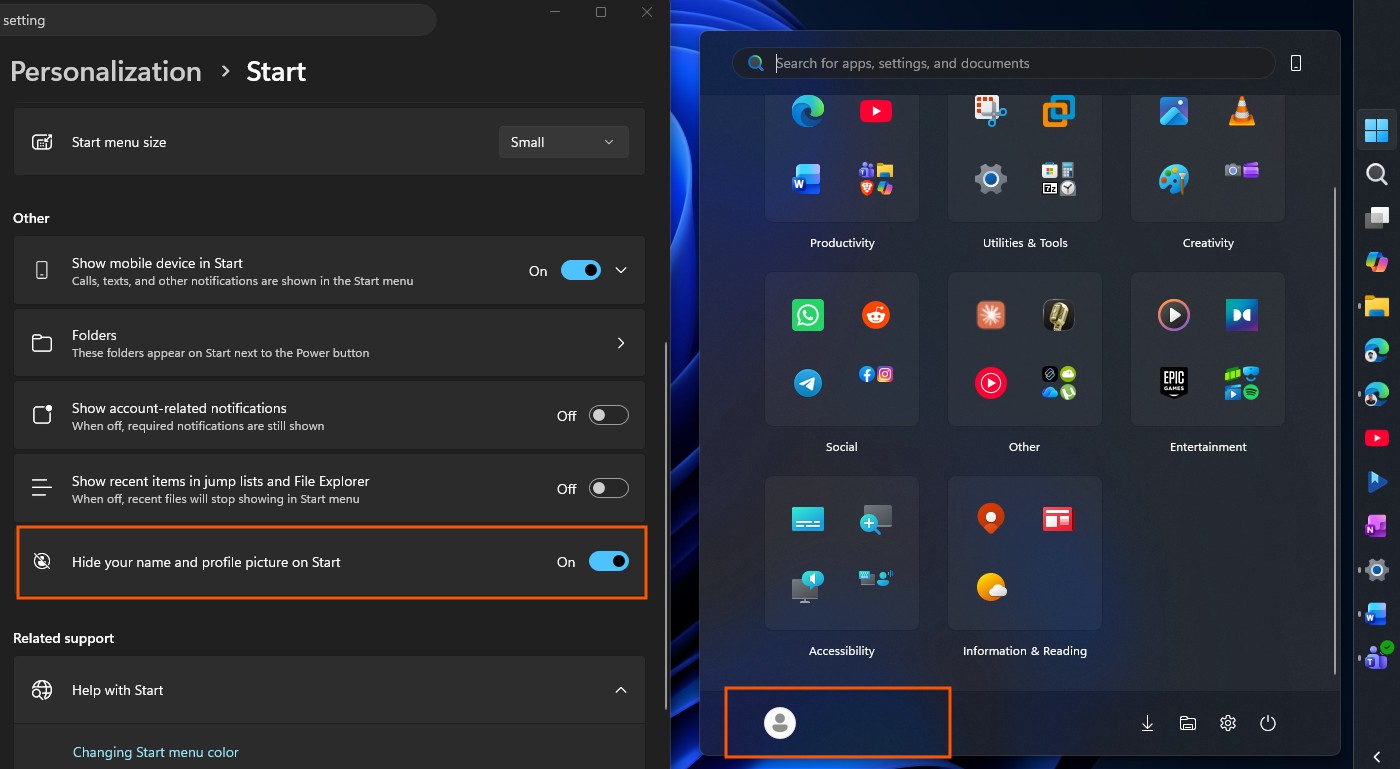
How to hide name and profile picture on Start menu. Credit: Windows Latest
The Recommended section has also been renamed to Recent everywhere in Settings and the Start menu, and Microsoft has decoupled it from File Explorer’s jump list history. Turning off Recent in Start no longer wipes out your recent files list in File Explorer, which used to happen as an unrelated side effect.
How to turn off Web Searches and the Microsoft Store results in Windows Search
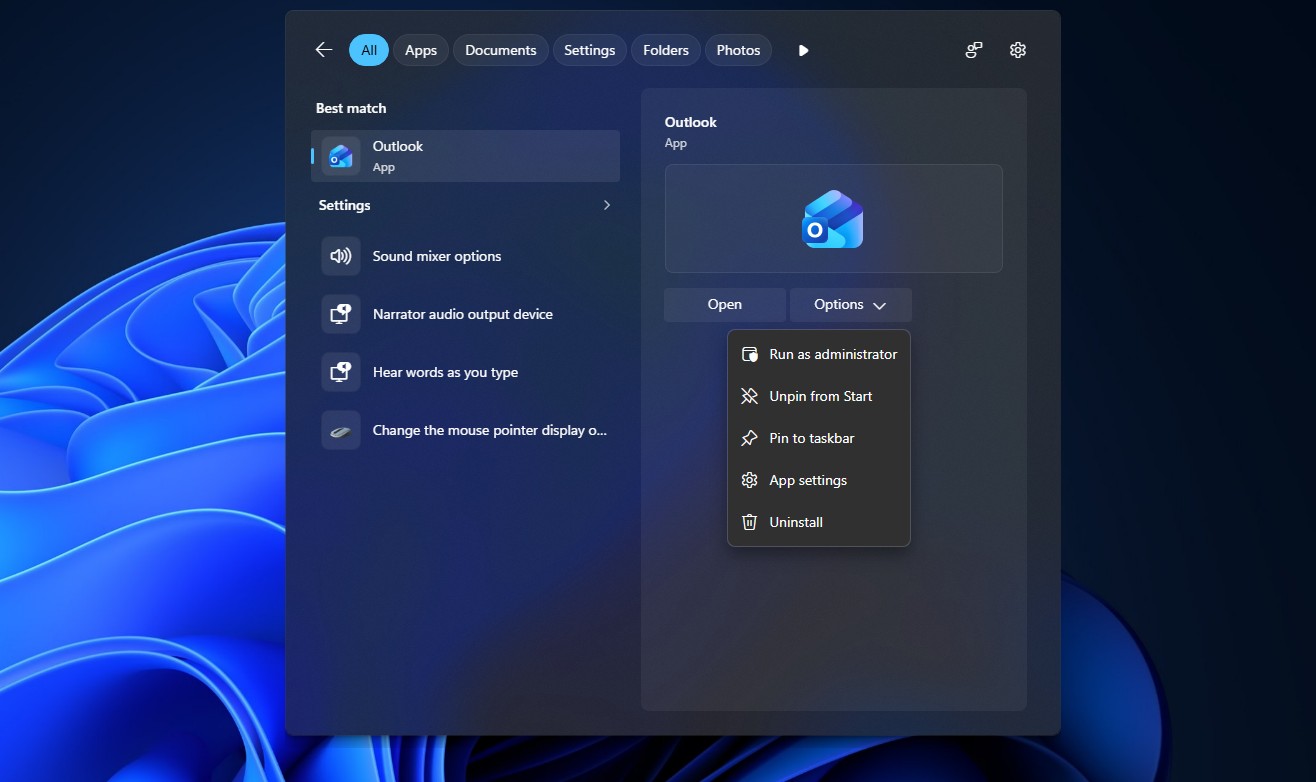
The Bing and Store toggle alone is worth installing the update for. Windows Search can now run without web results or Store suggestions cluttering what you searched for, showing only your own apps, settings, and files.
Before the update:
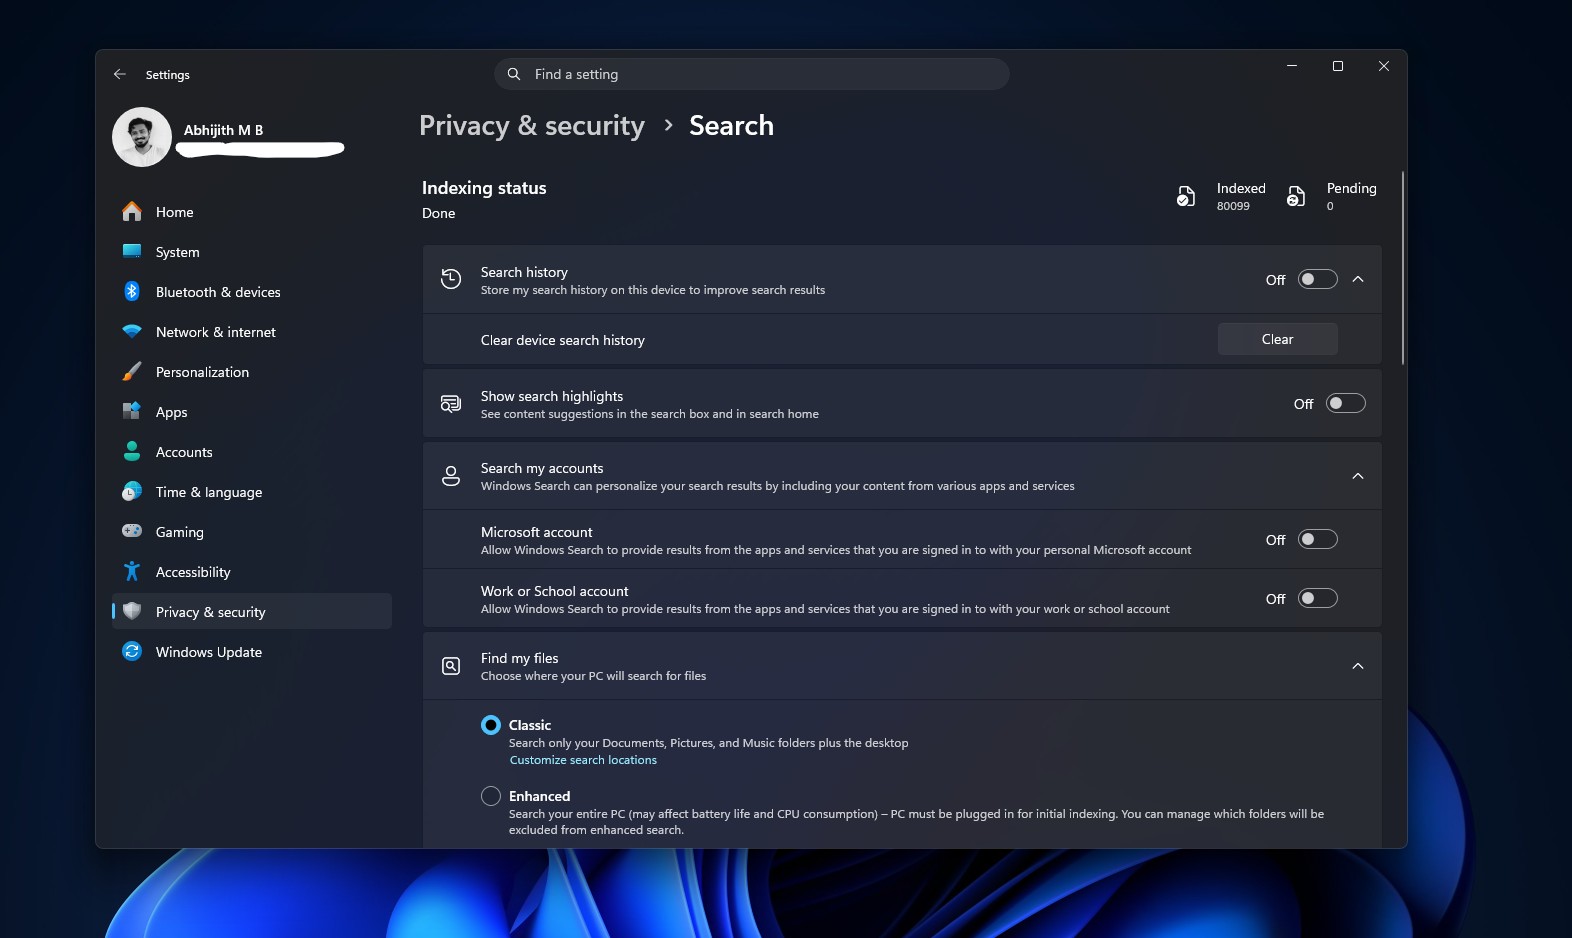
After the update:
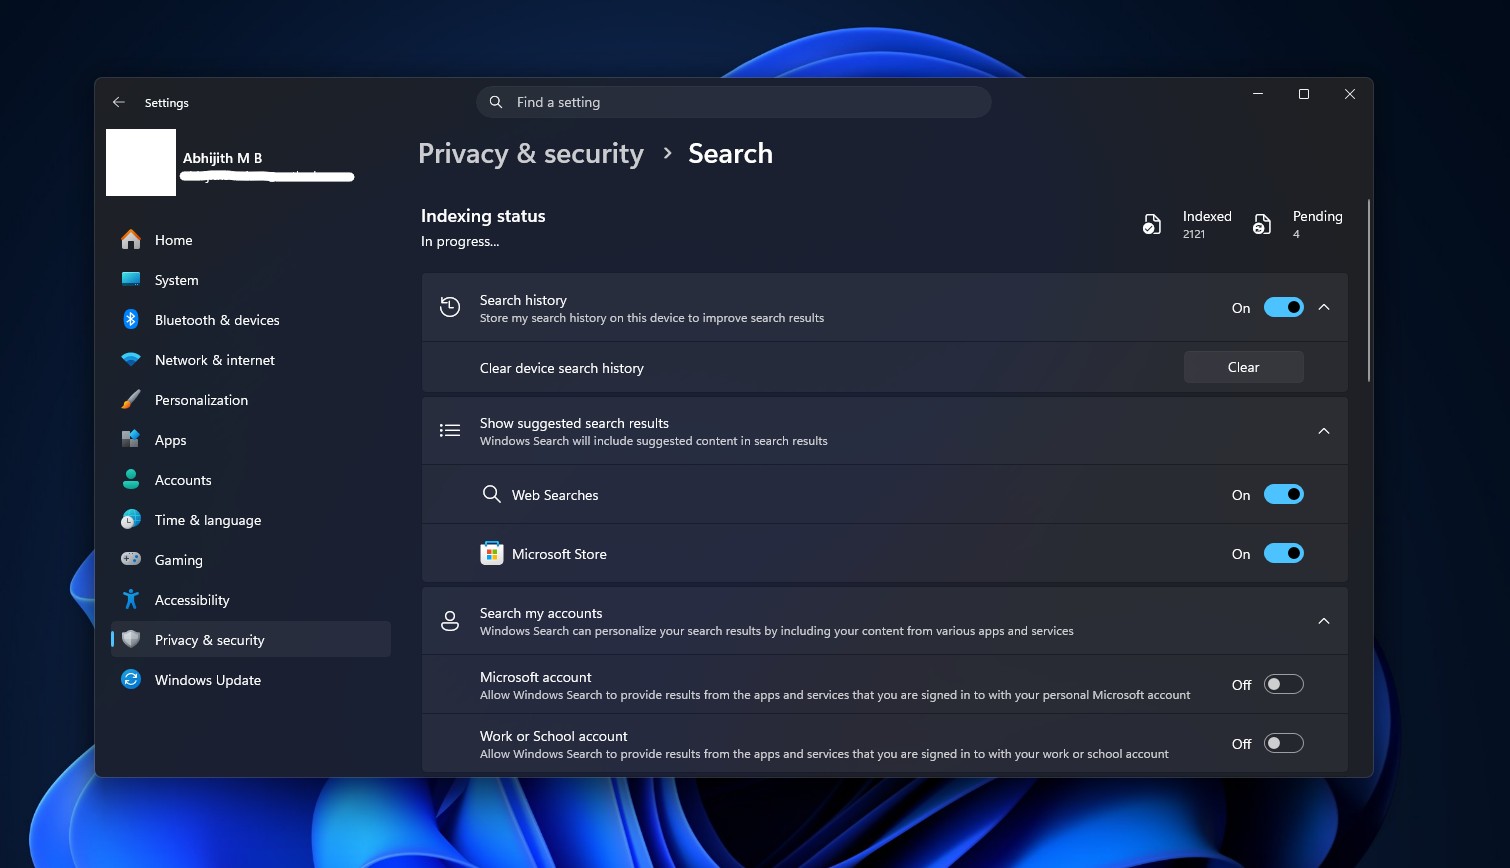
- Go to Settings > Privacy & security > Search.
- Find Show suggested search results and expand it.
- Turn off Web Searches to stop Bing results from appearing in Search.
- Turn off Microsoft Store to stop app suggestions from showing up alongside local results.
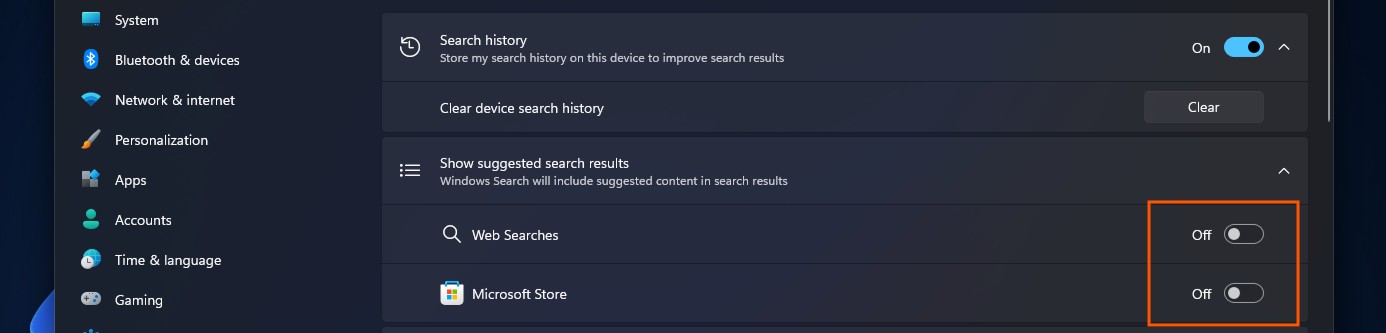
How to turn off Bing and Store results in Windows Search. Credit: Windows Latest
With both toggles off, Search only returns what exists on your PC, and queries with no local match won’t return anything, instead of falling back to a web result.
And perhaps one of the most important cleanups, Search home is also less cluttered now, leading with your recent searches instead of promotional tiles and MSN feed. Fortunately, this is the new default, and there is no toggle needed to enable it.
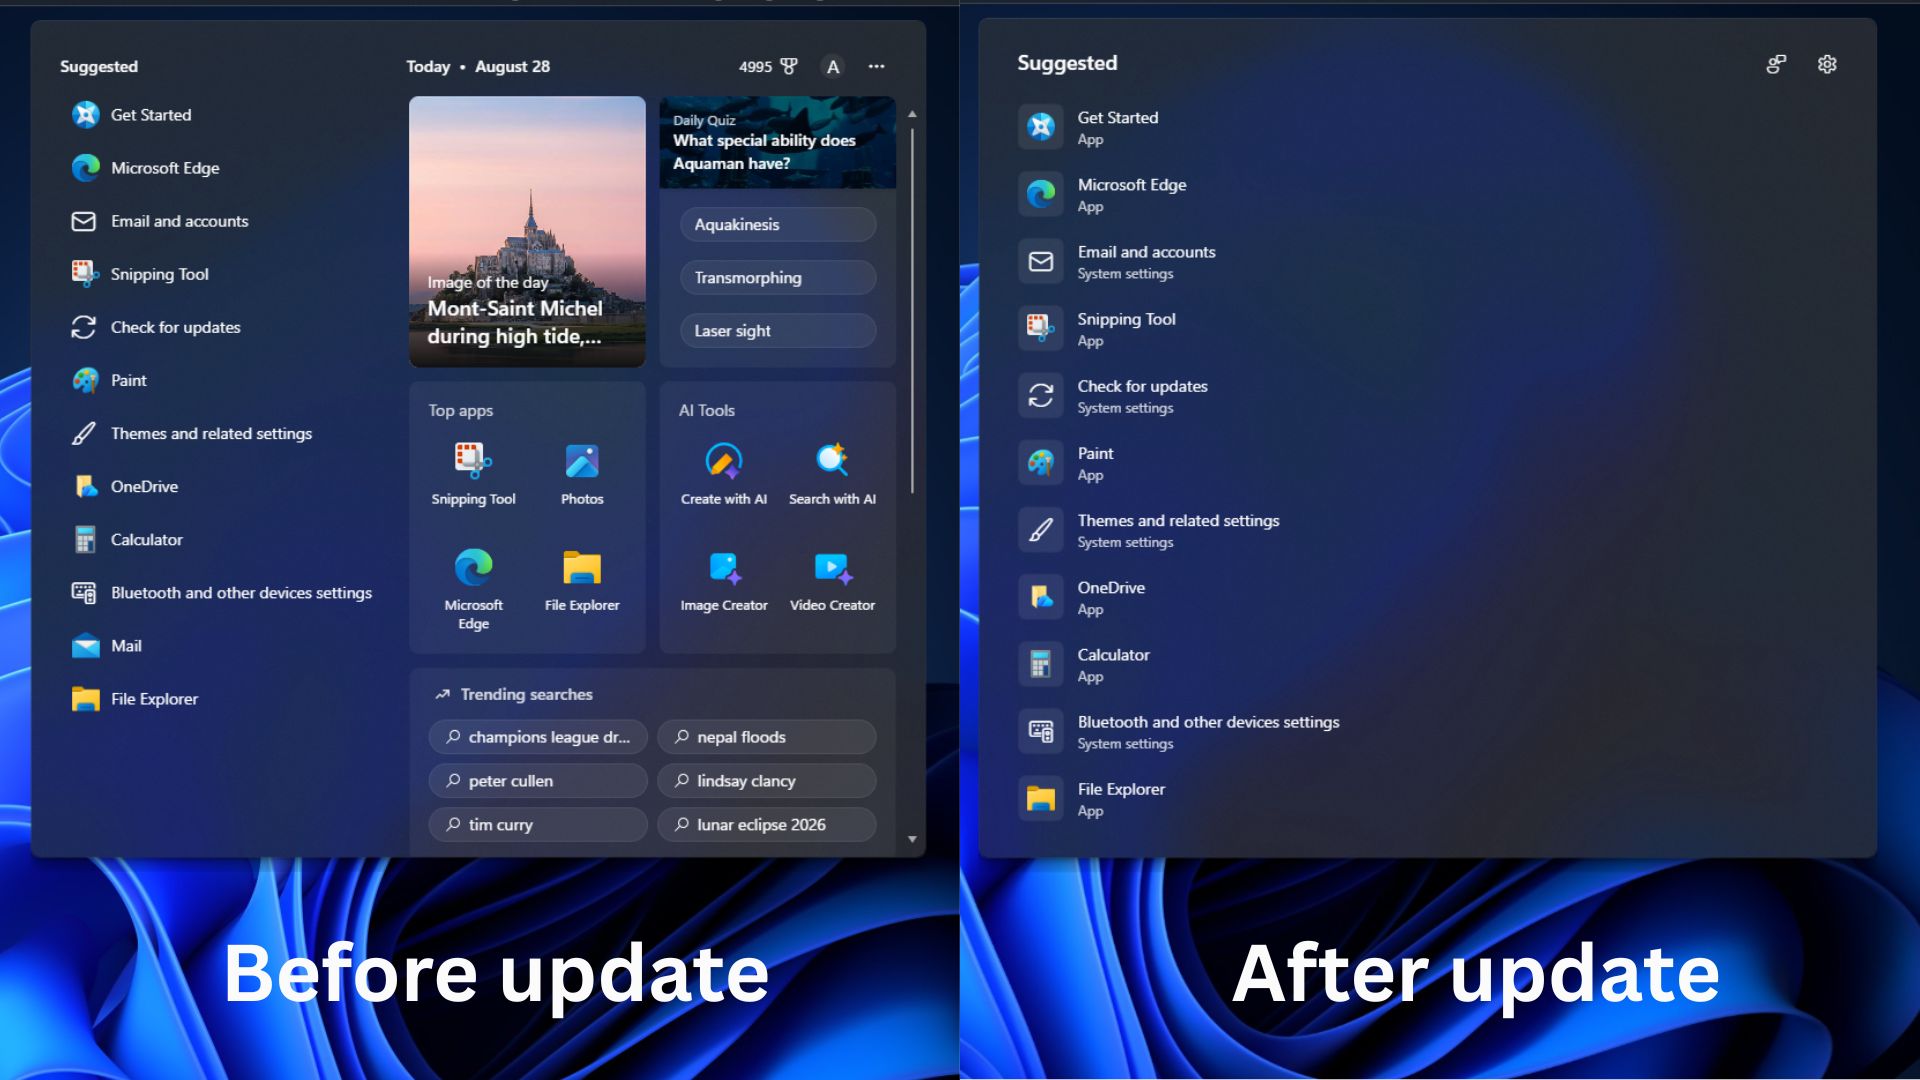
Each result also shows a label showing whether it is an app, a file, a setting, a web result, or a Store suggestion before you click it.
When will these features arrive without needing ViVeTool
Microsoft doesn’t publish a timeline for when a Controlled Feature Rollout finishes, and it varies by feature, hardware, and region. Going by how past optional updates played out, taskbar repositioning and the Start menu changes each took roughly three to five weeks to reach most PCs after their initial rollout began. The new Windows Search experience has generally moved faster once out of the Experimental ring.
The safest bet is the next mandatory Patch Tuesday update, coming on September 8, 2026. Microsoft brings all features added to the August optional rollout into that release for everyone, but that too has the same CFR limitations. Personally, I have already updated my daily driver PC with the optional update and all the ViVeTool commands as well. I haven’t noticed any issues so far.
Have you been waiting for these updates to come on your PC?