


")


In this guide, we will highlight the steps to uninstall Windows 10 updates if it is causing Blue Screen of Death, performance issues, system crashes and other critical problems on your computer. In addition, we will also explain how you can prevent your device from installing the buggy update again.
Windows 10 is updated at least two times a month with quality improvements, but there are a few cases where upgrading to a new version isn’t something you ever want to do. If a monthly patch brings one of the bugs you can’t deal with you might want to uninstall Windows 10 updates manually.
Removing Windows 10 updates and installing an older version of the OS is not without its own set of headaches. For example, if you roll back to the older version, your device might start working again, but you’ll be missing security improvements, which were addressed in the last update.
Uninstall Windows Updates using Settings
To uninstall Windows 10 updates using Settings app, use these steps:
- Open Start menu.
- Click on cog icon to launch Settings page or type Settings.
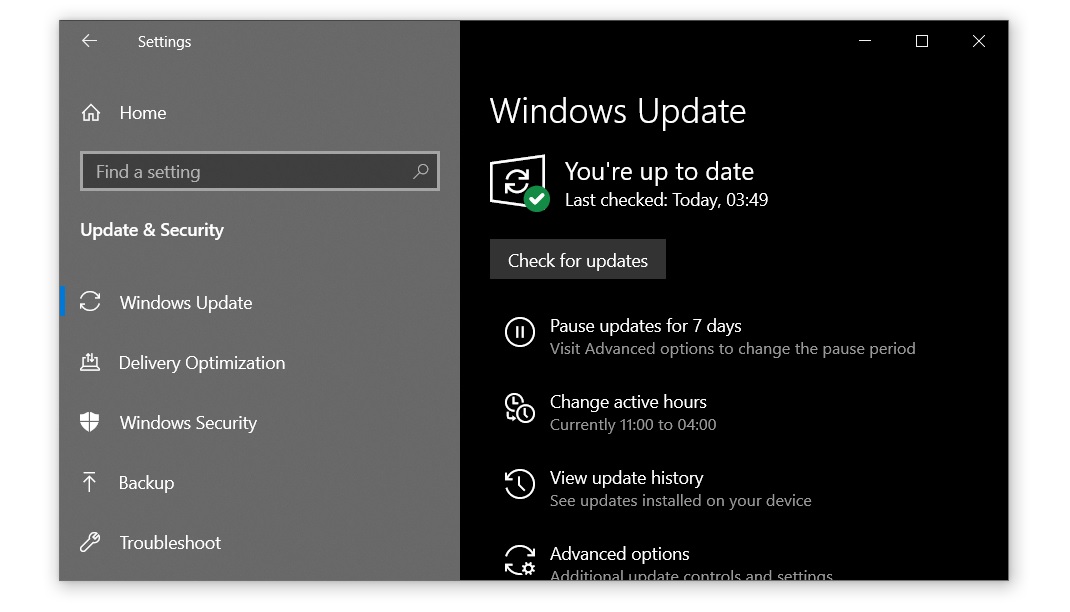
- Click on Update & security.

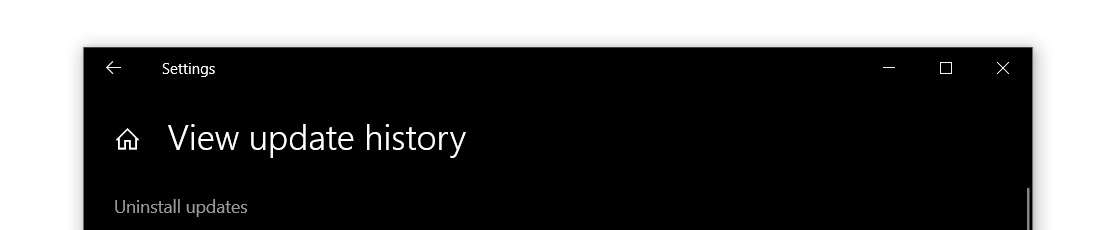
- Click on the View Update History.
- Identify the update that you wish to remove.
- Note the KB number of the patch.
- Click on Uninstall updates.
- In Control Panel, search for the update using the KB number.
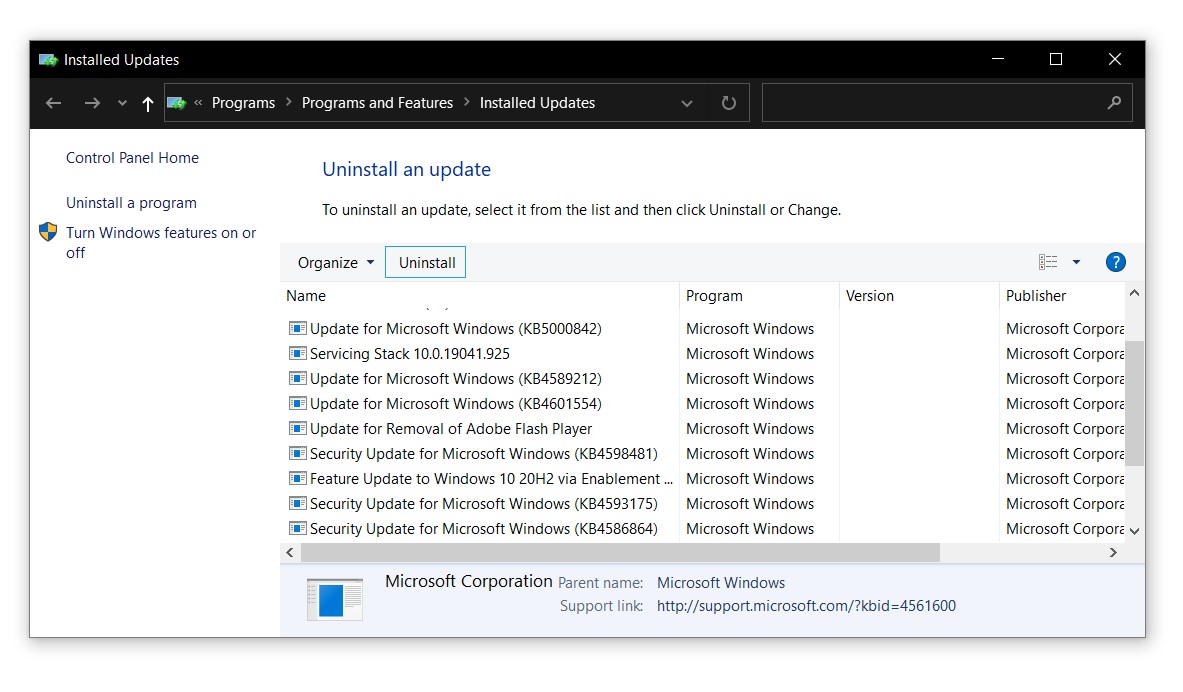
- Select the update that you want to uninstall.
- Click on OK to uninstall the update.
If you’re unsure about the KB number of the faulty update, you can also use the “installed on” date filter in the Control Panel to identify the latest updates.
Uninstall Windows Update using Command Prompt
You can uninstall updates you no longer need straight from the Command Prompt. First, you’ll have to know the KB number of the update and the basics of the Command Prompt.
To uninstall Windows 10 update using Command Prompt, use these steps:
- Open Windows Search.
- Type cmd.
- Select “Command Prompt” in the results.
- Click on Run as an administrator.
- Enter the following command after replacing the KB ID:
wusa /uninstall /kb:[id]
- For example, if you want to remove KB5001330, use the command wusa /uninstall /kb:5001330
- Type “Y” when asked to restart the PC and finish the uninstallation.
If you want to automatically restart the computer after the update is removed, you can use the following command instead:
wusa /uninstall /kb:[id] /quiet
If you want to get a prompt asking you to restart the computer, use the following command instead:
wusa /uninstall /kb:[id] /quiet /promptrestart
If you don’t want to restart the computer after removing the patch, use the following command:
wusa /uninstall /kb:[id] /quiet /norestart
Note that you must restart the computer manually to properly remove the patch. The above command will only delay the process and system reboot is still mandatory.
Uninstall Windows Update using DISM tool
Some updates cannot be removed even if you use WSUS for Command Prompt (PowerShell), Settings or Control Panel. This is because there are updates that are required by your computer and the process might fail with the following error message:
Security update for Microsoft Windows is required by your computer and cannot be uninstalled.
To remove uninstallable updates using the DISM tool, use these steps:
- Open Command Prompt (admin) window.
- Enter the following command:
dism /online /get-packages | clip
- Open Notepad and paste the contents from the clipboard.
In Notepad, use the “Find” feature to check if the faulty update is installed. Note that some updates cannot be found using their KB ID. In this case, you need to enter the last three or four digits of the build number.
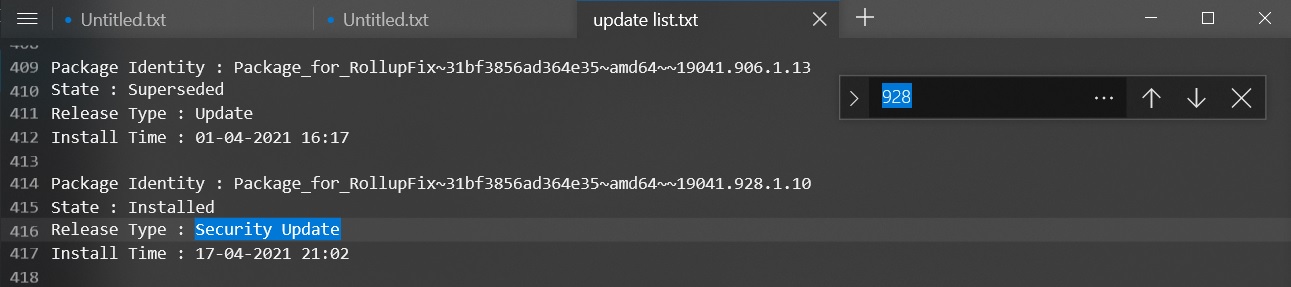
For example, if you want to remove Build 19042.928 (KB5001330), search for 928 in the list.
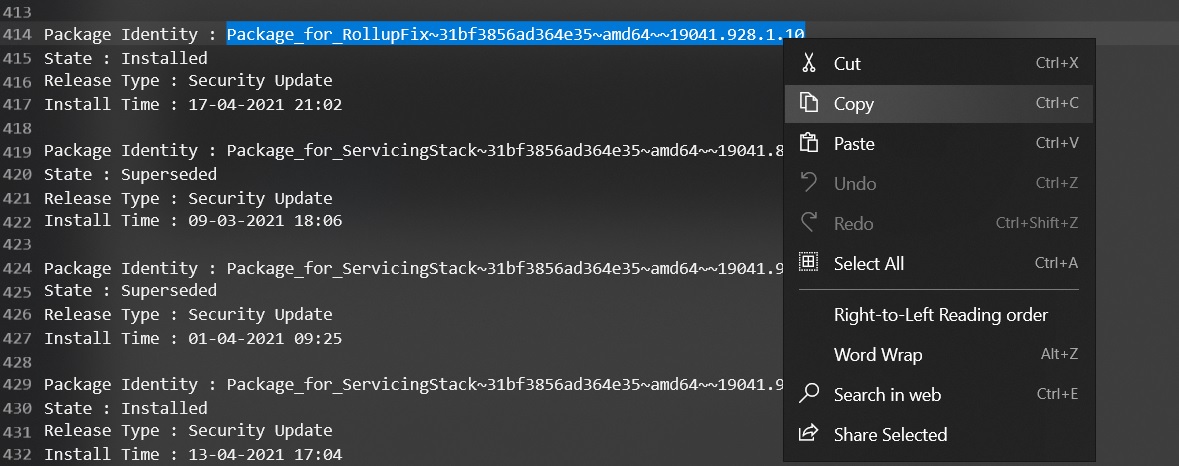
As shown in the above screenshot, select and copy the package identity.
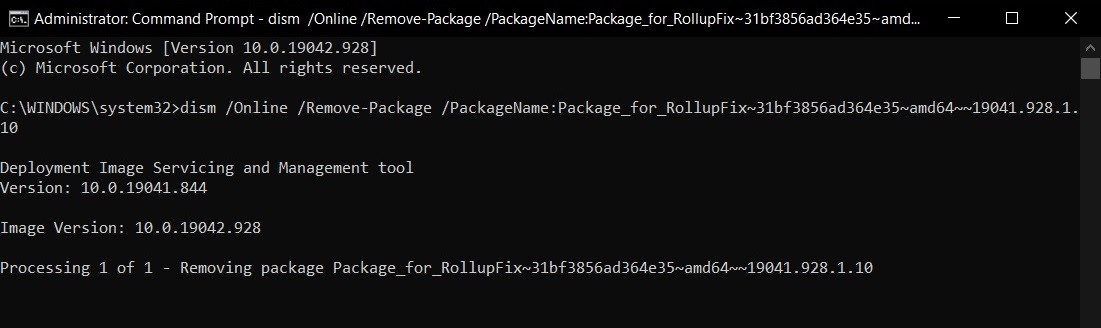
The command to remove updates using DISM is dism /Online /Remove-Package /PackageName:[package_ID]
In the same Command Prompt or another instance, enter the following command after replacing the package ID with the one that you copied earlier.
dism /Online /Remove-Package /PackageName:Package_for_RollupFix~31bf3856ad364e35~amd64~~19041.928.1.10
If you followed the steps correctly, you will see the above screen in your Command Prompt window.
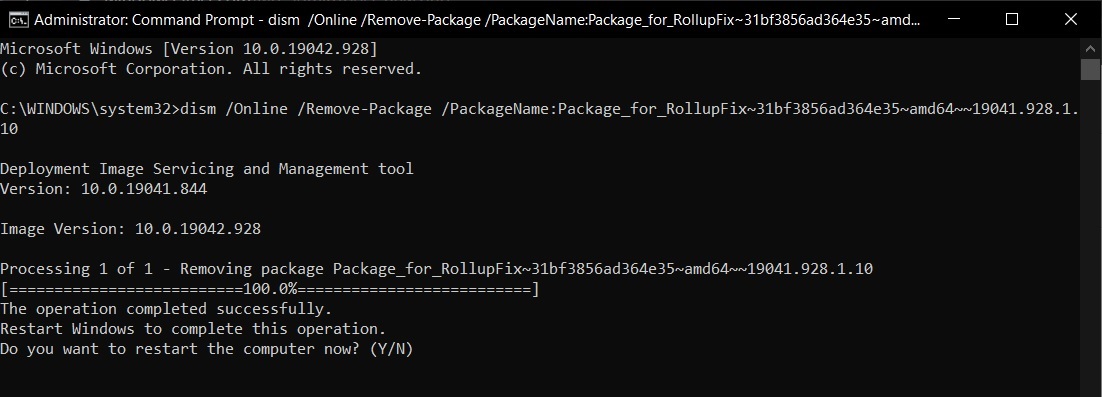
Once done, enter “Y” to restart the computer now.
How to block Windows Updates
After the update has been removed from your system, it needs to be blocked manually if you don’t want to install it again when you check for updates next time.
To block a particular Windows 10 update, follow these steps:
- Download and open the “Show or hide updates” troubleshooter package from Microsoft’s website.
- Open the tool and click on Next.
- Click on Hide updates.
- Select the updates that you want to hide.
- Click on Next to block that faulty Windows update from appearing again.
If you want to reinstall the updates, launch the same tool again and unhide the updates.
")


")
