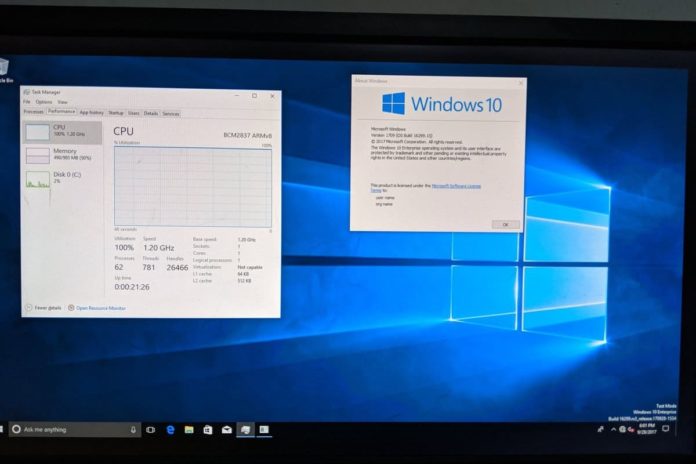
With Windows 10 coming to ARM platforms, such as Qualcomm Snapdragon and Samsung Exynos, we know that it’s possible to run Windows 10 with desktop apps on ARM devices, including Raspberry Pi 4.
There are multiple ways to install and run Windows 10 on a Raspberry Pi. Microsoft has always allowed users to run “Windows 10 IoT”, which is also a version of Windows 10, but it’s only meant for prototyping, not running real desktop experience.
Officially, Microsoft doesn’t allow you to run the real version of Windows 10 on this $35 single-board computer, but there are some tech projects that will allow you to install the operating system on Raspberry Pi 4 and make yourself more productive.
In this article, we’ll show you the steps to install Windows 10 on Raspberry Pi 4 using your microSD card.
What you need to install Windows 10 on a Raspberry Pi 4
- Device: Raspberry Pi 4 with 4GB of RAM or 8GB of RAM.
- Storage: Use 32GB or larger microSD card. Faster is better, so you should get a class A1 or A2 card.
- Connectivity: Ethernet or WiFi dongle.
- Peripheral: Keyboard, mouse, monitor.
- System image: Download Windows on Raspberry imager from here.
How to install Windows 10 on Raspberry Pi 4
To install Windows 10 on Raspberry Pi 4, use these steps:
- Open the UUPDump website and select the release type.
- For stability, “Latest Public Release build” is recommended. Select “Latest Dev Channel build” if you want to run x64 apps.

- Click on the arm64 option next to the release type.
- Select your language and Windows 10 edition.
- Click on the “Create download package” option.

- Once downloaded, extract the downloaded archive.
- Double-tap on uup_download_windows.cmd to run the script.
- Press 0 when asked.
- The script will download and save the ISO image in the same directory where the script is located.
- Connect the drive to Raspberry Pi.
- Extract the WoR_Release_….zip archive.
- Run the WoR.exe.
- Select your preferred default language.
- Select the target drive.
- Select the Raspberry Pi board model. For those with Raspberry Pi 4, it is recommended to update the bootloader to the latest version.
- Select the ISO image downloaded using the script.
- Use the latest package for both the drivers and UEFI.
- Use default values for the configurations settings.
- Click on Install.
- Unplug the drive.
- Connect the peripherals like the keyboard and mouse to your Raspberry Pi.
- Reboot the board.
- To remove the RAM limit, press the ESC key again and again until you see the UEFI screen.
- Open Device Manager > Raspberry Pi Configuration and click on Advanced Configuration
- Change Limit RAM to 3 GB to Disabled.
- Press ESC several times to exit the screen.
- Press Y to save the settings.
- Reboot the board.
- Finish the OOBE setup to complete the installation.
Windows 10 on Raspberry Pi FAQ
- x64 app support: Microsoft is currently testing support for x64 apps in Windows 10 on ARM. If you want to run x64 apps, you need to select the “Latest Dev Channel build” release type. This includes support for more apps, but the overall experience is currently plagued with issues.
- App compatibility: Most x86 apps are supported.
- Peripheral support: USB devices are supported.
Windows 10 on ARM experience
The performance is apparently better than Raspberry Pi 3, but you need a lot of patience and elbow grease to successful run full Windows 10 on your Raspberry Pi 4. In addition, there are some limitations as well.
For example, HDMI Audio is currently not working. Bluetooth support is also limited as the RTS/CTS lines are not exposed.
Likewise, the built-in WiFi or Ethernet doesn’t work properly so you would need to buy a dongle. Google Chrome is also not supported and you would need to use Microsoft Edge to browse the web.
The idea of running the Windows 10 desktop OS on a Raspberry Pi is intriguing and it works pretty well, thanks to the tweaks made by the developers.
The project is open source and it has been developed by a group of enthusiast developers, and they can be contacted via Telegram.
Disclaimer: This is an unofficial project and we can’t vouch for the safety or legitimacy of anything mentioned here.
This guide has been updated with new instructions.


