The Raspberry Pi 4 is available for as low as $35 and the diminutive lineup is known for being one of the most popular platforms for DIY projects. Raspberry Pi 4 officially runs its own operating system and while it’s possible to install Windows 10 IoT Core, Microsoft’s IoT OS isn’t really intended to work as a personal computer.
Last year, programmer José Manuel Nieto created a WoA installer, also known as Windows on ARM installer, which allows users to easily install the operating system on Raspberry Pi 3.
While developers are still working on WoA Installer for Raspberry Pi 4, you can always install the operating system manually.
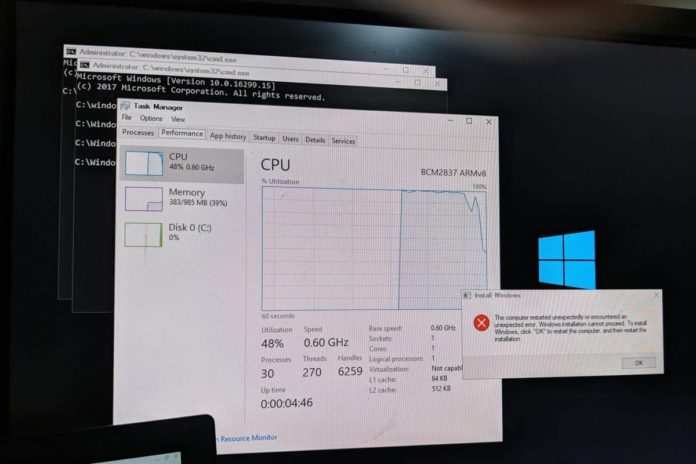
Previously, running Windows 10 on a Raspberry Pi could be frustrating as everything from Start Menu to the ARM64 Microsoft Edge operates in slow motion, and you may experience Blue Screen of Death because the project initially supported only 1GB of RAM.
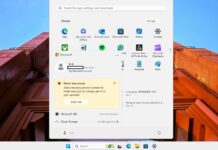
Developer Amir Dahan has now managed to address the limitations and dramatically improve the performance of Windows 10 ARM on Raspberry Pi 4 with 4GB of RAM. The project now supports 3GB of RAM and USB ports, which finally makes it faster and usable on Raspberry Pi 4.
Here’s what works now on Raspberry Pi 4 when you install Windows 10:
- Built-in USB ports.
- Micro HDMI output for video.
- 3GB of RAM.
- Bluetooth and Ethernet but you need a USB dongle.
- YouTube, Microsoft Edge, Paint.net, and Microsoft Store.
- x86 based apps and most ARM64 apps.
And what doesn’t work:
- Built-in Ethernet, audio jack, and second HDMI port.
- Graphics Card Acceleration.
- Built-in WiFi + Bluetooth.
- X64 apps (due to emulation), VLC 1080p 60 FPS (with Patch disabled) and most Steam games.
There’ll be some performance issues along the way, but when you’re done with all necessary hardware and drivers, you will be able to see the best of Windows 10 on Raspberry Pi.
If you have an Ethernet connection and dongle, you can also surf the web in Microsoft Edge and watch YouTube videos on Raspberry Pi 4.
The hardware and software you need to download:
- Raspberry Pi 4.
- High-speed, class 10 microSD of preferably 32GB or 64GB.
- Etcher for Windows.
- Minitool or Easeus partition manager.
- Download the OS image from the Discord server.
Once downloaded, here’s what you need to do:
- Extract the archived (.rar) operating system file.
- Open Etcher for Windows and use its “Flash” feature to locate and flash extracted Windows 10 Build to the microSD card.
- Open the Partition manager and extend the Windows partition with the unallocated space on the microSD card.
- Connect Raspberry Pi 4 with microSD, keyboard and mouse to your monitor.
- Run the patch to enable 3GB of RAM. You can download the patch from the same Discord server.
This entire process of installing and flashing Windows 10 could take up to one hour, but probably faster if you have Class 10 SD card.


