")


")
")

 and it removes old modem drivers")

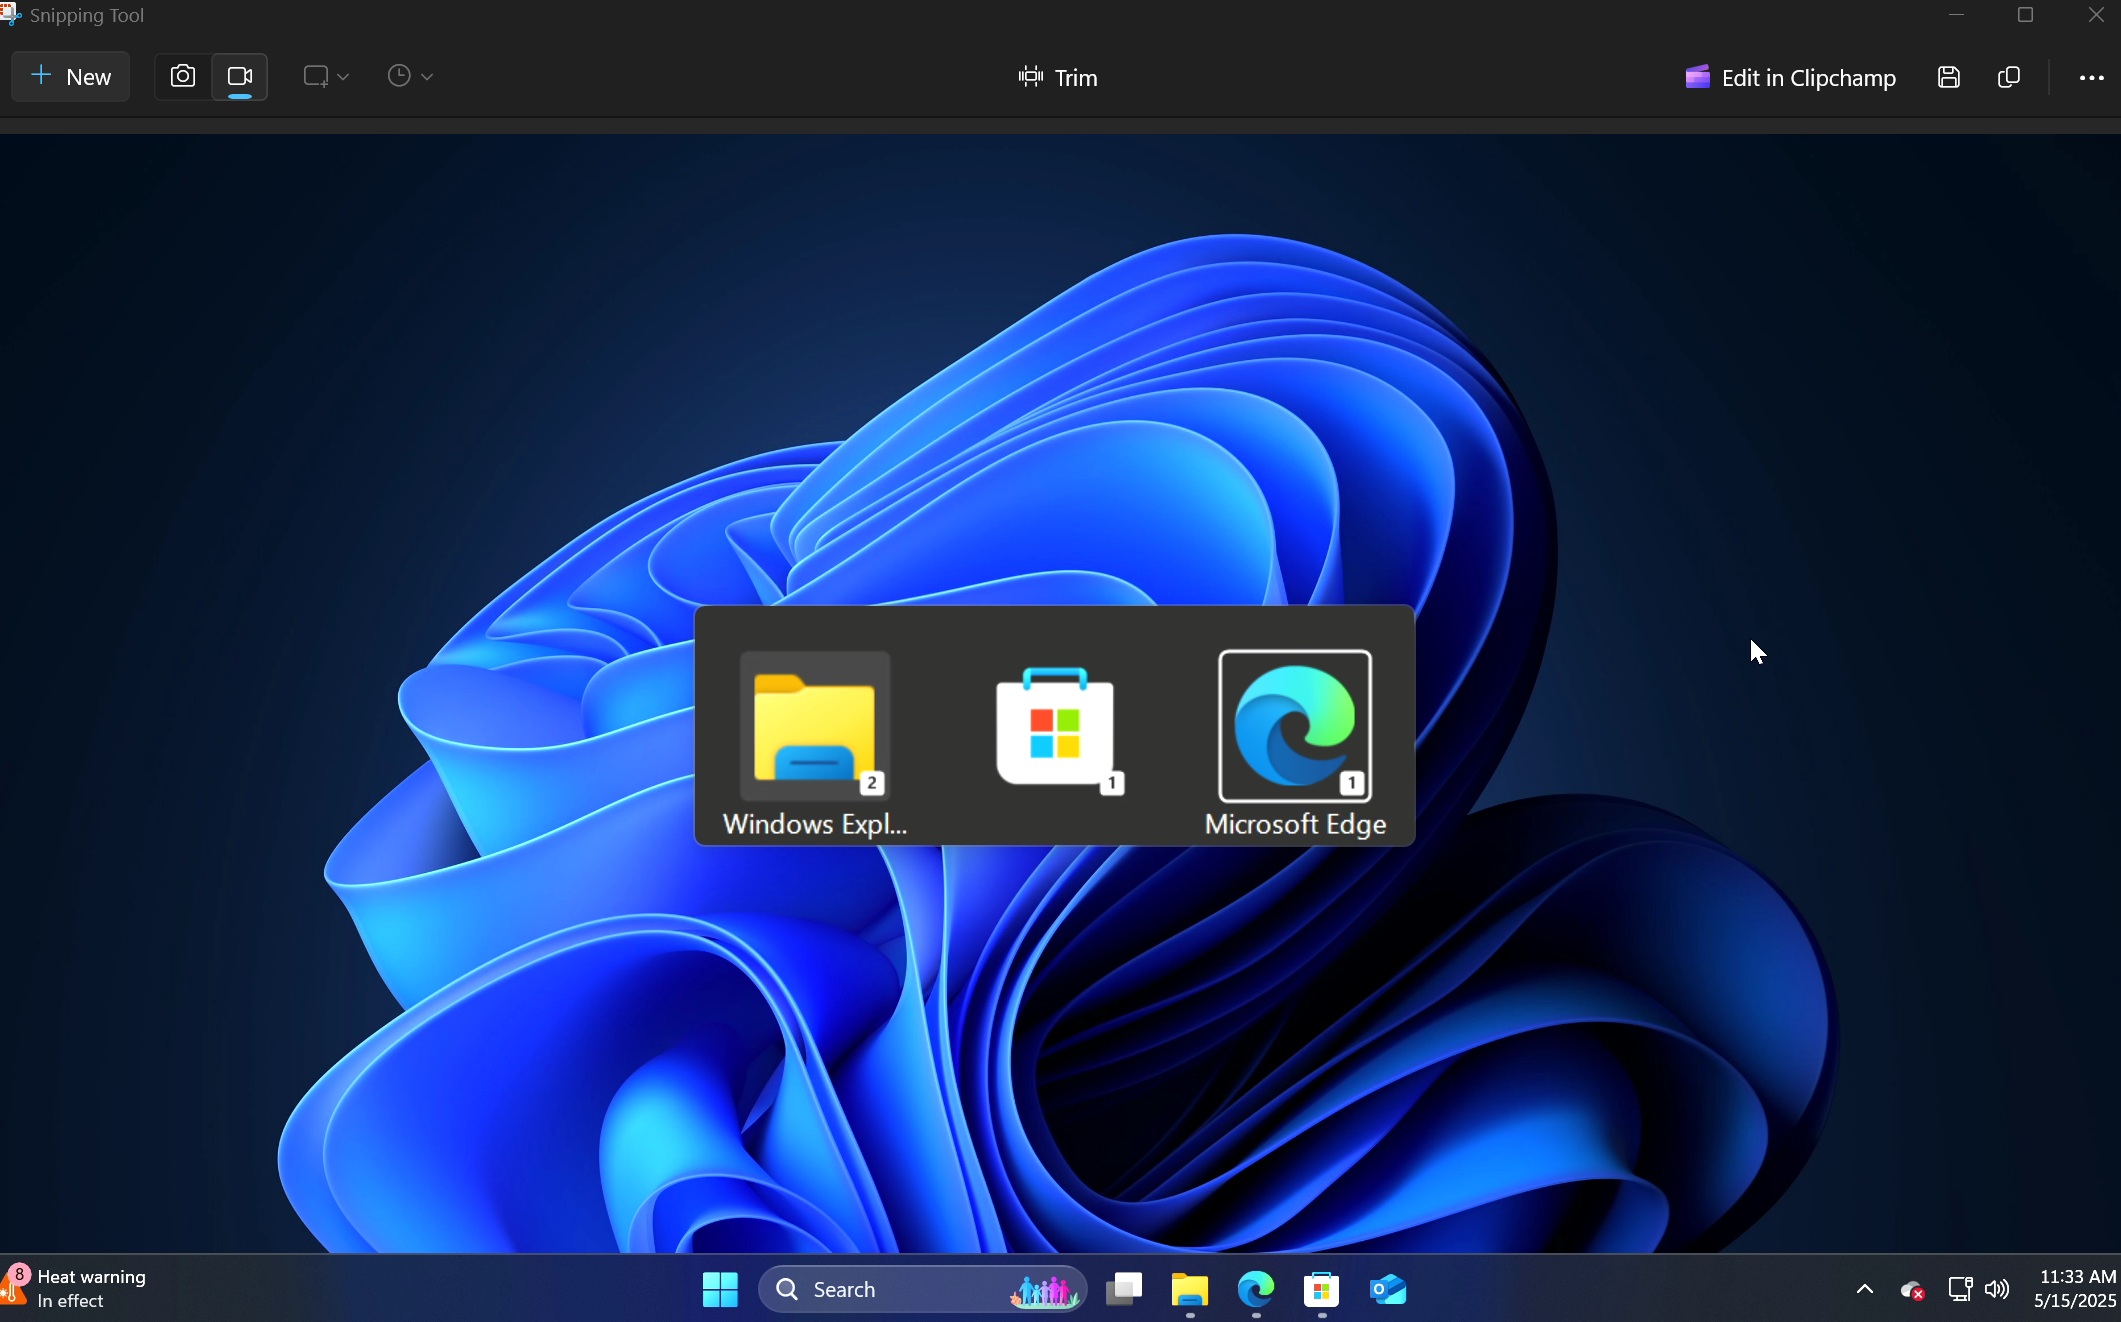
Windows 11 Snipping Tool is the one app that always has something exciting going on. From OCR to screen recording, the list of useful features goes on. Now there’s another addition to that set with the new Trim tool, which is now rolling out to everyone on Windows 11. This will allow you to trim your screen recordings before creating a local copy.
What exactly is that? As you know that you can capture a screen recording in the Snipping Tool (Win + Shift + R) and then save the recording to the disk. There’s no editing possible afterwards, like you can do with images. The trim option wants to solve that to some extent.
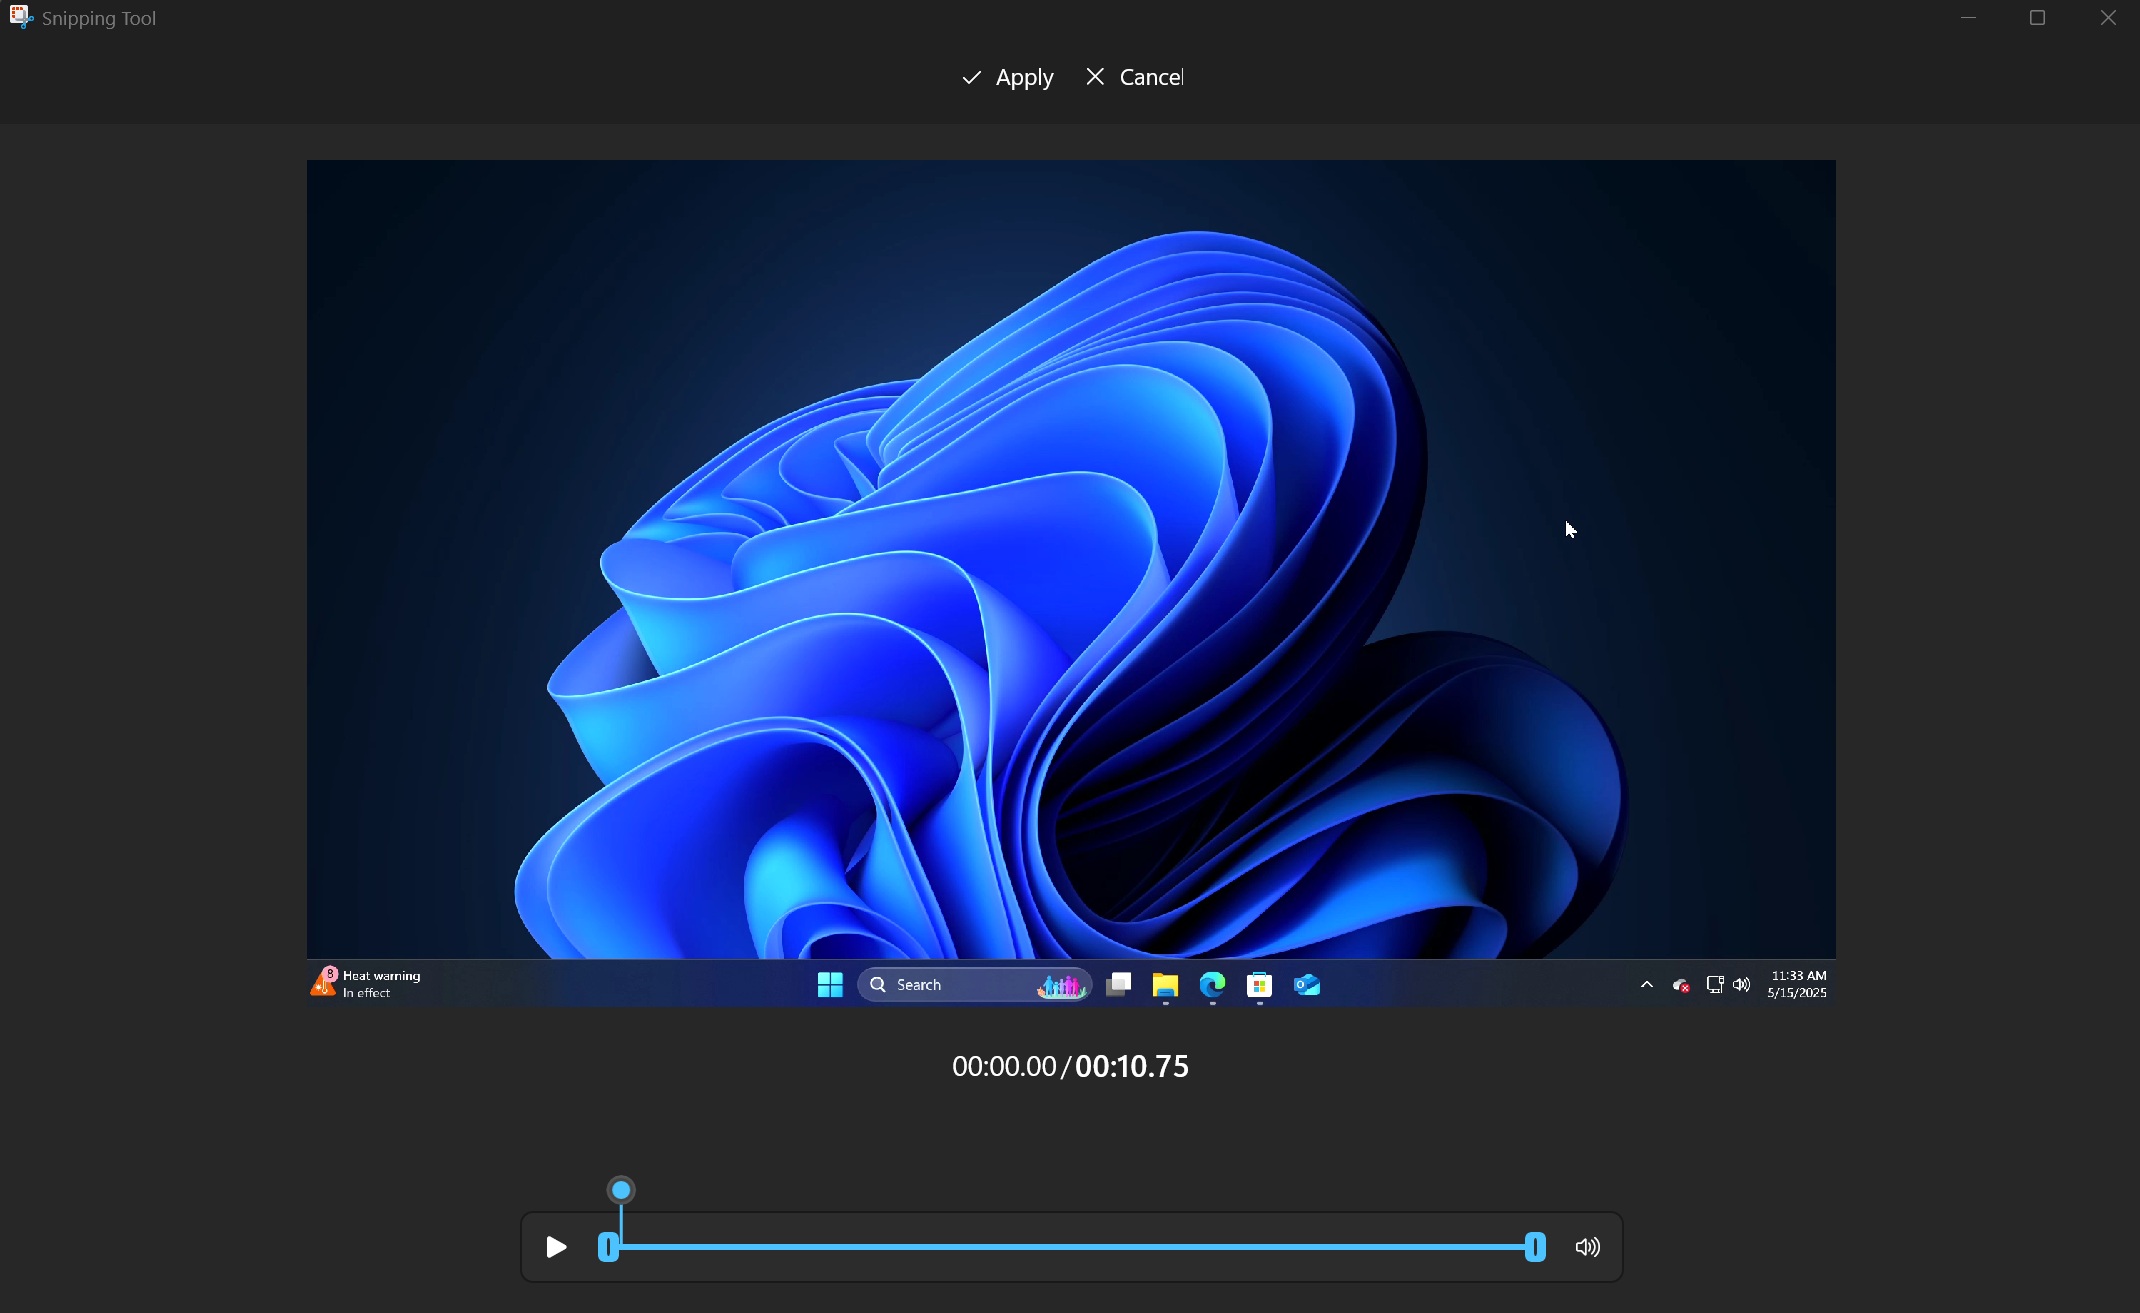
After you capture the screen recording, the Trim tool appears at the top of the preview screen. Clicking on it reveals a slider that you can use to adjust what part of the video you want to keep. It’s pretty basic video trimming if you ask us, since you only get to pick a time interval when the recording is most useful.
You cannot do multiple trims simultaneously or split the video into multiple parts. We understand that we’re asking too much from a recording tool, but oftentimes, there’s more than one clip that you extract from a long screen recording session.
Once you are done, click on the Apply button to finalize the trimmed clip. That’s all that there’s to Snipping Tool’s trim option.
What’s next, then? Snipping Tool’s focus is on capture and minor edits.
For other fine tweaks, you’ll have to rely on ClipChamp to apply effects, add subtitles, or manage audio. It’s a freemium app, so don’t expect much. Apart from that, there is another interesting OCR feature available in the app that you might not know about.
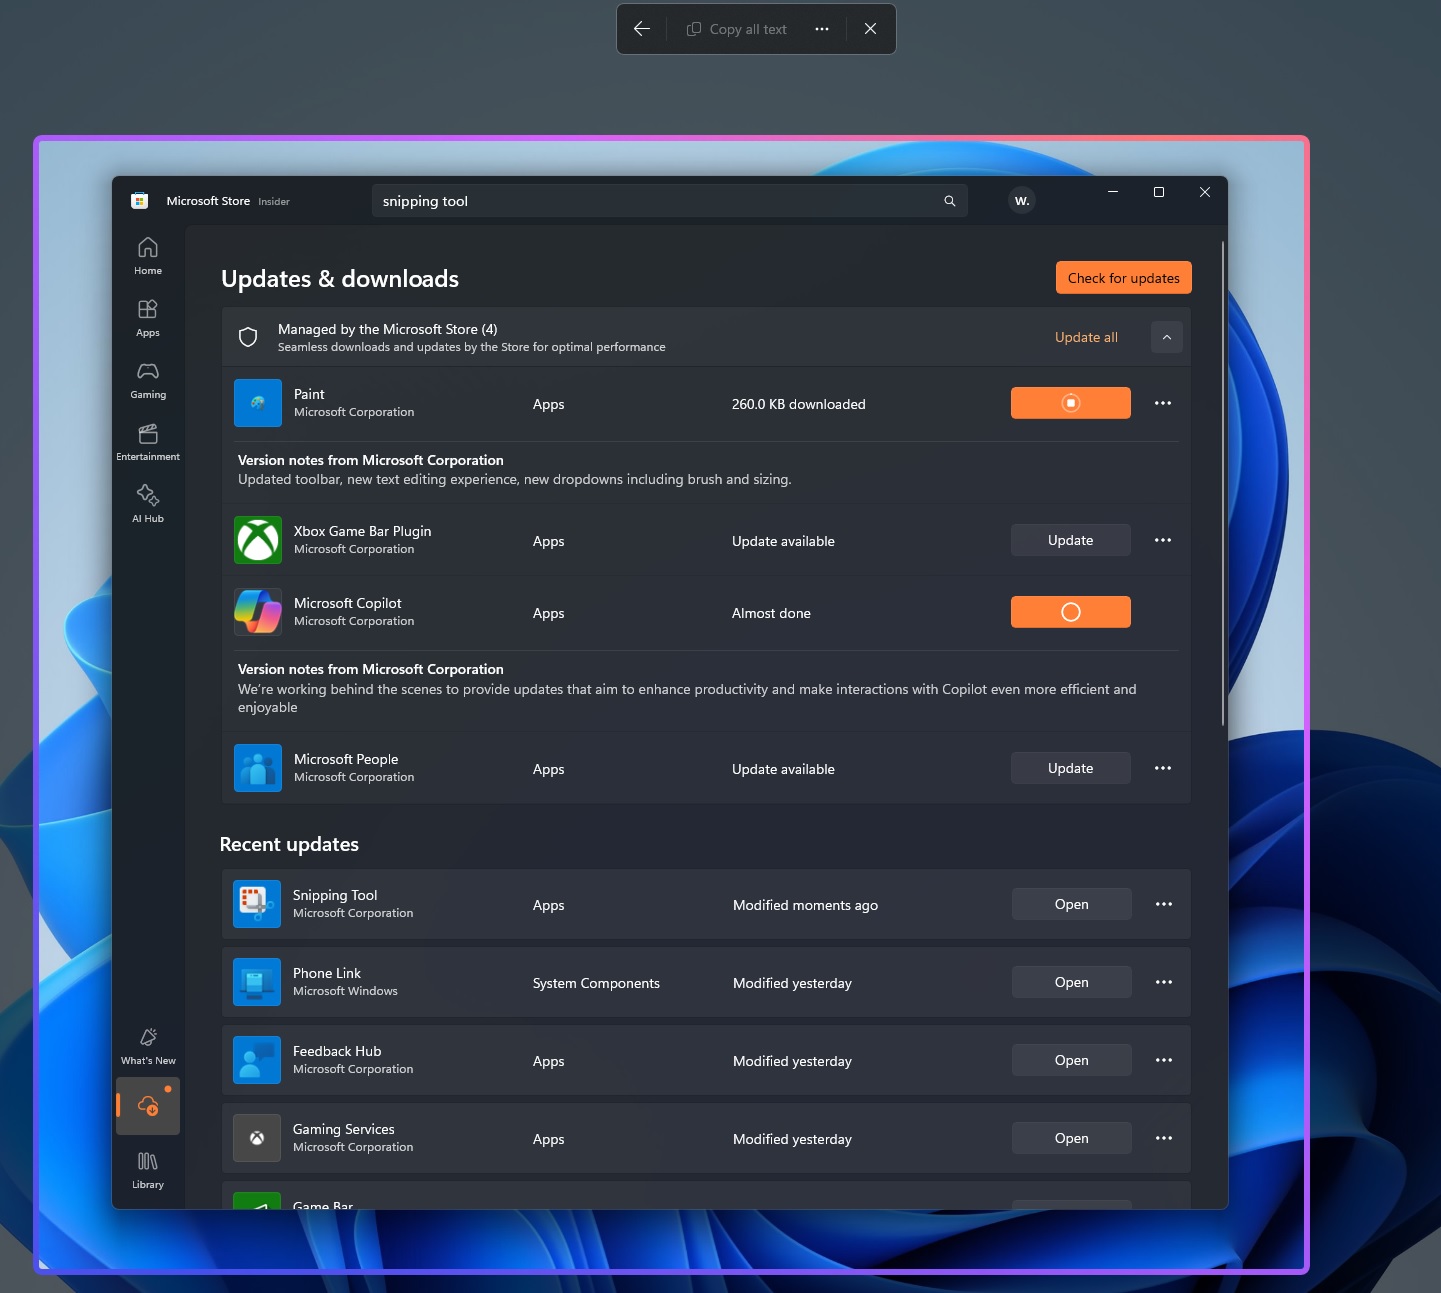
Snipping Tool’s new trim feature is rolling out to everyone via the Microsoft Store. You don’t need to join the Windows Insider Program.
OCR everywhere
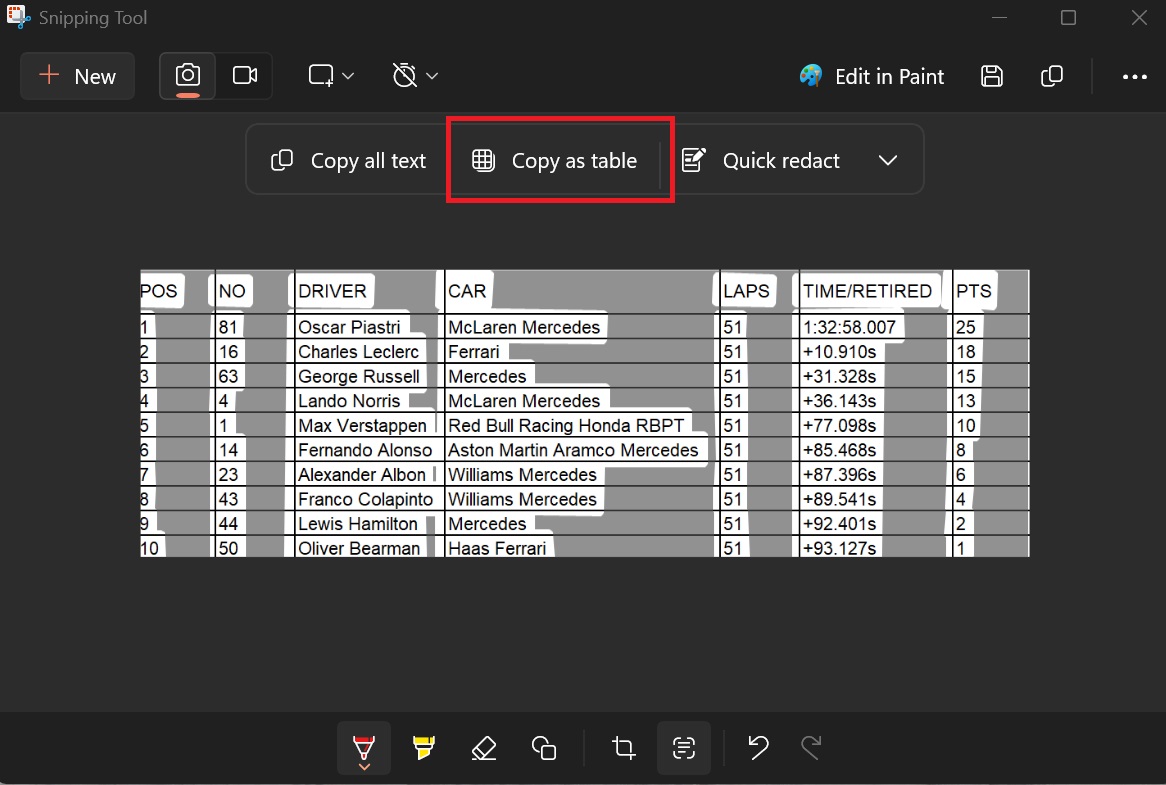
You can extract text from images using Snipping Tool and even redact some sensitive stuff. But now, it can even identify tables and make image-to-Excel conversion easier.
Just capture the snapshot or pick an image and open it in the app. After that, you can use the Copy as table option to identify and copy it to the clipboard. Then you can paste it in Excel or any other such app, and the table will stay intact. No need to copy elements individually.
In addition, Microsoft is bringing the OCR feature to Windows 11’s overlay that appears when you use the screenshot shortcut (Win + Shift + S) or the new OCR shortcut (Win + Shift T+).
This idea is borrowed from PowerToys, and it’s going to make it easier than ever to extract text.
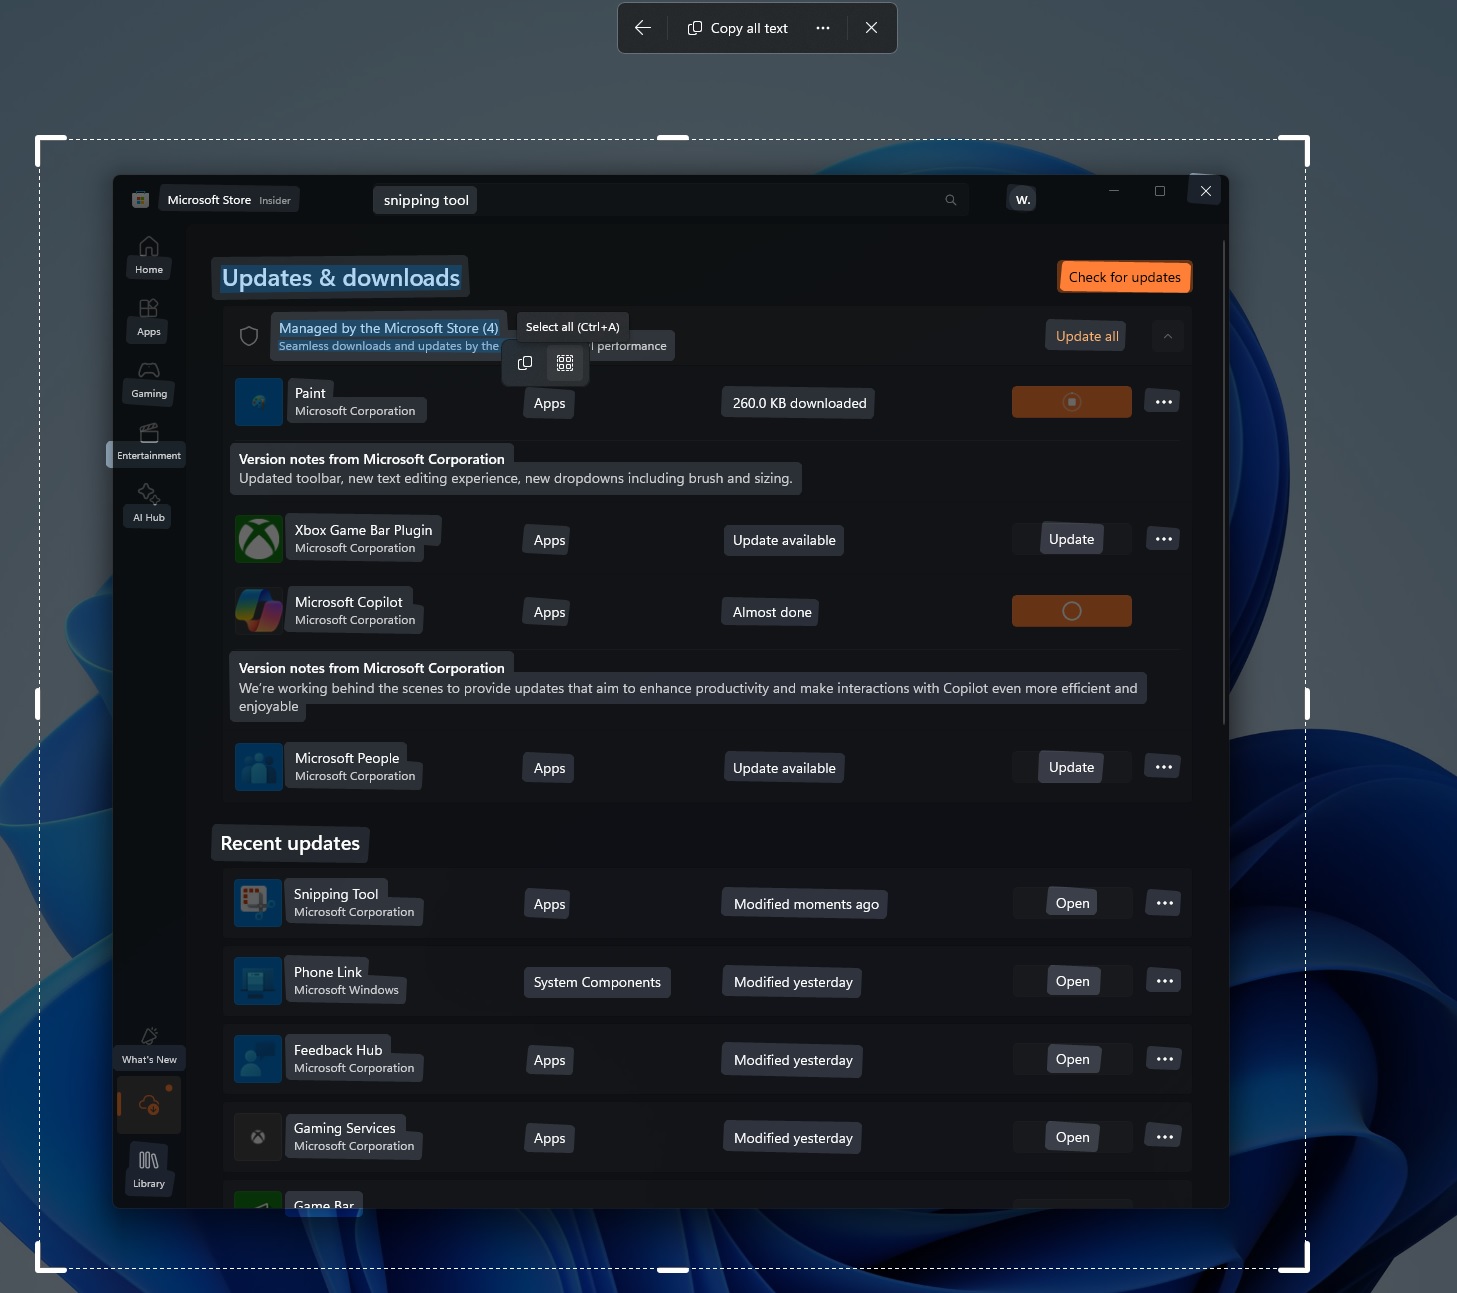
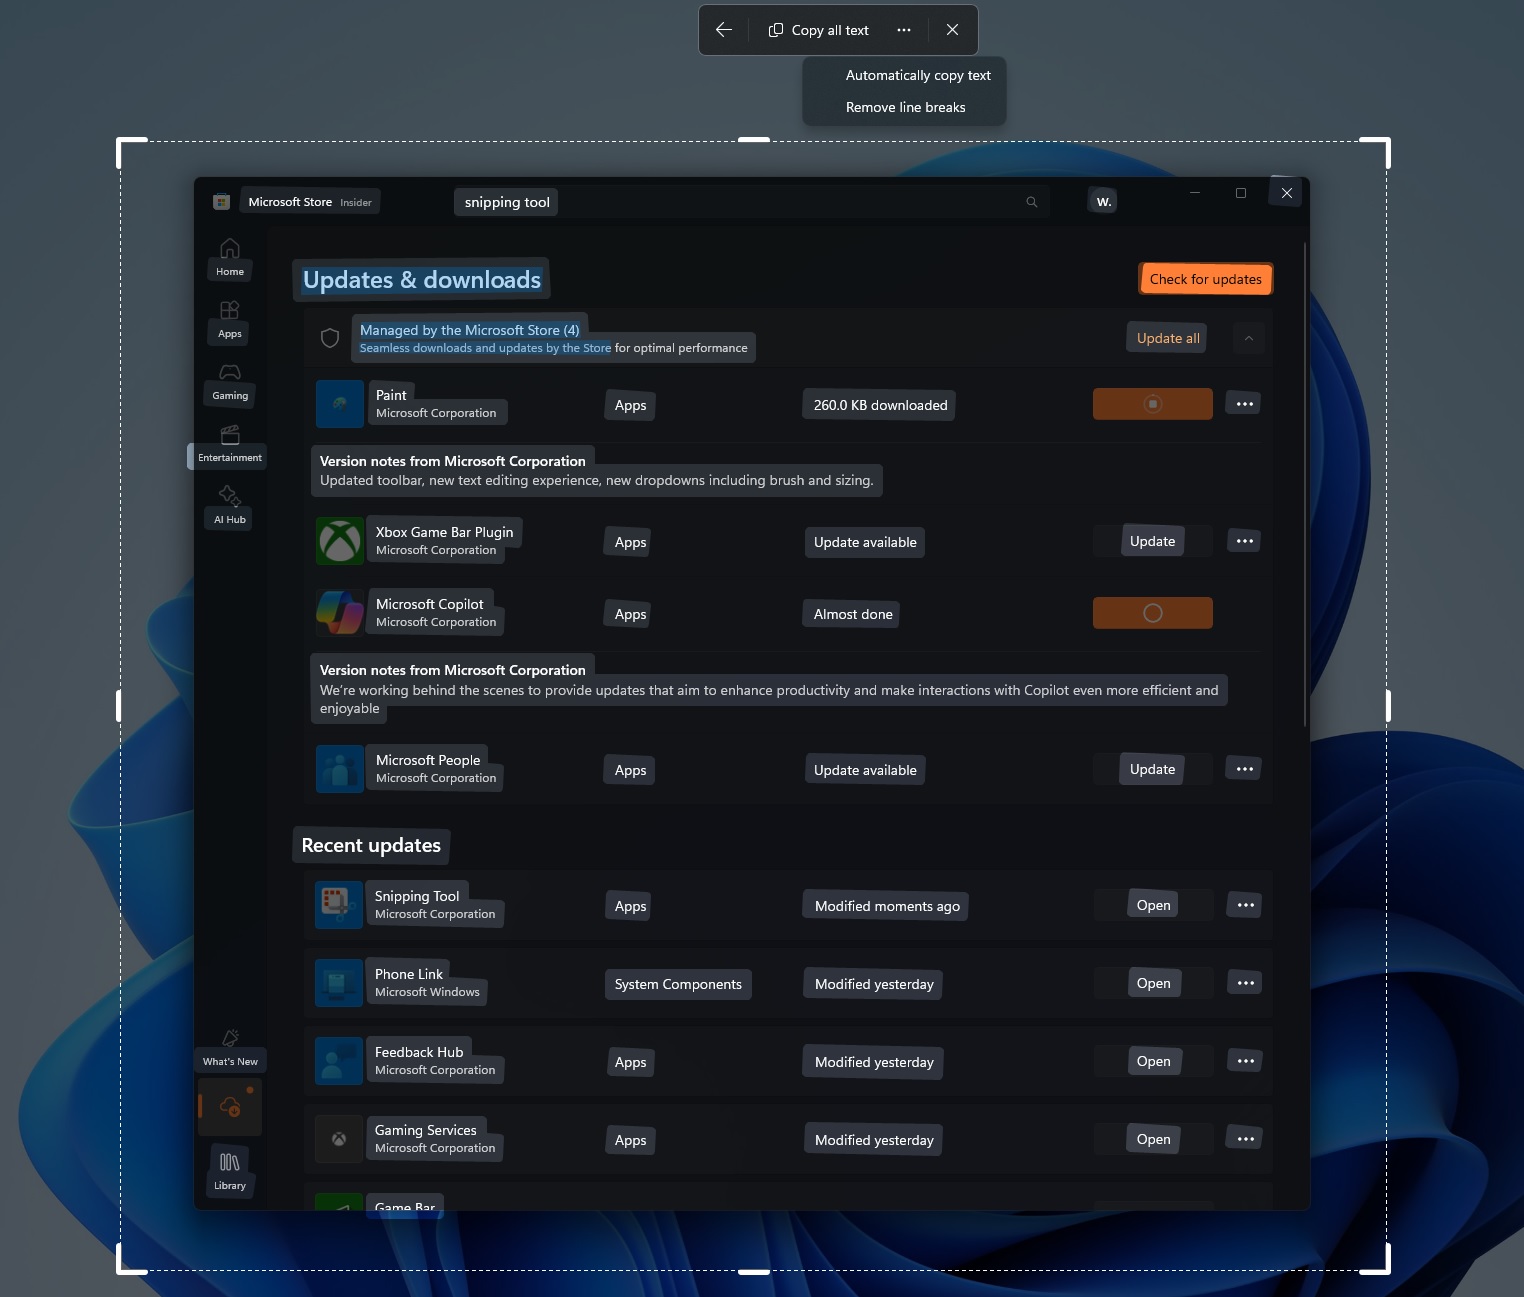
But you can do that already using the Snipping Tool app, right? What’s the point of the OCR integration in the Windows 11 overlay menu? Well, the idea is to let you extract texts from the screen without capturing a screenshot.

")


")
")

 and it removes old modem drivers")
