


")


")


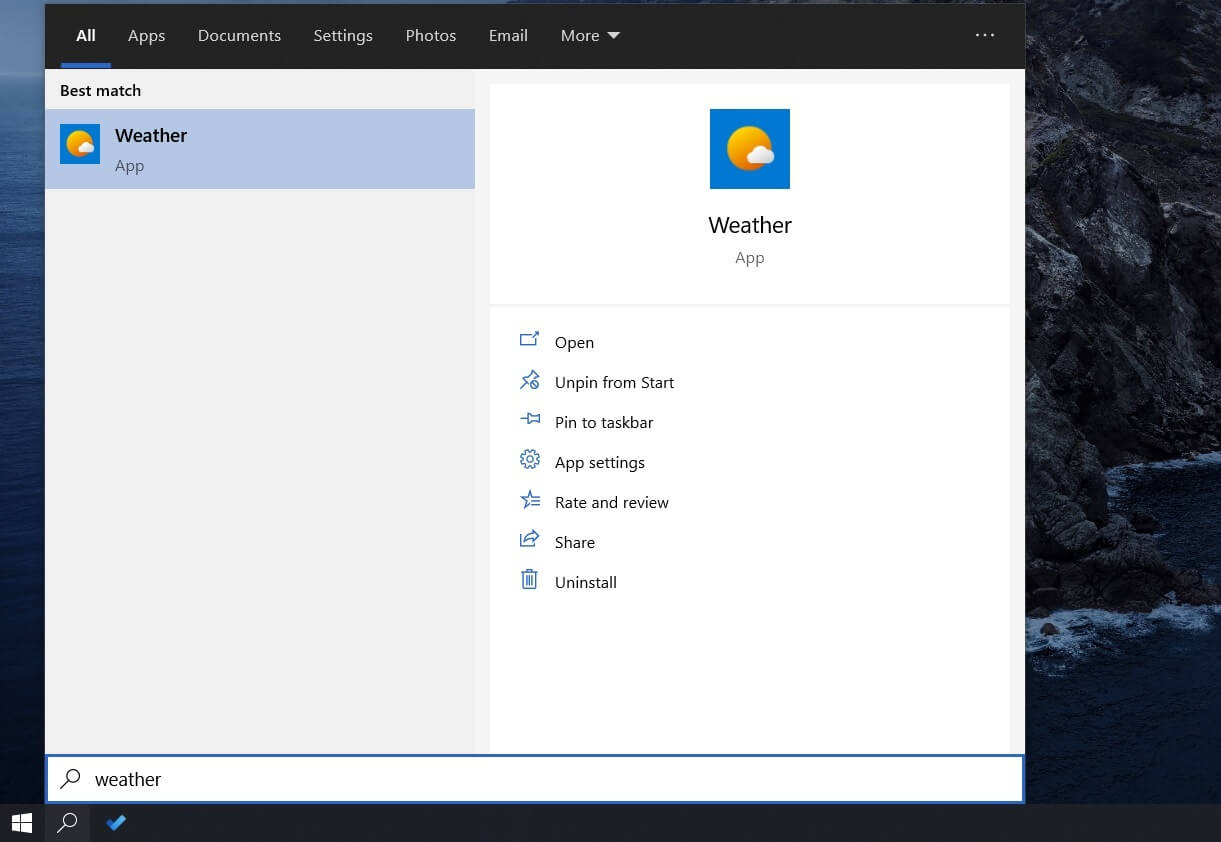
Windows 10 practically puts a web browser in your search panel that enthrones Microsoft Bing. Fortunately, you don’t have to worry because Microsoft allows you to disable Bing search in Windows 10 Start Menu with a new Registry setting.
In version 1909 or older, there used to be a Registry setting for disabling Bing in Windows Search, but Microsoft quietly disabled that in the May and October 2020 updates.
By disabling Bing in Windows 10 Search, you can improve the performance and quality of your local search results. Windows Search panel will display your local results faster because it doesn’t have to look for the keyword on Bing.
If you want to disable Bing in newer versions of Windows 10, you need to use a new value called “DisableSearchBoxSuggestions”. This is because Microsoft has retired the “BingSearchEnabled” value and it no longer works in newer versions.
How to disable Bing search in the Windows 10 Start menu
To disable Bing search in Windows 10, follow these steps:
- Create a backup of Registry.
- Open the Registry Editor by typing “regedit” in Windows Search.
- Press Enter.
- In the Registry Editor, navigate to the following location:
Computer\HKEY_CURRENT_USER\SOFTWARE\Policies\Microsoft\Windows\Explorer
- If the Explorer folder is not available, then right-click on Windows folder and create a key with the name Explorer.

- By default, Explorer folder would be empty. You need to right-click inside the right pane and create a new DWORD (32-bit) Value.
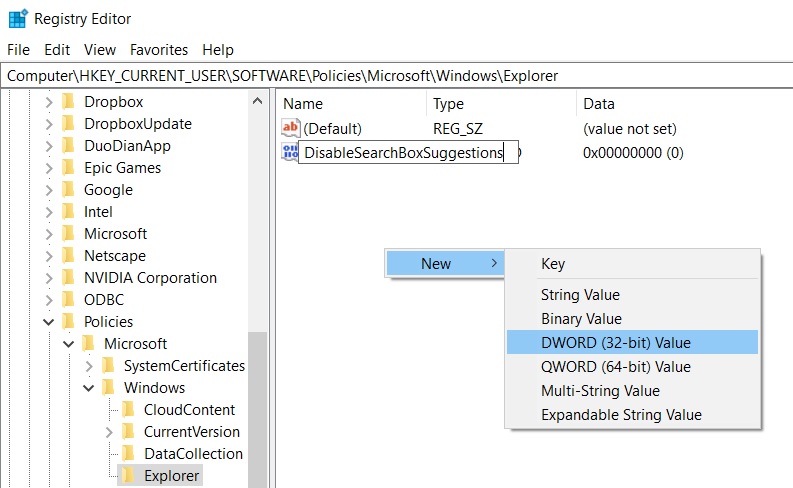
- Name the value “DisableSearchBoxSuggestions”.
- Set the value to ‘1’ to disable both Bing and ads in Search.

- Close Registry Editor and restart Windows or end the ‘Search’ process in Task Manager.
If you want the Bing search results back, open Registry Editor again and delete the Registry value “DisableSearchBoxSuggestions”. Once deleted, reboot Windows or end the Search process using Task Manager.
How to disable Bing search in older versions of Windows 10
To disable Bing search in Windows 10 version 1909, 1903 or older, follow these steps:
- Open the Registry Editor by typing “regedit” in Start Menu.
- Open HKEY_CURRENT_USER\SOFTWARE\Microsoft\Windows\CurrentVersion\Search
- Right-click the Search folder.
- Select New > DWORD (32-bit) Value.
- Set the value to “BingSearchEnabled”.
- Right-click on the “BingSearchEnabled value or double click on it.
- Open its properties dialog.
- Set the value to “0” and click OK to continue.
- In the right pane, you will see “CortanaConsent” value.
- Change CortanaConsent value to “0”.
The above Registry setting will also turn off ads in Windows Search as it cuts the connection to Microsoft’s Bing services.
Should you disable Bing in Windows Search?
Disabling Bing integration improves the accuracy of local search results as the work-load decreases and you’ll also notice significant performance improvements when doing a local search.
At the same time, when users turned off Bing integration last year, a Windows Update caused high CPU usage and empty search results.
The bug was later fixed, but it’s another reminder that you should be careful when tweaking Registry for core components, such as Bing.


")


")


