Windows Defender, also known as Microsoft Defender Antivirus is a built-in anti-malware solution on Windows 10. It is designed to protect your computer and connected devices from unwanted attacks, ransomware attempts, viruses, and many other forms of malicious rootkits used by hackers.
However, there could be situations where you may want to disable Windows Defender on Windows 10.
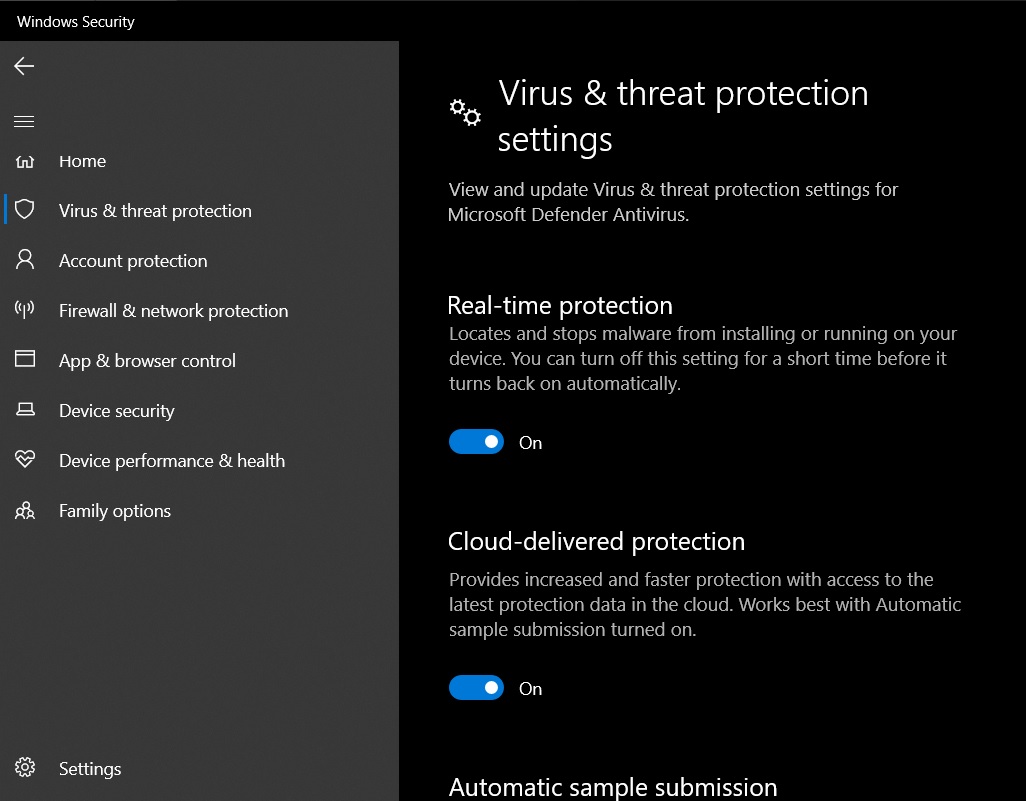
Unlike Windows 8, Windows 10 doesn’t allow you to turn off Windows Defender completely in the Windows Security app. It does let you turn off Microsoft’s real-time protection, but that isn’t a permanent solution, and Windows will automatically turn on the real-time protection in future.

In this guide, we’ll highlight three different methods to disable Windows Defender Antivirus permanently or temporarily on Windows 10.
How to turn off Windows Defender temporarily
If you want to turn off Windows Defender temporarily when you need to install an app, follow these steps:
- Open Windows Search (Win+S).
- Search for Windows Security.
- In the Windows Security app, click on Virus & threat protection.
- Click on the Manage settings link under “Virus & threat protection settings”.
- Click on the Real-time protection toggle to turn off the protection temporarily.
How to disable Windows Defender permanently
To disable Windows Defender permanently, follow these steps:
- Open Windows Security > Virus & threat protection.
- Click the Manage settings option.
- Disable Tamper Protection.
- Open Start menu and search for gpedit.msc (Group Policy Editor).
- Open Computer Configuration > Administrative Templates > Windows Components.
- Click on ‘Microsoft Defender Antivirus’
- Double-click on “Turn off Microsoft Defender Antivirus policy”
- Select the “Enabled” option.
- Click on ‘Apply’ to disable Windows Defender protection.
- Click on ‘OK’ to close the window.
- Exit Group Policy Editor.
If you followed the steps correctly, Microsoft Defender protection will stop working on your device, but you can still open and manage the Windows Security app.
If you want to enable the protection again, repeat the above steps and select “Not Configured” in the Group Policy editor. Once done, make sure that you enable the tamper protection in Windows Security app.
Can you disable Windows Defender using Registry Editor?
Short answer: No.
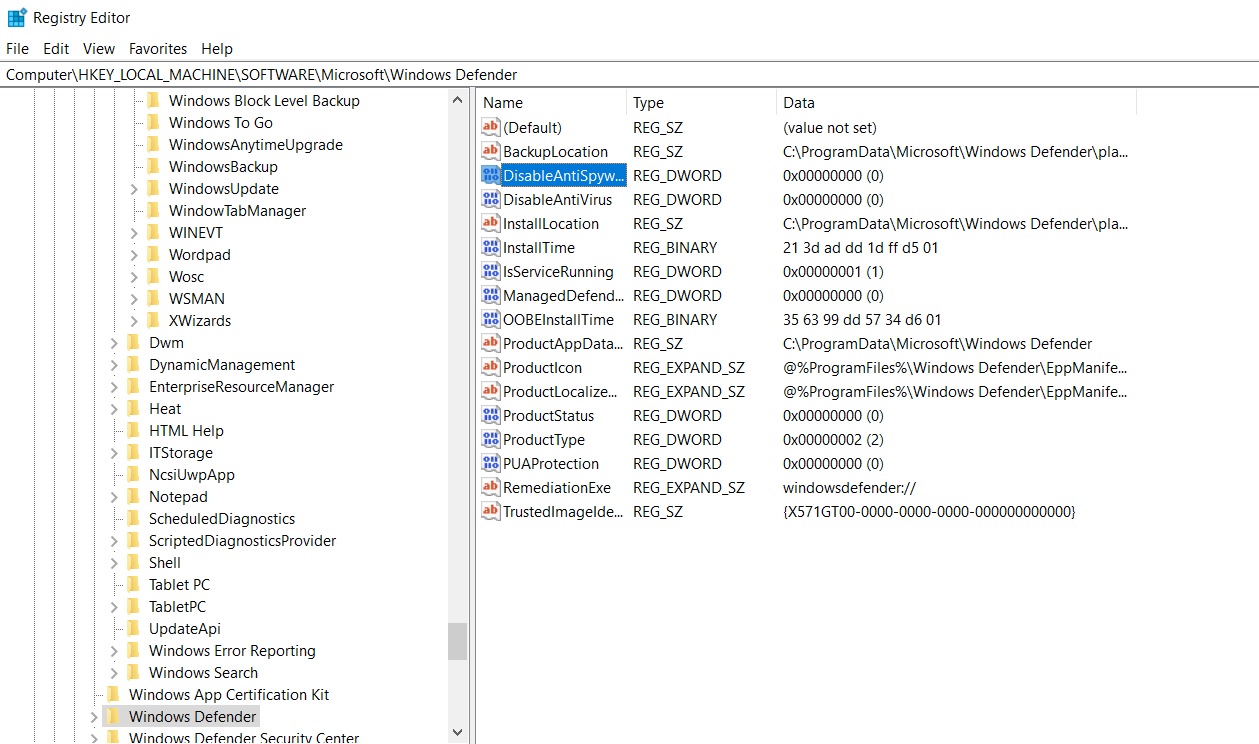
Microsoft previously allowed advanced users to disable Windows Defender Antivirus by editing Windows Registry. To disable the Defender antivirus permanently with the Registry, users were required to create a new key “DisableAntiSpyware” with the value set to ‘1’.

Once you complete the above steps, Windows Defender will disable permanently and you can always re-enable it using the same instructions above, but the value should be ‘0’.
After the August 2020 update (version 4.18.2007.8), Microsoft said it has discontinued the ‘DisableAntiSpyware’ key and values will be ignored on client devices.
“This setting is discontinued and will be ignored on client devices, as of the August 2020 (version 4.18.2007.8) update to Microsoft Defender Antivirus,” Microsoft said.
“DisableAntiSpyware specifies whether to disable Microsoft Defender Antivirus. Microsoft Defender Antivirus is an application that can prevent, remove, and quarantine malicious software, including spyware,” the company noted.
While Microsoft doesn’t want you to edit the Registry to disable Windows Defender permanently, you can still use Group Policy editor, Windows Security app, or third-party software to temporarily disable Defender.
By default, Windows 10 doesn’t include an option to disable the Windows Defender permanently, but Microsoft allows third-party anti-malware software to work alongside Windows Defender.
For example, Windows 10’s built-in antivirus protection is automatically disabled during the installation process of third-party protection software. This allows you to use the antivirus software of your choice without making any modifications to the system settings manually.


