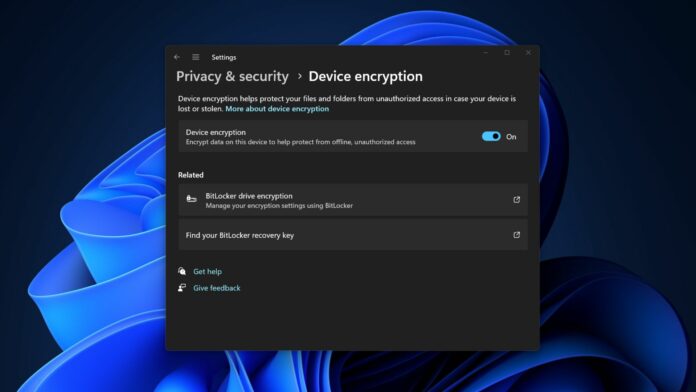
Windows Latest previously reported about Microsoft’s plan to introduce Device Encryption toggle in Settings of version 24H2 on Pro editions. Device Encryption will be enabled by default when you first set up a Windows 11 PC with Pro and Home editions. In addition, Microsoft will enforce an automatic Device Encryption setup after resetting your PC.
In our tests, Windows Latest previously observed that Device Encryption is turned on by default. Over the weekend, users also noticed that Microsoft has already enabled it in Windows 11 24H2 RTM preview builds, suggesting the feature is likely coming this year when the update rolls out to everyone.
When we asked Microsoft, the company confirmed to Windows Latest that it recently adjusted the prerequisites to enable device encryption.
“We have adjusted (removal of Modern Standby/HSTI validation and untrusted DMA ports check) to enable device encryption so that it is automatically enabled when doing clean installs of Windows 11,” Microsoft said in a statement.
Also, remember that BitLocker is turned on automatically only when you clean/fresh install or reinstall Windows 11 24H2. Microsoft told Windows Latest that BitLocker is not enabled when you upgrade from any version of Windows.
For example, if you’re on Windows 10 or Windows 11 23H2 and upgrade to version 24H2, BitLocker encryption won’t be enabled by default. You’ll not lose any of your files.
Device Encryption relies on Microsoft account or external USB
As Microsoft explains in its documentation, Device Encryption uses BitLocker to encrypt the data applied to all system drives. You must backup your BitLocker key to your Microsoft account or save it to an external USB disk. Without this, you cannot access your data.
Windows can request the BitLocker recovery key while resetting or reinstalling the operating system. However, procuring the recovery key can be challenging if the feature is enabled without the user’s approval. If you lose access to your Microsoft Account, you will also lose access to the PC.
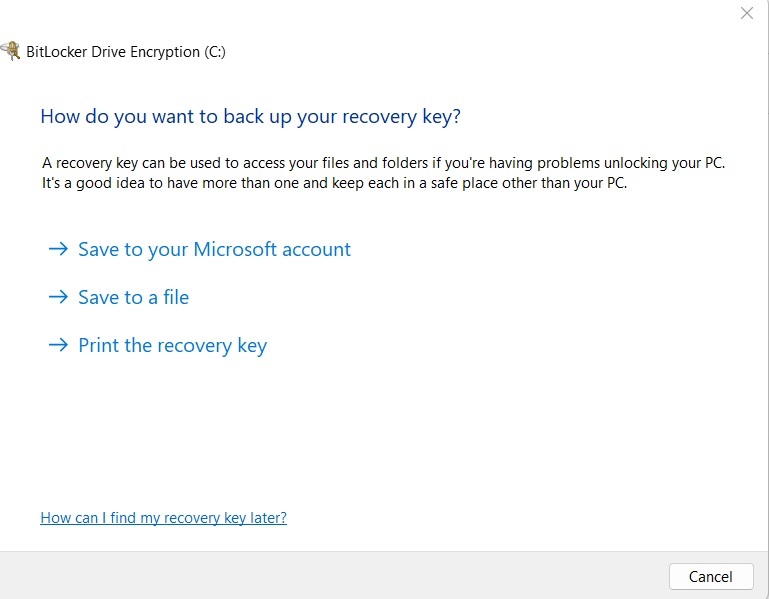
BitLocker has a list of hardware requirements, including a TPM 1.2 or newer chip and UEFI. Since Windows 11 checks for these changes during installation, escaping BitLocker is impossible. However, there are workarounds.
How to turn off automatic Device Encryption in Windows 11
During installation, you can disable Device Encryption using a Registry hack:
- Press Shift + F10 to open the Command Prompt window. Type regedit and press Enter to launch Registry Editor.
- Navigate to the HKEY_LOCAL_MACHINE\SYSTEM\CurrentControlSet\Control\BitLocker subkey.
- Right-click the empty side and select the New > Dword (32-bit) Value option from the context menu.
- Name the value “PreventDeviceEncryption”.
- Set the value date to 1 and click on the OK button.
- Close the Registry Editor.
You can also create a bootable USB drive with Rufus. It can prepare a modified Windows 11 installation media to bypass system requirements and disable BitLocker.
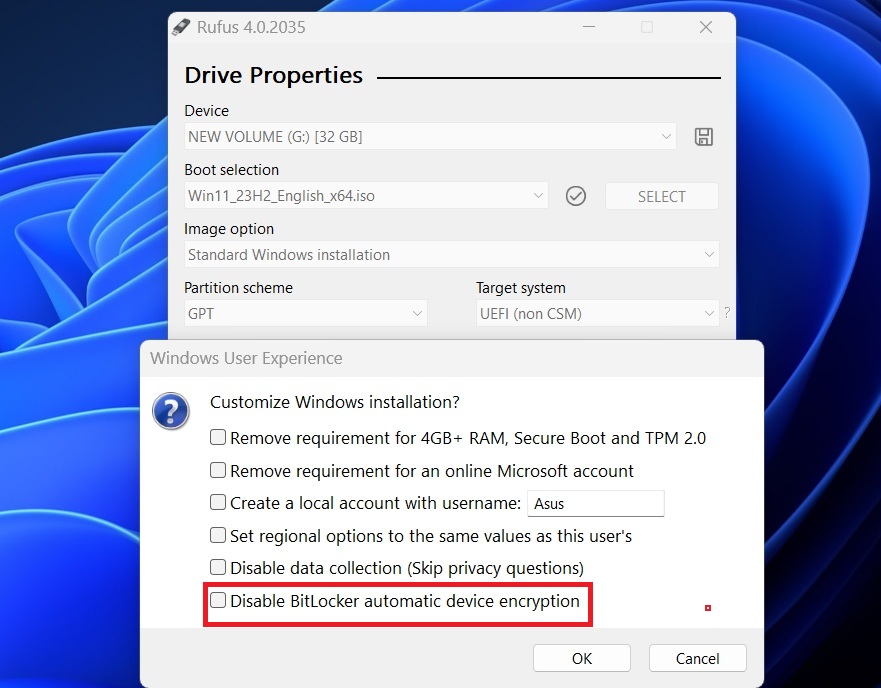
With Rufus, you can interact with the GUI interface, which is more accessible for less tech-savvy Windows users.


